


Avis de conformité aux normes de l’industrie du Canada
Cet appareil numérique de classe A est conforme aux exigences de la norme canadienne relative aux
équipements pouvant causer des interférences NMB-003.
European Community (EC) directives conformity
This product is in conformity with the protection requirements of EC Council directives 2014/30/EU, 2014/35/EU,
and 2011/65/EU on the approximation and harmonization of the laws of the Member States relating to
electromagnetic compatibility, safety of electrical equipment designed for use within certain voltage limits, and
on the restrictions of use of certain hazardous substances in electrical and electronic equipment.
The manufacturer of this product is: Lexmark International, Inc., 740 West New Circle Road, Lexington, KY,
40550 USA. The authorized representative is: Lexmark International Technology Hungária Kft., 8 Lechner Ödön
fasor, Millennium Tower III, 1095 Budapest HUNGARY. A declaration of conformity to the requirements of the
Directives is available upon request from the Authorized Representative or may be obtained at
www.lexmark.com/en_us/about/regulatory-compliance/european-union-declaration-of-conformity.html
This product satisfies the Class A limits of EN 55022 and EN55032 and safety requirements of EN 60950
‑
1 or
EN 62368-1.
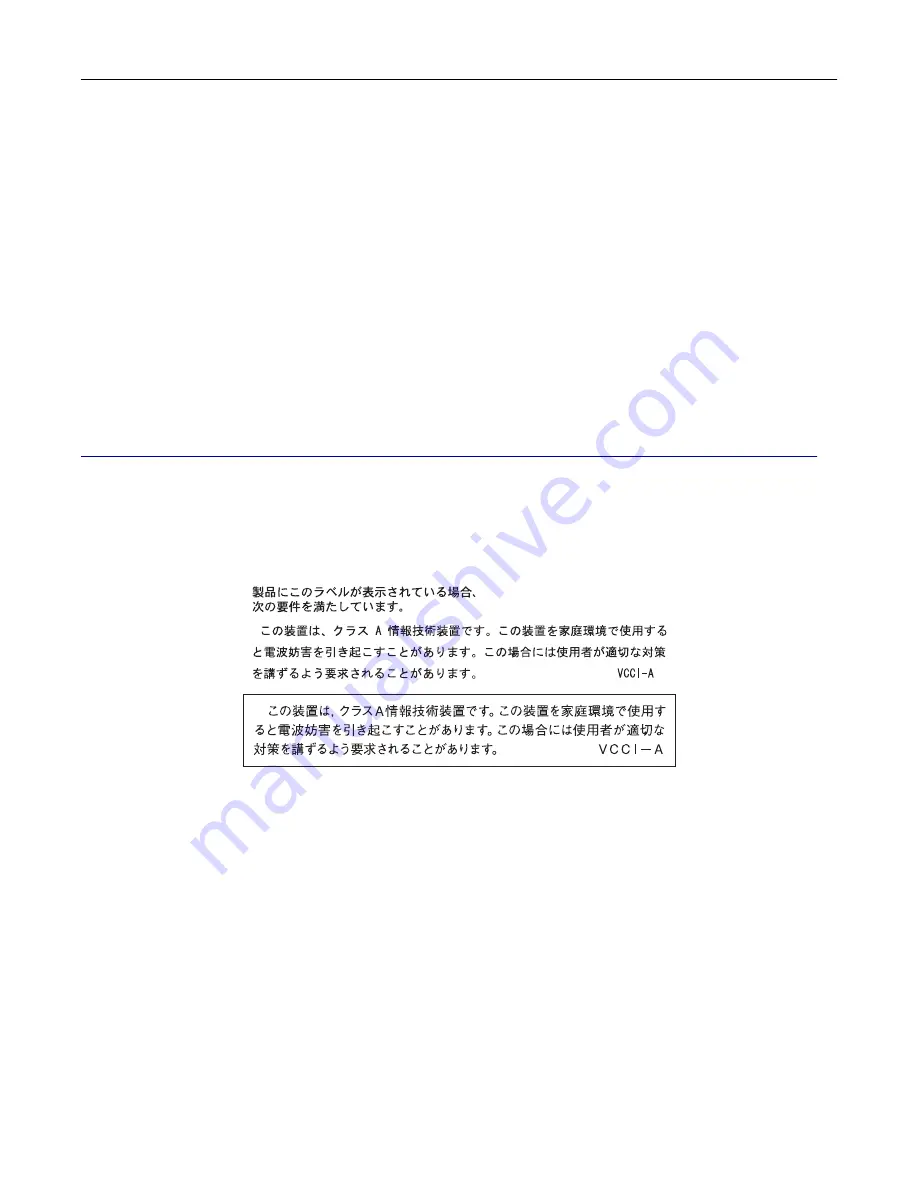
Japanese VCCI notice
Notice to users of Class A products in Brazil
Este produto não é apropriado para uso em ambientes domésticos, pois poderá causar interferências
eletromagnéticas que obrigam o usuário a tomar medidas necessárias para minimizar estas interferências.
Radio interference notice
Warning
This is a product that complies with the emission requirements of EN55022 and EN55032 Class A limits and
immunity requirements of EN55024. This product is not intended to be used in residential/domestic
environments.
This is a Class A product. In a domestic environment, this product may cause radio interference, in which case
the user may be required to take adequate measures.
Notices
328
Содержание XC9225
Страница 168: ... Scanner glass Scanner glass pad 3 Close the scanner cover Maintaining the printer 168 ...
Страница 171: ...2 Remove and then empty the hole punch box 3 Insert the hole punch box 4 Close the door Maintaining the printer 171 ...
Страница 176: ...5 Insert the new toner cartridge 6 Remove the waste toner bottle Maintaining the printer 176 ...
Страница 181: ...8 Insert the waste toner bottle and then close the door Maintaining the printer 181 ...
Страница 193: ...Replacing the ADF separator roller 1 Turn off the printer 2 Remove the ADF separator pad Maintaining the printer 193 ...
Страница 196: ...2 Open door B 3 Remove the ADF pick and feed rollers 4 Unpack the new pick and feed rollers Maintaining the printer 196 ...
Страница 198: ...2 Remove the empty staple cartridge 3 Unpack the new staple cartridge Maintaining the printer 198 ...
Страница 211: ... Below the fuser area Duplex area Clearing jams 211 ...
Страница 216: ...2 Open door J Clearing jams 216 ...
Страница 218: ... Areas H1 and H2 Area H6 Clearing jams 218 ...
Страница 222: ...2 Remove the staple cartridge holder 3 Remove the loose staples Clearing jams 222 ...
Страница 224: ...2 Remove the staple cartridge holder 3 Remove the loose staples Clearing jams 224 ...
Страница 226: ...2 Remove the staple cartridge holder 3 Remove the loose staples Clearing jams 226 ...
Страница 276: ...6 Remove the controller board shield 7 Unpack the printer hard disk Upgrading and migrating 276 ...
Страница 280: ...6 Remove the controller board shield Upgrading and migrating 280 ...
Страница 283: ...4 Remove the controller board shield Upgrading and migrating 283 ...
Страница 285: ...8 Attach the thumbscrews 9 Connect the wireless print server to the controller board Upgrading and migrating 285 ...
Страница 289: ...7 Connect the tray connector to the printer 8 Open trays 2 and 3 Upgrading and migrating 289 ...
Страница 294: ...9 Remove the stabilizing feet from the tray Upgrading and migrating 294 ...
Страница 298: ...17 Secure the tray cable with the clamp Upgrading and migrating 298 ...
Страница 299: ...18 Connect the tray cable to the printer 19 Attach the tray cable cover Upgrading and migrating 299 ...
Страница 300: ...20 Slide the tray until it clicks into place 21 Attach the stabilizing feet to the printer Upgrading and migrating 300 ...
Страница 305: ...7 Remove the paper guides 8 Attach the sensor cover Upgrading and migrating 305 ...
Страница 311: ...8 Attach the finisher to the printer Upgrading and migrating 311 ...


