Secure the printer
Erasing printer memory
To erase volatile memory or buffered data in your printer, turn off the printer.
To erase non
‑
volatile memory or individual settings, device and network settings, security settings, and
embedded solutions, do the following:
1
From the home screen, touch
Settings
>
Device
>
Maintenance
>
Out of Service Erase
.
2
Select the
Sanitize all information on nonvolatile memory
check box, and then touch
OK
.
3
Follow the instructions on the display.
Restoring factory default settings
1
From the home screen, touch
Settings
>
Device
>
Restore Factory Defaults
.
2
In the Restore Settings menu, select the settings that you want to restore.
3
Touch
RESTORE
.
4
Follow the instructions on the display.
Statement of Volatility
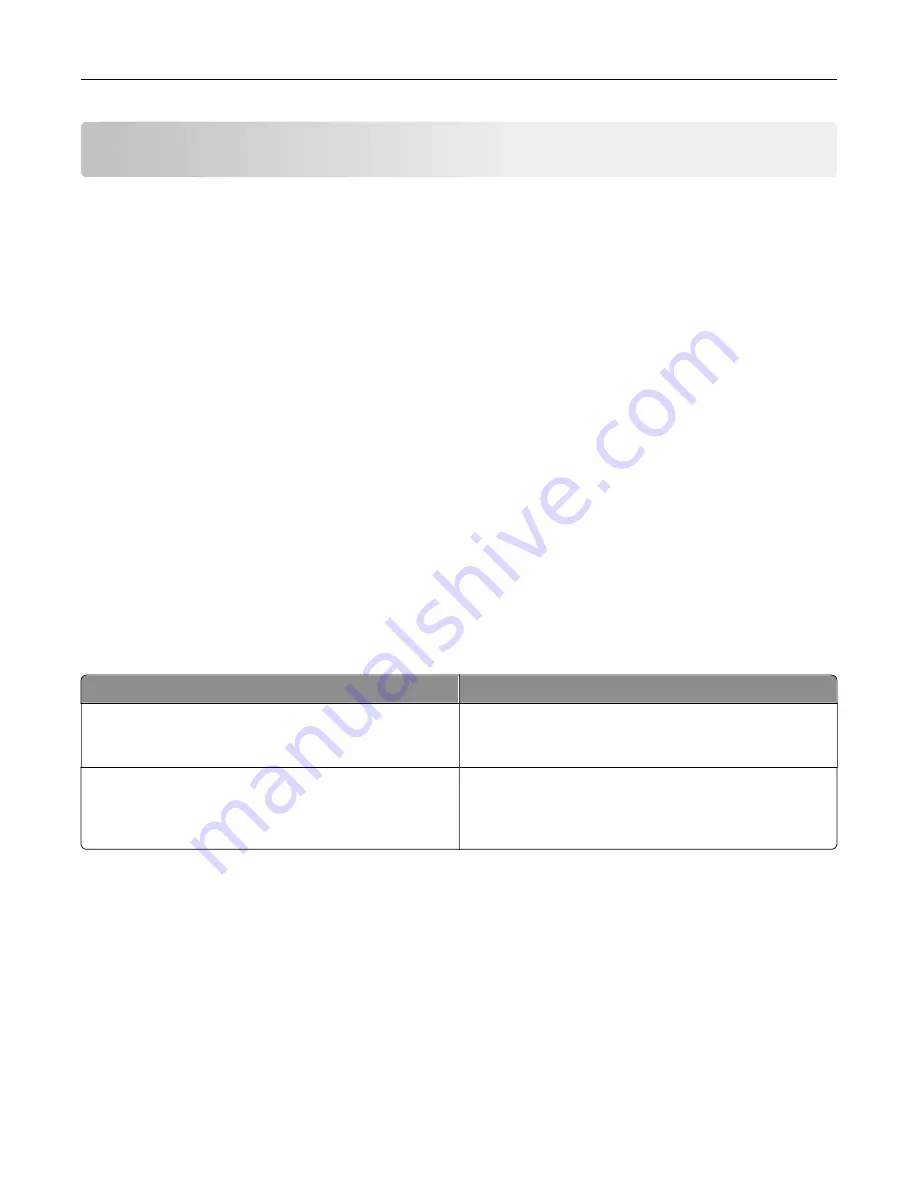
Your printer contains various types of memory that can store device and network settings, and user data.
Type of memory
Description
Volatile memory
Your printer uses standard
random access memory
(RAM) to temporarily buffer user data during simple print
jobs.
Non-volatile memory
Your printer may use two forms of non-volatile memory:
EEPROM and NAND (flash memory). Both types are used
to store operating system, device settings, and network
information.
Erase the content of any installed printer memory in the following circumstances:
•
The printer is being decommissioned.
•
The printer is being moved to a different department or location.
•
The printer is being serviced by someone from outside your organization.
•
The printer is being removed from your premises for service.
•
The printer is being sold to another organization.
Secure the printer
35
Содержание CX331
Страница 118: ...Replacing the ADF tray 1 Open the ADF cover Maintain the printer 118 ...
Страница 119: ...2 Remove the used ADF tray 3 Unpack the new ADF tray Maintain the printer 119 ...
Страница 122: ...7 Remove the tray 8 Position the printer on its side Maintain the printer 122 ...
Страница 126: ...4 Insert the new separator pad until it clicks into place 5 Close the ADF cover Maintain the printer 126 ...
Страница 142: ... Below the fuser area Duplex unit 3 Close the door Troubleshoot a problem 142 ...


