Setting up the printer to fax
Setting up the fax function
Notes:
•
Some connection methods are applicable only in some countries or regions.
•
If the fax function is enabled and not fully set up, then the indicator light may blink red.
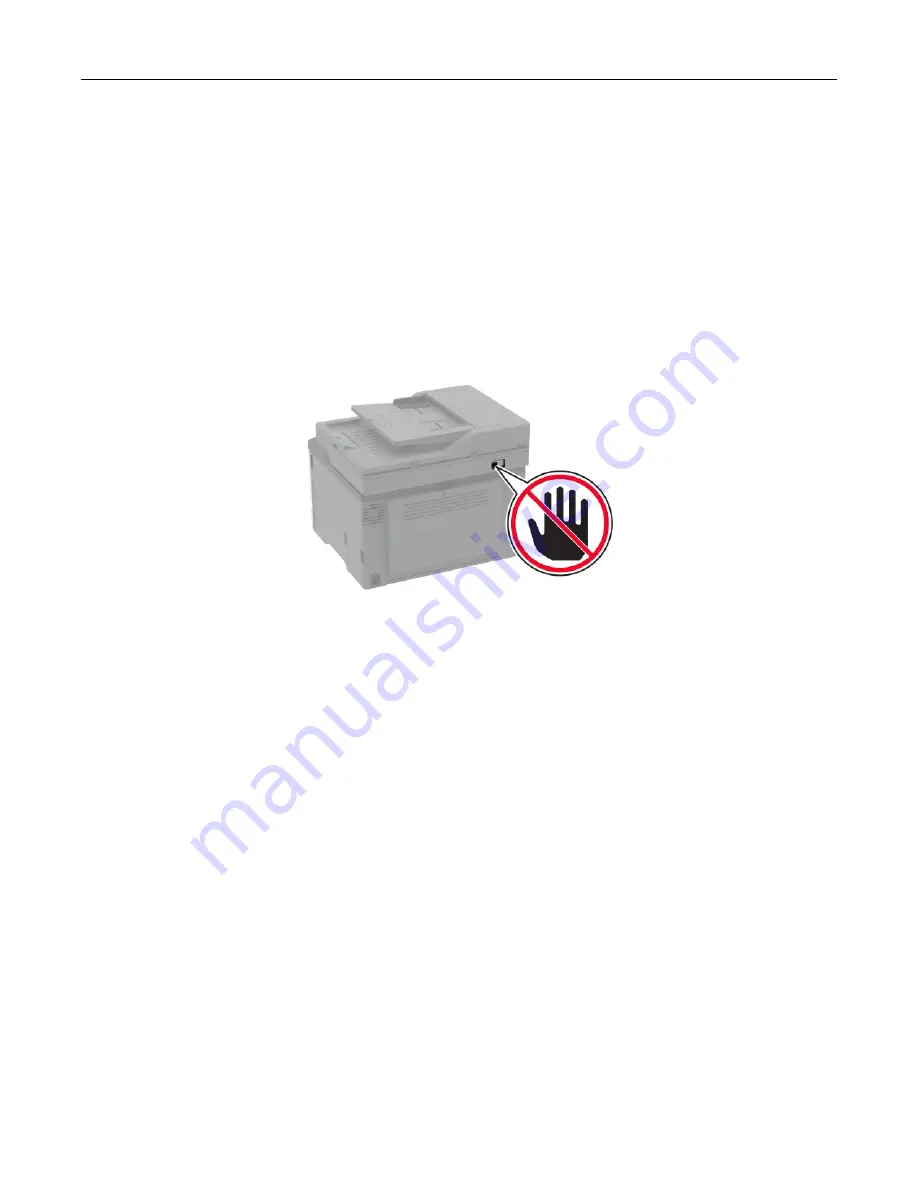
Warning—Potential Damage:
To avoid loss of data or printer malfunction, do not touch cables or the printer
in the area shown while actively sending or receiving a fax.
Note:
If you do not have a TCP/IP environment, then you must use the printer control panel to enter your fax
setup information.
Using the control panel
1
From the control panel, navigate to:
Settings
>
Device
>
Preferences
>
Run Initial Setup
2
Turn off the printer, wait for about 10 seconds, and then turn on the printer.
3
On the Fax setup screen, configure the settings.
4
Finish the setup.
Using the Embedded Web Server
1
Open a web browser, and then type the printer IP address in the address field.
Notes:
•
View the printer IP address on the home screen. The IP address appears as four sets of numbers
separated by periods, such as 123.123.123.123.
•
If you are using a proxy server, then temporarily disable it to load the web page correctly.
2
Click
Settings
>
Fax
>
Analog Fax Setup
>
General Fax Settings
.
3
In the Fax Name field, type the name to be printed on all outgoing faxes.
Set up, install, and configure
21
Содержание CX331
Страница 118: ...Replacing the ADF tray 1 Open the ADF cover Maintain the printer 118 ...
Страница 119: ...2 Remove the used ADF tray 3 Unpack the new ADF tray Maintain the printer 119 ...
Страница 122: ...7 Remove the tray 8 Position the printer on its side Maintain the printer 122 ...
Страница 126: ...4 Insert the new separator pad until it clicks into place 5 Close the ADF cover Maintain the printer 126 ...
Страница 142: ... Below the fuser area Duplex unit 3 Close the door Troubleshoot a problem 142 ...


