


Loading paper and specialty media
The selection and handling of paper and specialty media can affect how reliably documents print. For more
information, see
Setting the paper size and type
1
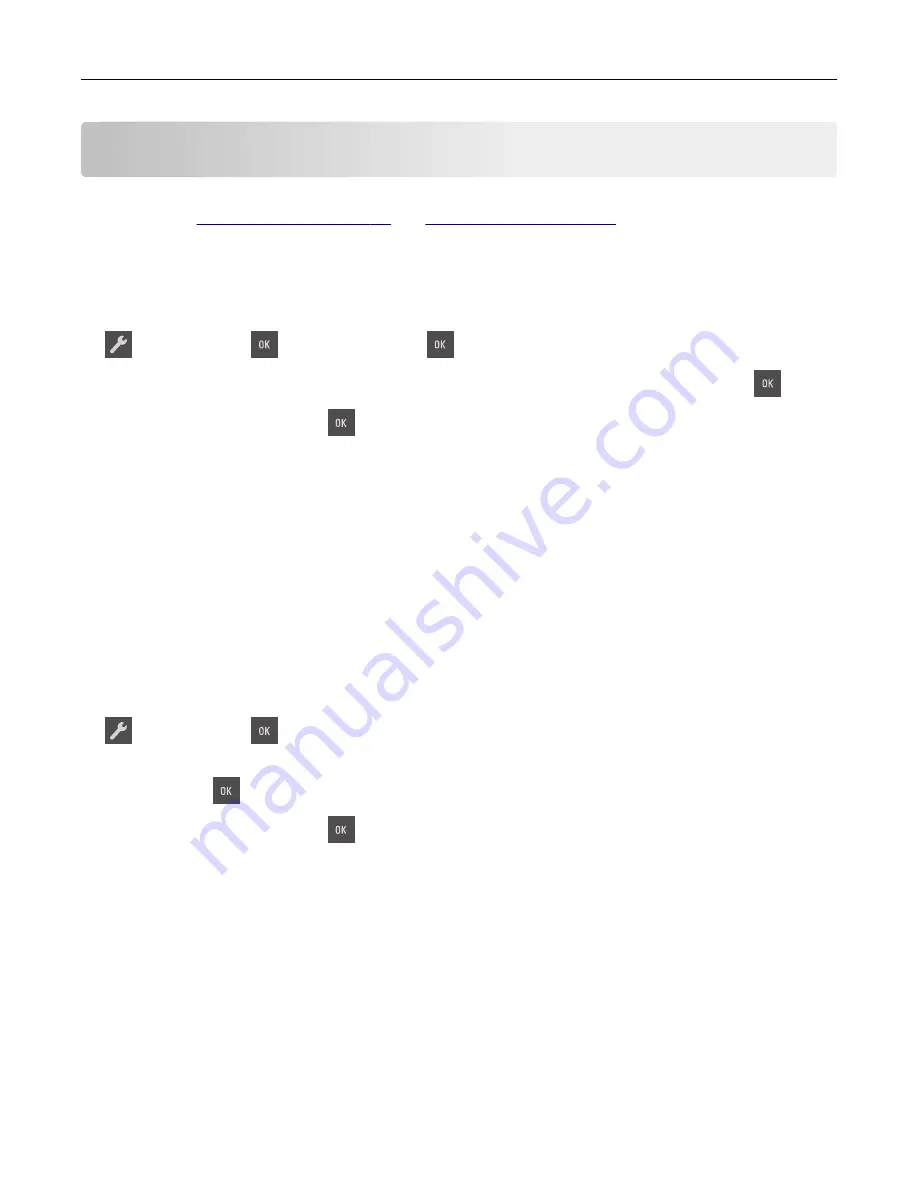
From the printer control panel, navigate to:
>
Paper Menu
>
>
Paper Size/Type
>
2
Press the arrow buttons until
Tray [x] Size
or
Tray [x] Type
appears, and then press
.
3
Select a setting, and then press
.
Configuring Universal paper settings
The Universal paper size is a user
‑
defined setting that lets you print on paper sizes that are not preset in the
printer menus.
Notes:
•
The smallest supported Universal size is 76 x 127 mm (3 x 5 inches) and is loaded only in the
multipurpose feeder and manual feeder.
•
The largest supported Universal size is 215.9 x 359.9 mm (8.5 x 14.17 inches) and is loaded only in the
multipurpose feeder and manual feeder.
1
From the printer control panel, navigate to:
>
Paper Menu
>
>
Universal Setup
2
Press the arrow buttons until
Units of Measure,
Portrait Height,
or
Portrait Width
appears,
and then press
.
3
Select a setting, and then press
.
Loading the 250
‑
sheet tray
The printer has one standard 250
‑
sheet tray (Tray 1) with an integrated manual feeder. The 250
‑
sheet tray and
the optional 650
‑
sheet duo tray with an integrated multipurpose feeder support the same paper sizes and
types and are loaded in the same way.
1
Pull out the tray completely.
Note:
Do not remove trays while a job is printing or while
Busy
appears on the display. Doing so may
cause a jam.
Loading paper and specialty media
25
Содержание CS310 Series
Страница 1: ...CS310 Series and CS317 User s Guide November 2017 www lexmark com Machine type s 5027 Model s 210 230...
Страница 102: ...2 Open the top door 2 1 3 Remove the toner cartridges 1 2 Maintaining the printer 102...
Страница 107: ...16 Insert the waste toner bottle 17 Insert the right side cover Maintaining the printer 107...
Страница 111: ...2 Open the top door 2 1 3 Remove the toner cartridges 1 2 Maintaining the printer 111...
Страница 124: ...Below the fuser In the fuser access door 3 Close the front door Clearing jams 124...


