3
Press
or
repeatedly until
Print Photos
appears.
4
Press .
5
Press
or
repeatedly until
Print DPOF Selection
appears.
6
Press
Start Color
or
Start Black
.
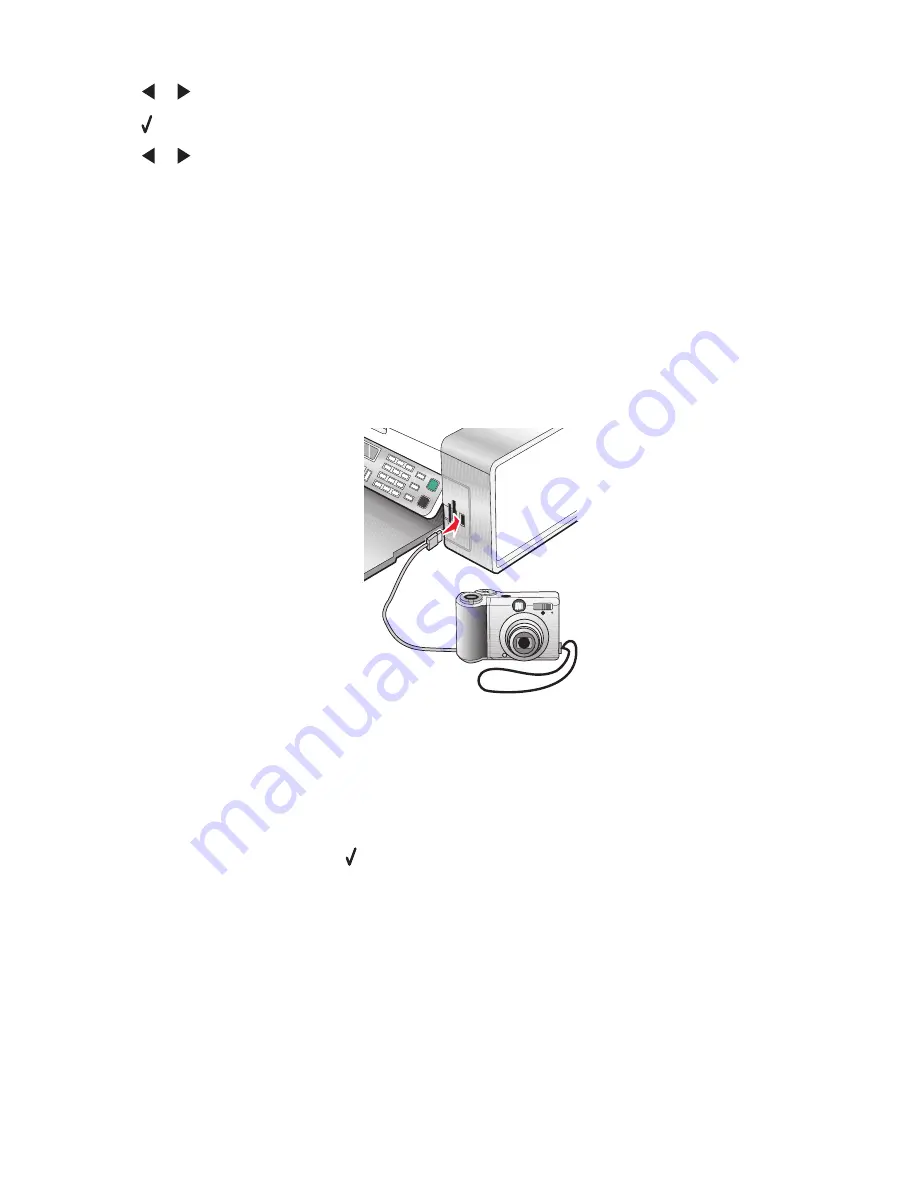
Using a PictBridge-enabled digital camera to control printing
photos
You can connect a PictBridge-enabled digital camera to the printer, and use the buttons on the camera to select and
print photos.
1
Insert one end of the USB cable into the camera.
Note:
Use only the USB cable that came with the digital camera.
2
Insert the other end of the cable into the PictBridge port on the front of the printer.
Notes:
•
Make sure the PictBridge-enabled digital camera is set to the correct USB mode. For more information, see
the camera documentation.
•
The printer recognizes one active media device at a time. If you insert more than one media device, a message
appears on the display prompting you to designate the device you want the printer to recognize.
•
If the PictBridge connection is successful, the following appears on the printer display:
PictBridge
camera detected. Press
to change settings.
If any other message appears, see “Error
messages” on page 115.
3
Follow the instructions in the camera documentation to select and print photos.
Note:
If the printer is turned off while the camera is connected, you must disconnect and then reconnect the camera.
Working with photos
61
Содержание 22N0057 - X 5450 Color Inkjet
Страница 6: ...6...
Страница 54: ...7 Click OK 8 Click OK or Print Printing 54...


