37
11
Paper sizes
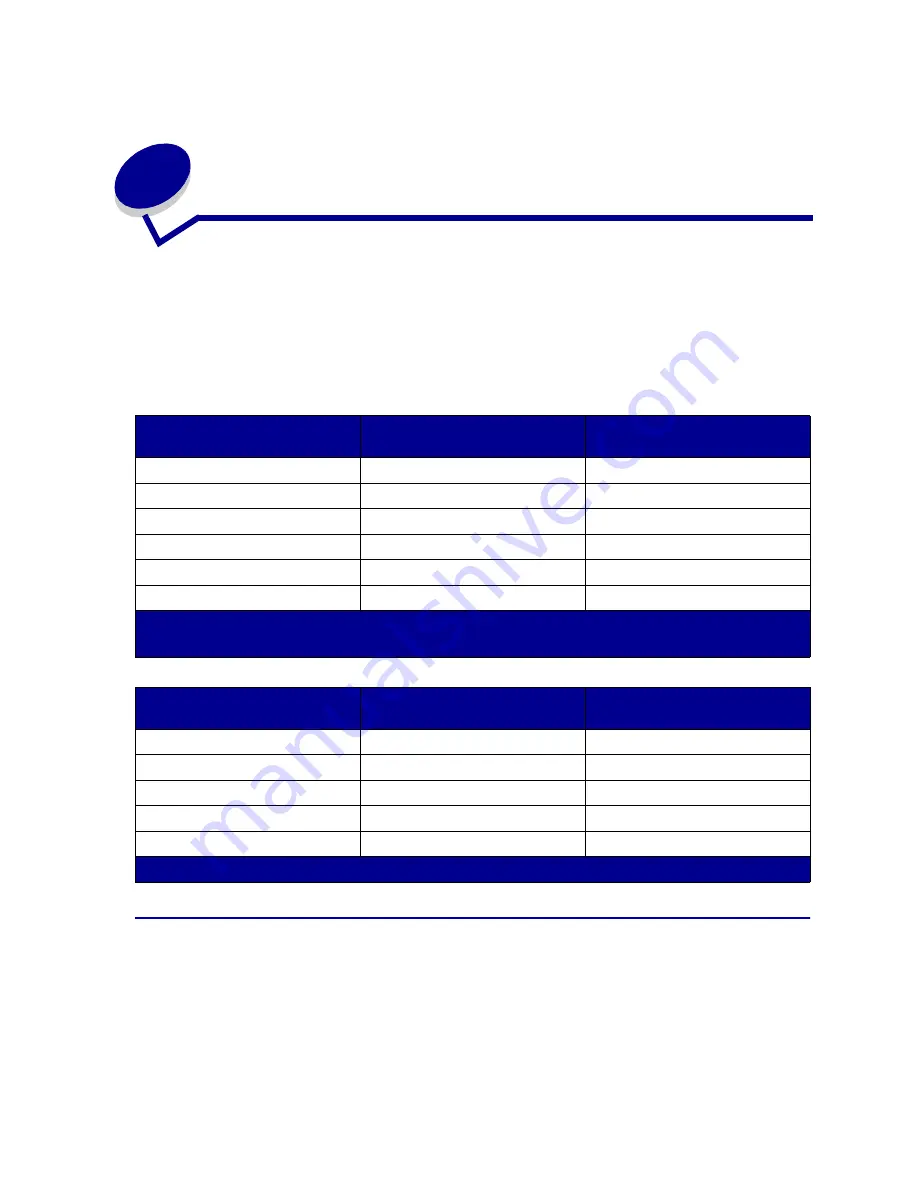
Your printer supports a wide variety of paper sizes. See
Media guidelines
for illustrations of proper
paper orientation.
The printer determines the size paper loaded in the trays by the position of the paper guides. Make
sure you adjust the guides each time you change paper sizes. The following tables list the paper and
envelope sizes your printer supports.
Paper size sensing
Your printer can automatically sense when A4, letter, legal, executive media or B5, DL, and #10
envelopes are loaded in tray1. To do this, the
Auto Size Sense
setting must be set to
On
. Your printer
default was set at the factory to either the US or Non-US default with the
Auto Size Sense
setting
On
. The US or Non-US default setting affects the auto sensing ability of the printer. In the US mode,
the tray sensing recognizes the #10 envelope and not the DL envelope. In the Non-US mode, it
Size
Dimensions
Print speed in black and white/
color
1
(ppm)
A4
210 x 297 mm (8.3 x 11.7 in.)
24/6
Letter
215 x 279 mm (8.5 x 11 in.)
24/6
Executive
184 x 266 mm (7.25 x 10.5 in.)
24/6
B5
182 x 257 mm (7.2 x 10.1 in.)
24/6
Legal
2
216 x 356 mm (8.5 x 14 in.)
23/3
A5
148 x 210 mm (5.8 x 8.2 in.)
24/6
1
Simplex printing speeds at factory default settings.
2
Can only be placed in the optional legal tray.
Size
Dimensions (h/w)
Print speed in black and white/
color
*
(ppm)
DL Envelope
110 x 220 mm (4.3 x 8.7 in.)
12/4
C5 Envelope
162 x 229 mm (6.4 x 9 in.)
12/4
B5 Envelope
176 x 250 mm (6.9 x 9.9 in.)
12/4
9 Envelope
99 x 226 mm (3.9 x 8.9 in. )
12/4
10 Envelope
103 x 241 mm (4.125 x 9.5 in.)
12/4
*
Simplex printing speeds at factory default settings.
Содержание 15W0003 - C 720 Color Laser Printer
Страница 1: ...www lexmark com User s Reference November 2000 C720 ...
Страница 2: ......
Страница 8: ...viii ...
Страница 109: ...109 4 Push both drum cleaner cover latches to rear 5 Lift and remove the drum cleaner cover ...
Страница 117: ...117 Color correction setting Automatic 2 Color draft Black white ...
Страница 127: ...127 3 Disconnect the black duplex unit connector from the black printer connector 4 Open the duplex unit top cover ...
Страница 128: ...128 5 Loosen the thumbscrews on the duplex unit 6 Close the duplex unit top cover ...
Страница 130: ...130 2 Loosen the locking clip thumbscrew by rotating counterclockwise 3 Rotate the locking clip so it hangs down ...
Страница 181: ...181 8 Close the top door 9 Close the rear door 10 Press Go on the operator panel ...
Страница 189: ...189 6 Close the inner and outer rear duplex access doors 7 Press Go on the operator panel ...
Страница 194: ...194 12 Close the top door ...
Страница 248: ...248 See also Technical Reference XON XOFF DTRDSR Combined hardware and software handshaking ...
Страница 259: ...259 See also Supplies ...


