28
7
Controlling printed output
Your printer driver provides you with the best quality output for various types of printing needs.
However, you may want more control over how your printed document will look.
You can control the screening methods, graphics effects, and fill resolution used during printing. These
setting adjustments can easily be made through your printer driver, operator panel, or MarkVision
remote operator panel. Adjusting any of these settings affects the output of your documents.
You can return your printer driver to the factory default settings by selecting the Restore Defaults
button on the printer driver screen or restoring the default settings at the operator panel.
Driver Settings
Print Quality
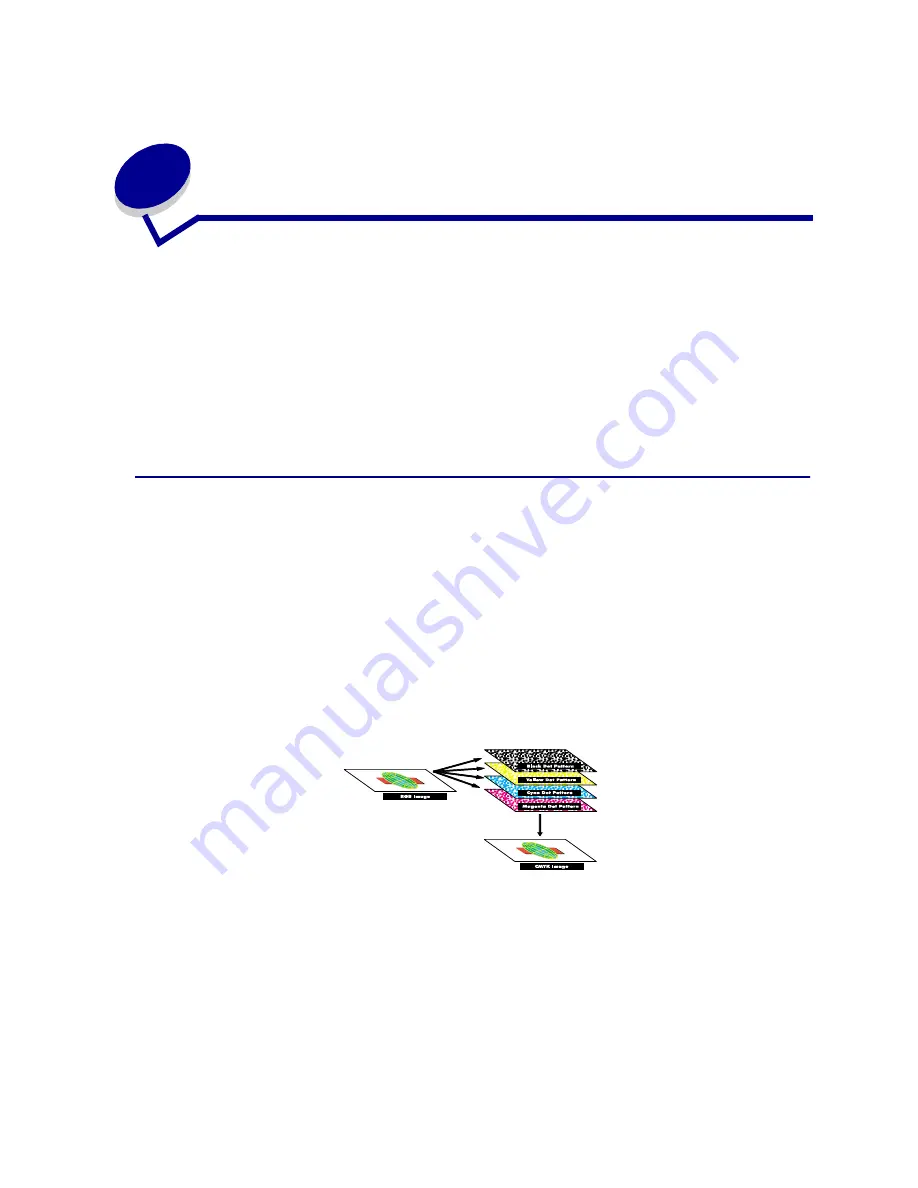
Your printer is a four-color process printer that uses the CMYK color model. One of the most important
issues for printing using the CMYK model is how the printer combines each of the four colors on the
page. The process used to produce this high quality print is known as screening.
When printing in color, you use four different color planes or screens. A separate dot pattern is created
for each of these color planes. These separate dot patterns are then combined (effectively laid on top
of each other) to produce your final full-color image.
Your color printer uses different screening methods depending on the material to be printed.
There are two print quality settings you can choose from; 600 dpi (dots per inch) and 2400 IQ (image
quality). The 600 dpi setting provides true 600 x 600 dpi resolution. The default setting 2400 IQ,
enhances images you send to the printer. The 2400 IQ setting also provides an optimum balance for
most printing needs.
Содержание 15W0003 - C 720 Color Laser Printer
Страница 1: ...www lexmark com User s Reference November 2000 C720 ...
Страница 2: ......
Страница 8: ...viii ...
Страница 109: ...109 4 Push both drum cleaner cover latches to rear 5 Lift and remove the drum cleaner cover ...
Страница 117: ...117 Color correction setting Automatic 2 Color draft Black white ...
Страница 127: ...127 3 Disconnect the black duplex unit connector from the black printer connector 4 Open the duplex unit top cover ...
Страница 128: ...128 5 Loosen the thumbscrews on the duplex unit 6 Close the duplex unit top cover ...
Страница 130: ...130 2 Loosen the locking clip thumbscrew by rotating counterclockwise 3 Rotate the locking clip so it hangs down ...
Страница 181: ...181 8 Close the top door 9 Close the rear door 10 Press Go on the operator panel ...
Страница 189: ...189 6 Close the inner and outer rear duplex access doors 7 Press Go on the operator panel ...
Страница 194: ...194 12 Close the top door ...
Страница 248: ...248 See also Technical Reference XON XOFF DTRDSR Combined hardware and software handshaking ...
Страница 259: ...259 See also Supplies ...


