14
Understanding the operator panel
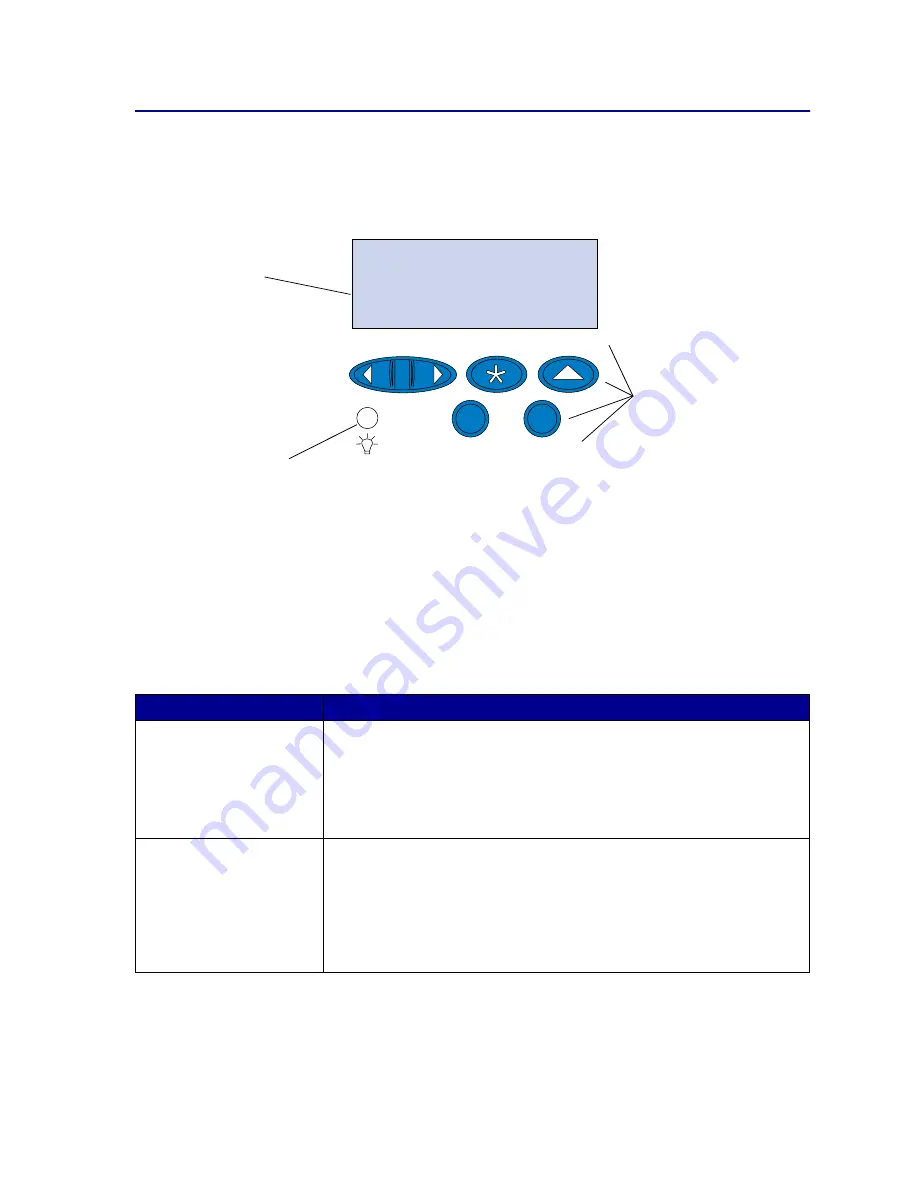
The operator panel on the top left side of your printer has a 2-line by 16-character liquid crystal display
(LCD), five buttons, and one indicator light. The operator panel can be disabled so that other users
cannot access most of the menus. Users can still access the Job Menu.
Use the five operator panel buttons to open a menu, scroll through a list of values, select printer
settings, clear error messages, and enter a personal identification number (PIN) for confidential print
jobs.
Operator panel buttons
Button
Function
Go
5
Press
Go
to:
• Exit printer menus and return the printer to the
Ready
state.
• Clear certain messages from the display.
• Enter a number 5 as part of a PIN for confidential or print and hold printing.
If you’ve changed printer settings from the operator panel, cleared a paper jam,
or changed a supply item, press
Go
to resume printing.
1
Menu >
and
<Menu
2
Press
Menu>
or
<Menu
to:
• Enter the menus from the
Ready
state.
• Scroll to the next (
Menu>
) or previous (
<Menu
) menu, menu item, or value.
• Increase or decrease a numerical value for a menu item setting.
• Display the Job Menu or the Supplies Menu while the printer is busy.
• Enter a number 1 or 2 as part of a PIN for confidential or print and hold
printing.
Power indicator light
Has three possible states:
• Off
The printer power is off.
• On
The printer power is on and the printer is cur-
rently idle.
• Flashing The printer power is on and the printer is busy
or awaiting operator intervention.
1
Menu
2
Select
3
Go
5
Return
4
Stop
6
LCD
Two-line 16-character display.
Buttons and numbers
For selecting settings from
menus, clearing error messages,
and entering PINs when printing
confidential jobs.
Содержание 15W0003 - C 720 Color Laser Printer
Страница 1: ...www lexmark com User s Reference November 2000 C720 ...
Страница 2: ......
Страница 8: ...viii ...
Страница 109: ...109 4 Push both drum cleaner cover latches to rear 5 Lift and remove the drum cleaner cover ...
Страница 117: ...117 Color correction setting Automatic 2 Color draft Black white ...
Страница 127: ...127 3 Disconnect the black duplex unit connector from the black printer connector 4 Open the duplex unit top cover ...
Страница 128: ...128 5 Loosen the thumbscrews on the duplex unit 6 Close the duplex unit top cover ...
Страница 130: ...130 2 Loosen the locking clip thumbscrew by rotating counterclockwise 3 Rotate the locking clip so it hangs down ...
Страница 181: ...181 8 Close the top door 9 Close the rear door 10 Press Go on the operator panel ...
Страница 189: ...189 6 Close the inner and outer rear duplex access doors 7 Press Go on the operator panel ...
Страница 194: ...194 12 Close the top door ...
Страница 248: ...248 See also Technical Reference XON XOFF DTRDSR Combined hardware and software handshaking ...
Страница 259: ...259 See also Supplies ...


