


Extended configuration – Leuze electronic webConfig tool
Leuze electronic
LSIS 472i
30
Log in as administrator.
Select
Start > Control Panel > Network and Internet > Network and Sharing Center
.
Select
LAN connection
and right-click to open the
Properties
dialog.
Select
Internet Protocol Version 4 (TCP/IPv4)
and click on the [Properties] button.
Set the
IP address
of the PC/laptop.
The IP address of the PC/laptop must not be identical to the IP address of the smart camera.
Example: IP address of the smart camera: 192.168.060.101
IP address of the PC/laptop: 192.168.060.111
Set the subnet mask of the PC/laptop to the same value as on the smart camera.
Example: 255.255.255.0
Confirm all of the settings dialogs with [OK] or [Close].
Connect the SERVICE interface of the smart camera directly to the LAN port of your PC/laptop.
9.2
Start webConfig tool
Prerequisite: IP address and subnet mask for the LAN connection with the device are set correctly.
Connect the operating voltage to the device.
Connect the SERVICE interface of the device to the PC.
The connection to the SERVICE interface of the device is made via the LAN port of the PC.
Start the webConfig tool via your PC's Internet browser with IP address 192.168.60.101 or with the IP
address set by you.
192.168.60.101 is the standard Leuze electronic service address for communication with the smart
camera of the LSIS 4xxi series.
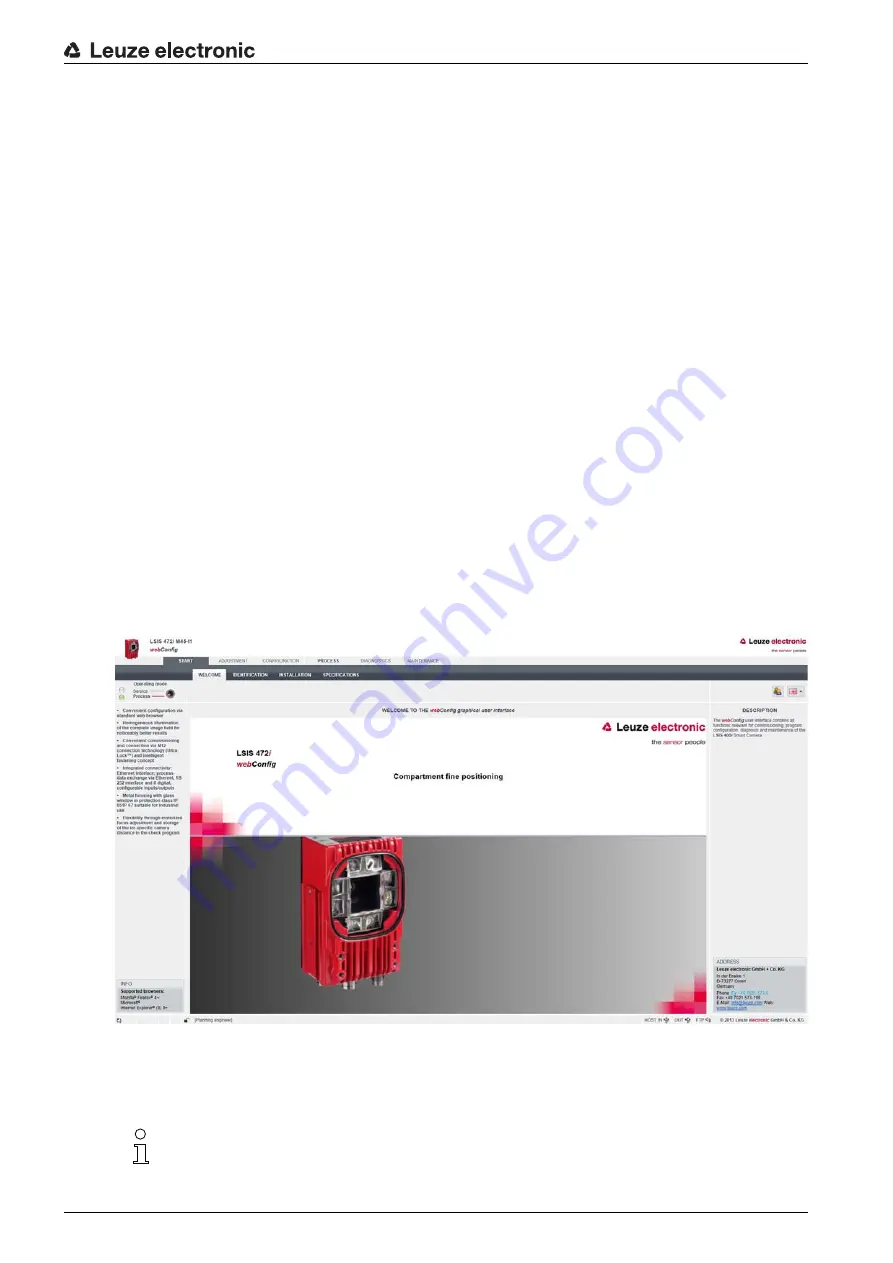
The webConfig start page is displayed on your PC.
Changing the operating mode (
Process
-
Service
) (upper left)
Figure 9.2: The start page of the webConfig tool
The user interface of the webConfig tool is largely self-explanatory.
The webConfig tool is completely contained in the firmware of the device.
The pages and functions of the webConfig tool may appear and be displayed differently depend
-
ing on the firmware version.


