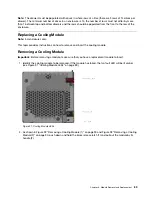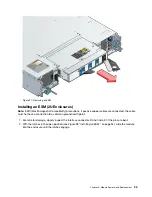
Figure 87. Removing a DDIC
6. If the DDIC does not pop up, perform steps 1 and 2 simultaneously in above figure. The DDIC will pop up
slightly from the slot.
7. Lift the DDIC out of the slot, as shown in the following figure.
Figure 88. Removing a DDIC
Important:
If you are not going to replace the drive immediately, close the drawer (see “Closing a Drawer”
on page 85) so that correct airflow and cooling are maintained in the enclosure.
Inserting a DDIC
Important:
Failed drives must be replaced with approved drives. Contact your storage supplier for details.
1. If the relevant drawer is not already open, open it using the instructions in “Opening a Drawer ” on page
.
Module Removal and Replacement
87
Содержание D1212
Страница 6: ...iv Lenovo Storage D1212 D1224 D3284Hardware Installation and Maintenance Guide ...
Страница 20: ...xviii Lenovo Storage D1212 D1224 D3284Hardware Installation and Maintenance Guide ...
Страница 26: ...6 Lenovo Storage D1212 D1224 D3284Hardware Installation and Maintenance Guide ...
Страница 52: ...32 Lenovo Storage D1212 D1224 D3284Hardware Installation and Maintenance Guide ...
Страница 55: ...Figure 37 Unpacking the 2U12 and 2U24 Enclosure Systems Chapter 3 Installation 35 ...
Страница 70: ...50 Lenovo Storage D1212 D1224 D3284Hardware Installation and Maintenance Guide ...
Страница 136: ...116 Lenovo Storage D1212 D1224 D3284Hardware Installation and Maintenance Guide ...
Страница 142: ...122 Lenovo Storage D1212 D1224 D3284Hardware Installation and Maintenance Guide ...
Страница 150: ...Taiwan BSMI RoHS declaration 130 Lenovo Storage D1212 D1224 D3284Hardware Installation and Maintenance Guide ...
Страница 152: ...132 Lenovo Storage D1212 D1224 D3284Hardware Installation and Maintenance Guide ...
Страница 153: ......
Страница 154: ......


