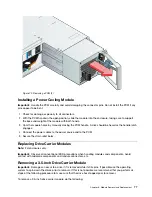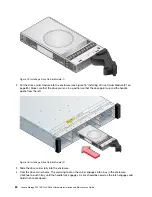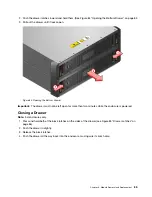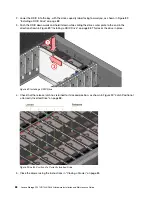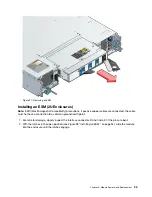
Figure 77. Engaging a Drive Carrier Module in an Enclosure
Removing/Replacing 2.5-inch Drive Carrier Modules
The removal/replacement procedure for 2.5” drive carrier modules is basically the same as for 3.5” drive
carriers, except that the 2.5” drive carriers are mounted vertically.
To remove/replace 2.5-inch drive carrier modules, do the following:
1. Release the carrier handle, by pressing the latch in the handle downwards and insert the carrier into the
enclosure in the vertical position.
Important:
Make sure that the carrier is positioned so that the drive is on the left side and the handle
opens from the top (see Figure 78 “2.5” Drive Carrier Module in Open Position” on page 82).
.
Module Removal and Replacement
81
Содержание D1212
Страница 6: ...iv Lenovo Storage D1212 D1224 D3284Hardware Installation and Maintenance Guide ...
Страница 20: ...xviii Lenovo Storage D1212 D1224 D3284Hardware Installation and Maintenance Guide ...
Страница 26: ...6 Lenovo Storage D1212 D1224 D3284Hardware Installation and Maintenance Guide ...
Страница 52: ...32 Lenovo Storage D1212 D1224 D3284Hardware Installation and Maintenance Guide ...
Страница 55: ...Figure 37 Unpacking the 2U12 and 2U24 Enclosure Systems Chapter 3 Installation 35 ...
Страница 70: ...50 Lenovo Storage D1212 D1224 D3284Hardware Installation and Maintenance Guide ...
Страница 136: ...116 Lenovo Storage D1212 D1224 D3284Hardware Installation and Maintenance Guide ...
Страница 142: ...122 Lenovo Storage D1212 D1224 D3284Hardware Installation and Maintenance Guide ...
Страница 150: ...Taiwan BSMI RoHS declaration 130 Lenovo Storage D1212 D1224 D3284Hardware Installation and Maintenance Guide ...
Страница 152: ...132 Lenovo Storage D1212 D1224 D3284Hardware Installation and Maintenance Guide ...
Страница 153: ......
Страница 154: ......


