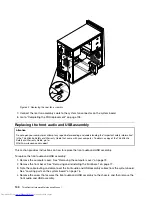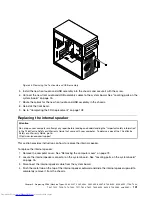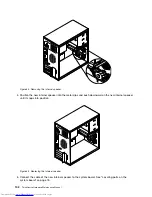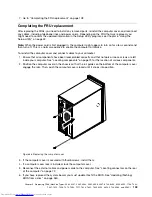
1. Remove the computer cover. See “Removing the computer cover” on page 73.
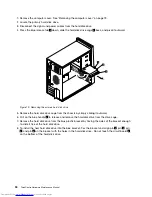
2. Locate the primary hard disk drive.
3. Disconnect the signal and power cables from the hard disk drive.
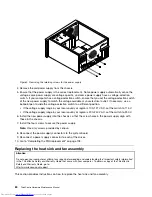
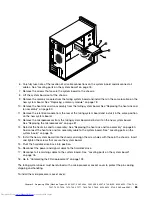
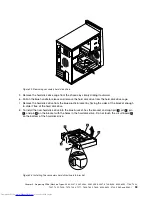
4. Press the blue release tab
1
down, slide the hard disk drive cage
2
back, and pivot it outward.
Figure 19. Removing the primary hard disk drive
5. Remove the hard disk drive cage from the chassis by simply sliding it outward.
6. Pull on the blue handle
3
to release and remove the hard disk drive from the drive cage.
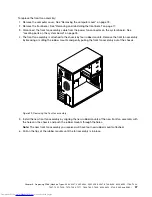
7. Remove the hard disk drive from the blue plastic bracket by flexing the sides of the bracket enough
to slide it free of the hard disk drive.
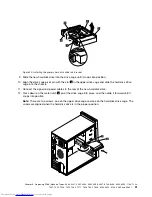
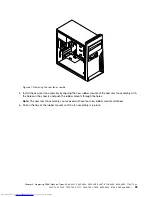
8. To install the new hard disk drive into the blue bracket, flex the bracket and align pin
1
, pin
2
, pin
3
, and pin
4
on the bracket with the holes in the hard disk drive. Do not touch the circuit board
5
on the bottom of the hard disk drive.
90
ThinkCentre Hardware Maintenance Manual
Содержание 7220AGU - ThinkCentre M58p Desktop
Страница 2: ......
Страница 8: ...vi ThinkCentre Hardware Maintenance Manual ...
Страница 17: ...Chapter 2 Safety information 9 ...
Страница 18: ... 18 kg 37 lbs 32 kg 70 5 lbs 55 kg 121 2 lbs 1 2 PERIGO 10 ThinkCentre Hardware Maintenance Manual ...
Страница 21: ...Chapter 2 Safety information 13 ...
Страница 22: ...1 2 14 ThinkCentre Hardware Maintenance Manual ...
Страница 23: ...Chapter 2 Safety information 15 ...
Страница 29: ...Chapter 2 Safety information 21 ...
Страница 33: ...Chapter 2 Safety information 25 ...
Страница 42: ...34 ThinkCentre Hardware Maintenance Manual ...
Страница 50: ...42 ThinkCentre Hardware Maintenance Manual ...
Страница 54: ...46 ThinkCentre Hardware Maintenance Manual ...
Страница 78: ...70 ThinkCentre Hardware Maintenance Manual ...
Страница 566: ...558 ThinkCentre Hardware Maintenance Manual ...
Страница 570: ...562 ThinkCentre Hardware Maintenance Manual ...

