9. PICTURE DISPLAY
70
9.4.8
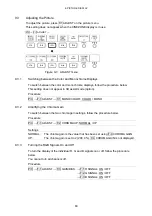
Turning the Display of User Markers On and Off
You can set up to two user markers, and turn them on and off separately.
This setting is available when F•1 STANDARD is set to USER.
Procedure
PIC
→
F•2 MARKER
→
F•4 SAFETY ZONE
→
F•2 USER ZONE1: ON / OFF
→
F•3 USER ZONE2: ON / OFF
9.4.9
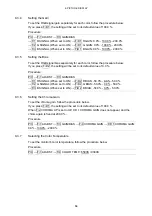
Setting User Markers
To set the size of a user marker, follow one of the procedures below.
The percentages used to specify the user marker sizes are based on the size of the picture
(or the size of the aspect marker if the aspect marker is displayed). There are two types of
user markers. You can set their horizontal (H) and vertical (V) sizes separately.
●
Setting User Marker 1
Procedure
PIC
→
F•2 MARKER
→
F•4 SAFETY ZONE
→
F•2 USER ZONE1 (When set to ON)
→
F•D 1 USER ZONE1 H: 0% - 90% - 100%
→
F•D 2 USER ZONE1 V: 0% - 90% - 100%
●
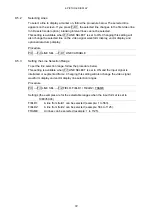
Setting User Marker 2
Procedure
PIC
→
F•2 MARKER
→
F•4 SAFETY ZONE
→
F•3 USER ZONE2 (When set to ON)
→
F•D 1 USER ZONE2 H: 0% - 80% - 100%
→
F•D 2 USER ZONE2 V: 0% - 80% - 100%
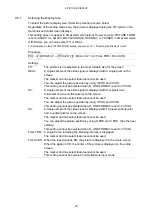
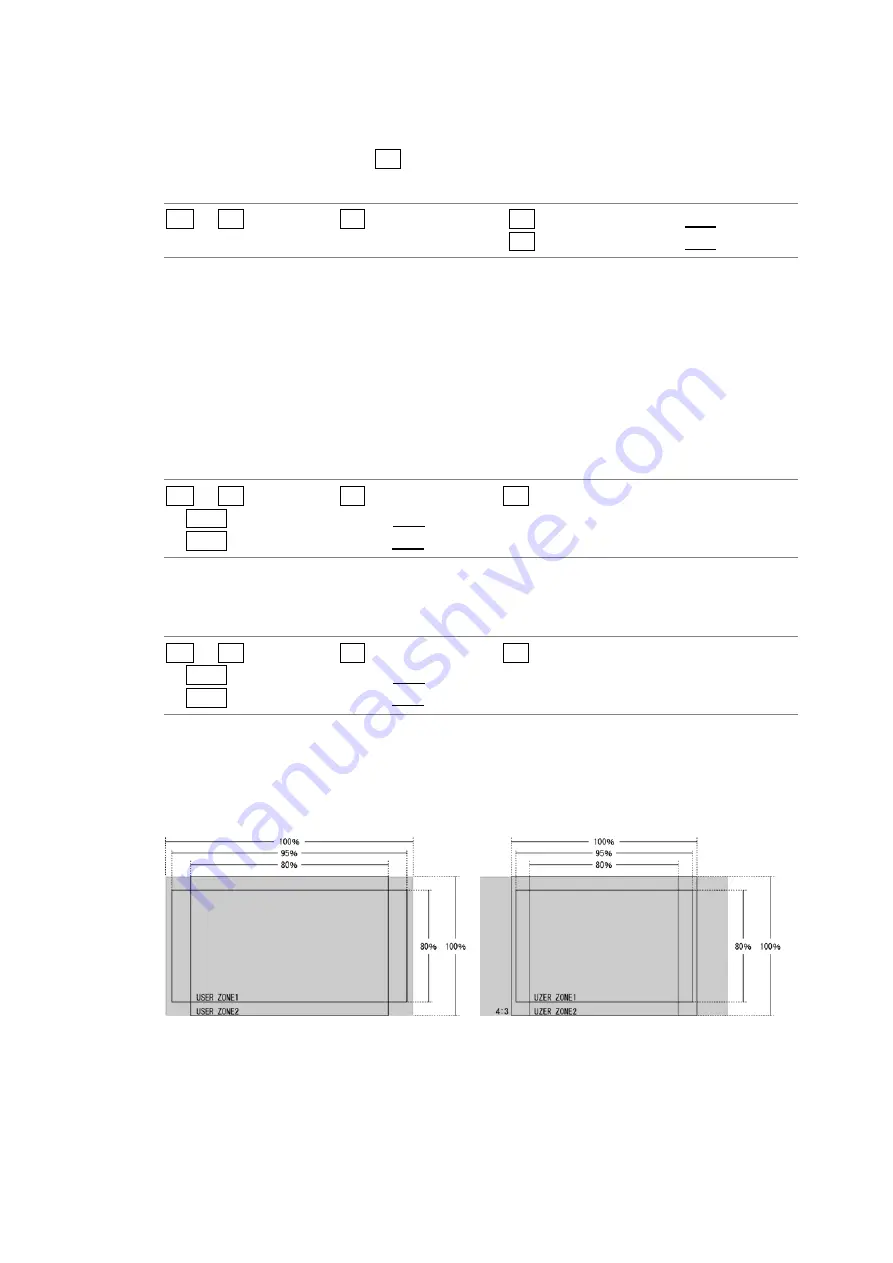
USER ZONE1 H = 95%
USER ZONE1 H = 95%
USER ZONE1 V = 80%
USER ZONE1 V = 80%
USER ZONE2 H = 80%
USER ZONE2 H = 80%
USER ZONE2 V = 100%
USER ZONE2 V = 100%
ASPECT = OFF
ASPECT = 4:3
Figure 9-11 User marker setup examples


