42
NOPULL
TM
STARTER SYSTEM
F. If the battery indicator LED does not turn on, the possible causes are as below:
1). The microswitch is broken. Replace it.
2). The wiring harness of the microswitch has detached. Re-weld it.
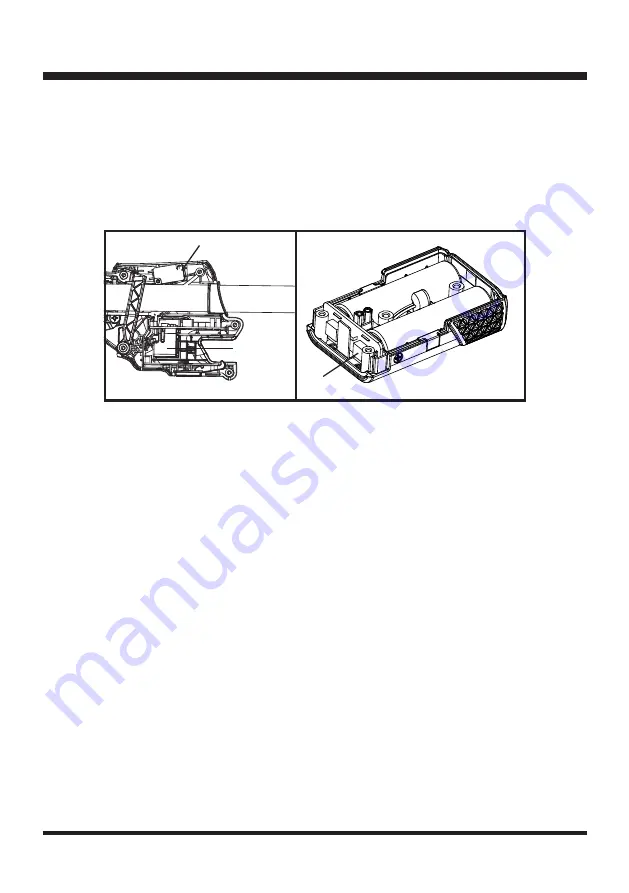
3). There is failed contact in the battery connector to the PCB. Adjust the battery connector (Fig.
84).
4). The battery does not have voltage output. Use a multi-meter to test if an open circuit occurs in
the fuse of the battery. If yes, replace it (Fig. 85).
■ The electric motor starts then stops when pressing the start button. According to LED indictors, the
possible causes are as below:
A. If there is no LED flashing, the start button may have broken (or if the start button remains pressed
for 5 seconds, the motor will stop automatically).
B. Green flashing of the battery indicator LED indicates a short circuit in the electric starter. Check the
electric motor and the motor drive lines as illustrated above.
C. Alternate red and green flashing of the battery indicator LED indicates an overcurrent in the electric
starter. Check if the engine is stuck and cannot be rotated smoothly.
■ The electric motor starts normally but the LED does not turn on when pressing the start button.
Possible causes are:
A. There is loose, or failed contact, or fall-off in the connection of PCB or LED panel to the flat cable.
B. LED panel is broken.
■ The engine cannot be stopped when pressing the stop switch. The possible causes may be that the
stop switch has failed or the wiring harness of the stop switch has broken. Check as below:
Open the corrugated pipe buckle, disconnect the male and female terminals of the stop switch wiring
harness (covered by two transparent insulation covering):
A. Press the stop switch, test the stop switch wiring harness of the handle part using the resistance
stall of multi-meter (Fig. 86). If conduction fails, the possible causes are:
1). The wiring harness of the handle has detached from their welding position to the stop switch;
2). There is loose or failed contact in the connection of the wiring harness of the handle part to the
Fig. 85
Fig. 84
Microswitch
Battery
Connector
Fuse


