LaCie
rugged
SAFE
• D
esign
by
n
eil
P
oulton
Before Installing Your Hard Drive
User Manual
page 14
3.1. Connecting the Interface Cable
3.1.1. Connectivity: Installing LaCie Safe
Manager
Connecting the LaCie Rugged Safe to install
LaCie Safe Manager
Operating System
Port
Windows (All versions)
USB 2.0 & FireWire 400/800
Mac OS 10.6.x
USB 2.0 & FireWire 400/800
Mac OS 10.5.x
USB 2.0 only
See
3.4. Install and Run LaCie Safe Manager Software
for instruc-
tions on installing LaCie Safe Manager. Once the installation is fin-
ished, you may use either port for all supported operating systems.
TECHNICAL NOTE:
The Rugged Safe will work on the USB 2.0 and
FireWire 800 ports for all supported operating systems under most
circumstances. The only limitation is the use of the USB 2.0 interface
when installing LaCie Safe Manager on a computer running Mac OS
10.5.x. Please note that configuring the device (i.e. registering fingers
for security, registering users, etc.) is supported on both interfaces for
all supported operating systems.
3.1.2. Connectivity: Ports
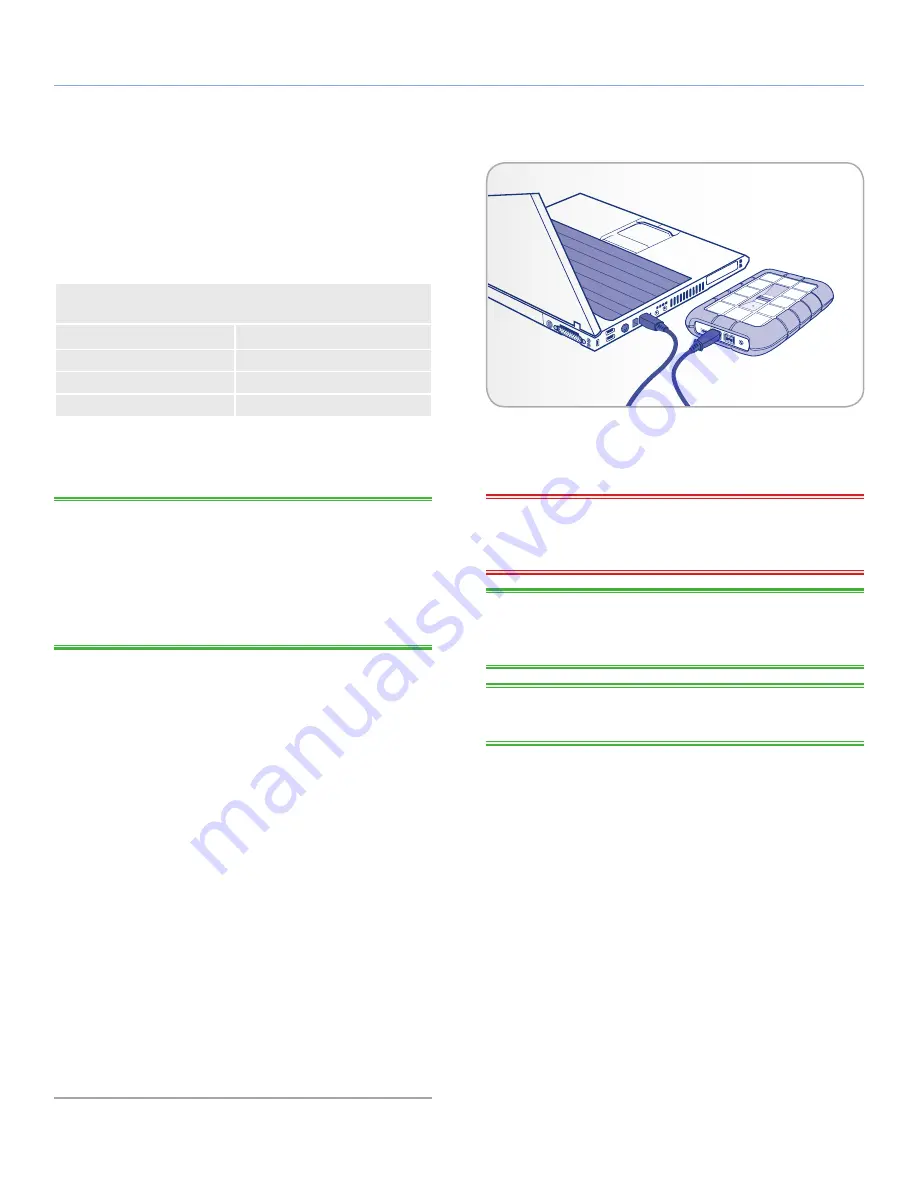
1. Attach one end of an interface cable (USB 2.0, FireWire 400, or
FireWire 800) to an available interface port on your computer
(
Fig. 08
).
2. Connect the other end of the cable (USB 2.0 or FireWire 800) to
the interface port on the back of the Rugged Safe.
3. If the drive is using the USB interface, connect the optional USB
power sharing cable to the drive and to your computer. If the
USB port on your computer provides enough power to oper-
ate the Rugged Safe, you may not require the additional power
cable once the installation is complete. See
3.3. Connecting the
Optional Power-Sharing Cable (USB)
4. After a few seconds, the hard disk will mount on your computer
and appear in My Computer/Computer (Windows users) or
on your desktop (Mac users) as a small partition named
UTILI-
TIES
. Windows Vista and Windows 7 users may see an AutoPlay
prompt.
5. Proceed to section
3.4. Install and Run LaCie Safe Manager
Software
.
Fig. 08
IMPORTANT INFO:
If your Rugged Safe does not power on within
a few seconds of connecting the interface cable, follow the steps in
section
3.3. Connecting the Optional Power-Sharing Cable (USB)
.
TECHNICAL NOTE:
To achieve Hi-Speed USB 2.0 transfer rates,
the drive must be connected to a Hi-Speed USB 2.0 port on your com-
puter. Otherwise, you will be limited to USB 1.1 data transfer rates.
TECHNICAL NOTE:
For information on daisy chaining via
FireWire, see section
3.2. Connecting Multiple Devices
.


