


8061SW-02 - User’s guide and Data Display
3-21
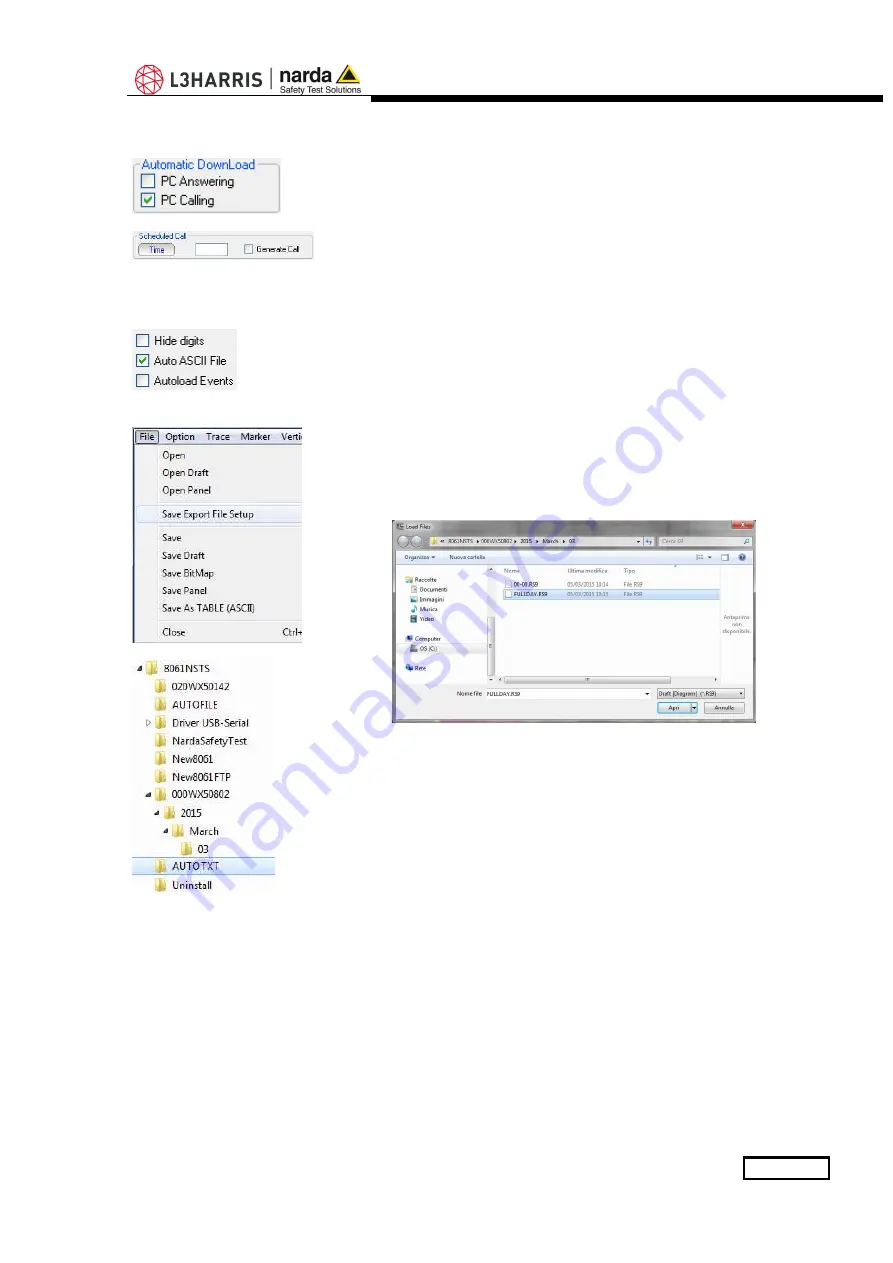
3.6.6 Calling
When the PC Calling function is enabled, every time the station is called
using the CALL or “Scheduled CALL” commands, the data present on the
station - and recorded since the latest download - will be automatically
downloaded to the PC.
This can be very useful because it makes unnecessary to remember the
time of the latest download.
After having completed the automatic download, the station does not hang
up immediately but remains linked until either the call is ended manually or
for 2 minutes after the last operation.
3.6.7 Auto ASCII File
Select
Auto ASCII File
to automatically generate an ASCII file and, if
enabled, a .bmp file too, containing all the information relative to the data
downloaded; the format will be the same adopted with the “
Save Export
File Setup
” function, when displaying monitoring results starting from the
calendar.
When displaying results, the function “
Save Export File Setup
” is available
on the main menu, under the File menu command.
When a call, either incoming or outgoing, is reported by the station and the
data are downloaded manually or automatically, all the files normally placed
in the directory
Station
Name\Year\Months\Day
are also copied in the
special directory called
Station Name\AUTOTXT
.
When all the data have been downloaded, the files in the directory
Station
Name\AUTOTXT
are grouped in a single file
.RS9
which displays a graph
having as its starting and ending date and time the date and time of the
download. This will be used to create the file
.TXT
that, identified with a
specific name containing the time and date of the download and the serial
number of the station generating it, will be saved in a special directory
called
AUTOFILE
, common for all the stations and placed at the same level
as their specific directories.
The file name appears in the following format:
POSTAZIONEserialnumber_FROM_YYYY-MM-DD_HH-mm_TO_YYYY_MM_DD_HH-mm.TXT
Every time the data are downloaded with the
AUTO ASCII FILE
function
enabled, a new
.TXT
file will be created with a specific name, saved in the
AUTOFILE
directory and containing the data acquired by the station from
the
Start
to the
Stop
time of the download.
If you enter the command /AUTOBMP in the destination field of the
properties with the
AUTO ASCII FILE
function enabled, the software
provide a
.txt
and
.bmp
file at the same time. The bitmap is created with
the settings used to create the same file for the manual mode.
It will be saved in the
AUTOFILE
directory and placed at the same level of
the txt file.
Содержание NARDA AMS-8061
Страница 10: ...X EC Conformity This page has been left blank intentionally ...
Страница 18: ...1 8 General Information This page has been left blank intentionally ...
Страница 25: ...Installation and use 2 7 Upper L shaped bracket S shaped bracket and PA6 black bracket 55deg lower support ...
Страница 50: ...2 32 Installation and use This page has been left blank intentionally ...
Страница 124: ...3 74 8061SW 02 User s guide and Data Display This page has been left blank intentionally ...
Страница 142: ...4 18 Point to Point and FTP Communication This page has been left blank intentionally ...
Страница 214: ...5 46 SMS Messages and Commands This page has been left blank intentionally ...
Страница 218: ...6 4 Action of the wind on the AMS 8061 This page has been left blank intentionally ...
Страница 234: ...8 2 Packaging Instructions Box C inside view Box C contains power pack and box B Box F contains the receiver unit ...
Страница 235: ...Packaging Instructions 8 3 Box E contains antenna Box D contains box F and box E Box D inside view ...
Страница 236: ...8 4 Packaging Instructions Box G contains radome Box H main box ...
Страница 237: ...Packaging Instructions 8 5 Insert Box C in the Box H Insert Box D in the Box H ...
Страница 238: ...8 6 Packaging Instructions Insert Box G in the Box H Insert Box A in the Box H ...
Страница 239: ...Packaging Instructions 8 7 Box H Main Use pallet and straps for the final packing ...
Страница 240: ...8 8 Packaging Instructions This page has been left blank intentionally ...
Страница 242: ...Suggerimenti Commenti Note Suggestions Comments Note ...


