Kysor/Warren VALZER KW, Руководство по установке
Продукт Kysor/Warren VALZER KW - это высококачественный холодильный клапан, обеспечивающий эффективное управление температурой. Для правильной установки и использования необходимо скачать бесплатное руководство по установке и инструкции на нашем веб-сайте. Посетите manualshive.com и скачайте вашу инструкцию прямо сейчас.
Поделиться
Скачать


Отзывы:
Нет отзывов
Похожие инструкции для VALZER KW

SAMOS Series
Бренд: Igloo Страницы: 40

Approach G5 - GPS-Enabled Golf Handheld
Бренд: Garmin Страницы: 285

MDW
Бренд: BKI Страницы: 36

CIRRUS PERSPECTIVE SR2x
Бренд: Garmin Страницы: 752
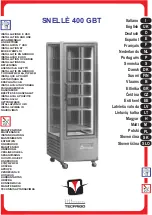
SNELLE 400 GBT
Бренд: Tecfrigo Страницы: 60
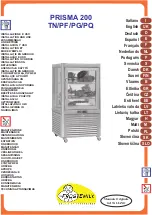
FrostEmily PRISMA 200
Бренд: Tecfrigo Страницы: 60

RS-CN-0120-4
Бренд: Omcan Страницы: 20

W.CFC23
Бренд: Woodson Страницы: 19

UA023-A
Бренд: Polar Electro Страницы: 8

DA538
Бренд: Polar Electro Страницы: 40

CDMS-3000
Бренд: Barco Страницы: 8


