13
1.
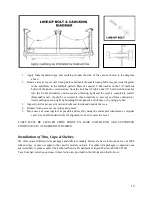
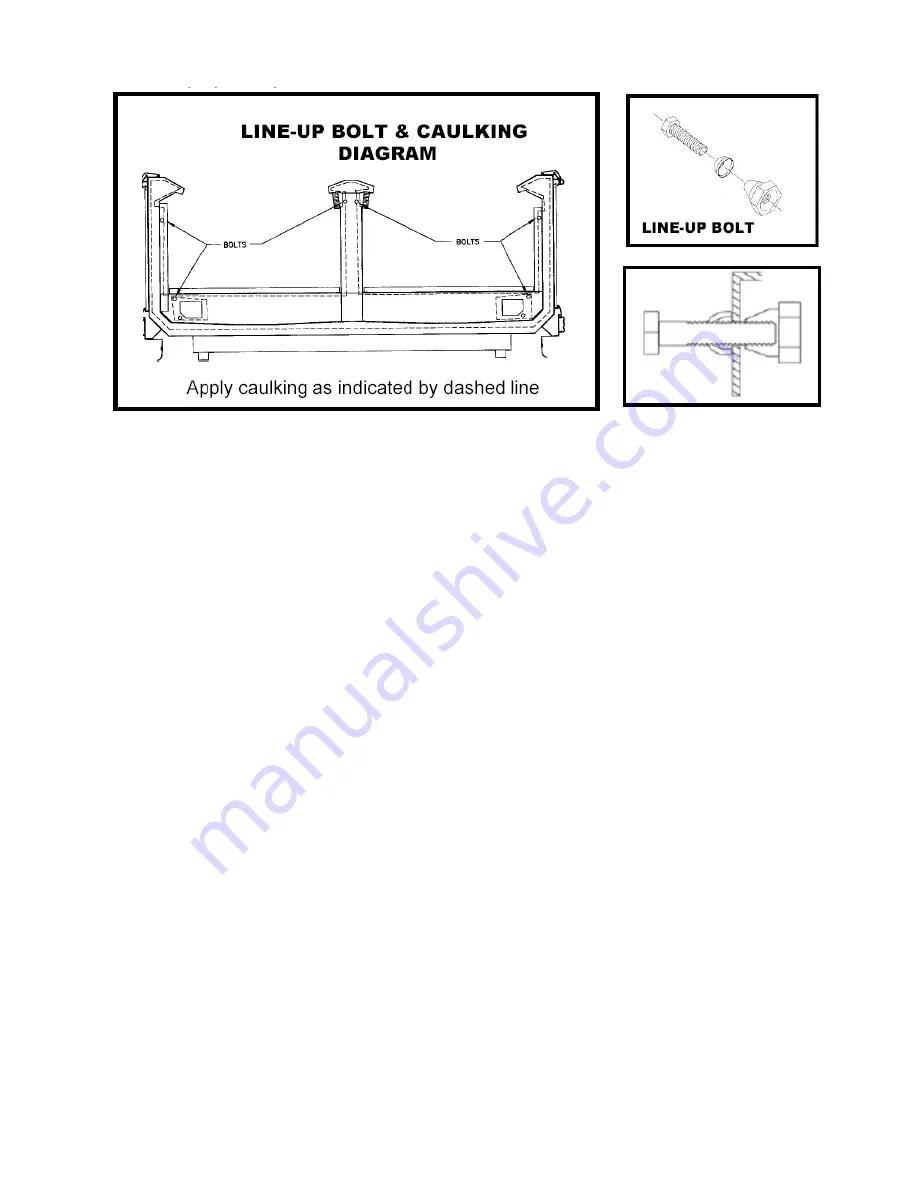
Apply foam insulation tape and caulking around the side of the case as shown in the diagram
above.
2.
Remove access covers over lineup holes and insert the small lineup bolts (see previous diagram)
in the end frame in the bolthole pattern. Place the special T-nut washer on the 3/8" machine
bolt with the hollow section away from the bolt head. Tighten the 3/8" bolts with nut washer
into the T-nuts alternately until cases are pulled up tight and the joint is completely sealed.
(Reasonable care should be exercised in this procedure to prevent end frame distortion.)
Assist pulling case up tight by bumping from opposite end of case or by using pry bar.
3.
Inspect joint for proper air and watertight seal inside and outside the case.
4.
Replace lineup access cover plugs and plates.
5.
Move cases as close together as possible and level by using the shims provided (same as original
case). Use shelf standard struts for alignment to be sure cases are level.
CASES
MUST
BE
LEVELED
FROM
FRONT
TO
BACK
END-TO-END
AND
SUPPORTED
CONTINUOUSLY
AS
NEEDED
WITH
SHIMS.
Installation of Trim, Caps, & Shelves
We offer several different trim packages and different models. Below are basic instructions for our 3000
trim and may or may not apply to the specific model you have. For other trim packages or questions not
answered below, please contact the Technical Service Department at Kysor/Warren (800-866-5596).
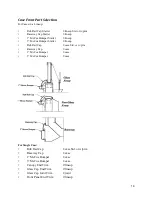
Case front part selection and case trim selection are provided in the information that follows:
Содержание QILG 06
Страница 2: ...2 ...
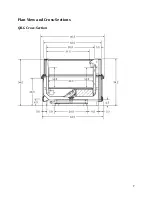
Страница 7: ...7 Plan View and Cross Sections QILG Cross Section ...
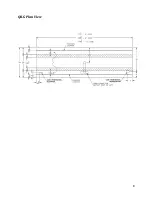
Страница 8: ...8 QILG Plan View ...
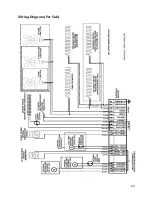
Страница 23: ...23 Wiring Diagram Per Side ...
Страница 34: ...34 ...
Страница 35: ...35 ...

