52
Chapter 7 - TV Measuring Range
106 V3.2
TV Measuring Range
Chapter 7
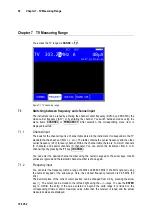
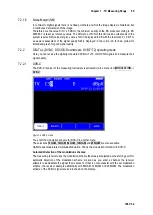
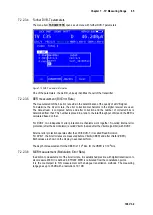
You access the TV range via
RANGE
->
TV
.
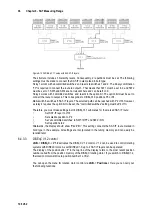
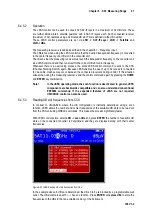
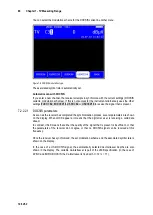
Figure 7-1 TV measuring range
7.1
Switching between frequency and channel input
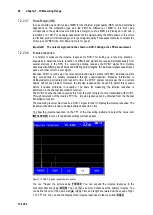
The instrument can be tuned by entering the channel center frequency (DVB-C und DOCSIS), the
video carrier frequency (ATV) or by entering the channel. You switch between modes using the
menu items
CHANNEL
or
FREQUENCY
. After selection, the corresponding menu item is
displayed inverted.
Channel input
7.1.1
The basis for the channel input is a channel table stored in the instrument. It corresponds to the TV
standard that has been set (B/G, I, L, etc.). The table contains the center frequency and the video
carrier frequency (ATV) for every channel. Within the channel table, there are “common” channels
(C channels) and special channels (S channels). You can switch the instrument from C to S
channel input by pressing the
F1
key (
CHANNEL
).
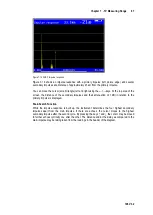
You can enter the desired channel number using the numeric keypad or the arrow keys. Invalid
entries are ignored and the last valid channel number is shown again.
Frequency input
7.1.2
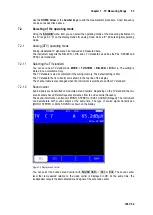
You can enter the frequency within a range of 4MHz and 868.00 MHz (1214 MHz optional) using
the numeric keypad or the arrow keys. Here, the smallest frequency resolution is 0.05 MHz (50
kHz).
The decimal place of the current cursor position can be changed from 0-9 by pressing the arrow
key
↑
/
↓
. The cursor can be moved to the left and right using the
←/→
keys. You use the
ENTER
key to confirm the entry. If the value entered is beyond the valid range it is limited to the
corresponding minimum and/or maximum value. After that, the receiver is tuned and the actual
measured values are displayed.

