


10
Installation instructions - EKWE/EKWH - USA
Inserting and adhering the honeycombs
Notes
• In order to avoid any damage to the worktop or the honeycomb cooktop,
it is essential to permanently glue the worktop to the honeycomb units so
that the system is absolutely watertight.
• In order to glue the honeycomb units you will need the
resistive primer
101
and the heat-resistant and moisture-resistant
silicon adhesive
Pactan 7056
produced by
Heidelberger Baustofftechnik
, which is also
available from the KÜPPERSBUSCH spare parts service.
It is absolutely
necessary to observe the remarks concerning these two products.
You will find them enclosed with processing indications!
There you will also find a calculation formula for the hardening of the
silicone adhesive.
Do not operate the cooking zone before the
hardening process is over as the silicone adhesive can be damaged!
• The parts to be glued together must be dry and absolutely free from
grease.
• Only glue the honeycombs on their outer edges!
• With stone worktops installation is to be flush, with heat-sensitive worktops
(e.g. solid surface) the honeycomb cooktop must protrude about 1 mm.
• On installation, please ensure that you install the honeycombs in
accordance with the connection instructions enclosed so that the layout of
the honeycombs complies with the layout of the control honeycomb.
• Never place the cooktop with the glass ceramic surface unprotected on
the worktop or the floor. Dirt (metal chips, small pieces of stone etc.) can
cause scratches in the surface of the glass ceramic cooktop. Please
always place it on cardboard or a wool rug.
Procedure
– Coating with resistive primer: coat the contact surfaces of the honeycombs
and all of the cut-out edges of the worktop to approx 1 mm over the cut-
out edges with the resistive primer.
Supports which are extremely porous (such as chip boards):
coat
thickly with a brush.
Supports which are not very porous (such as the contact surfaces
of the honeycombs, marble or granite surfaces):
coat thinly with felt.
–
Important
: The primer must be left to breathe for approx. 30 minutes after
being applied.
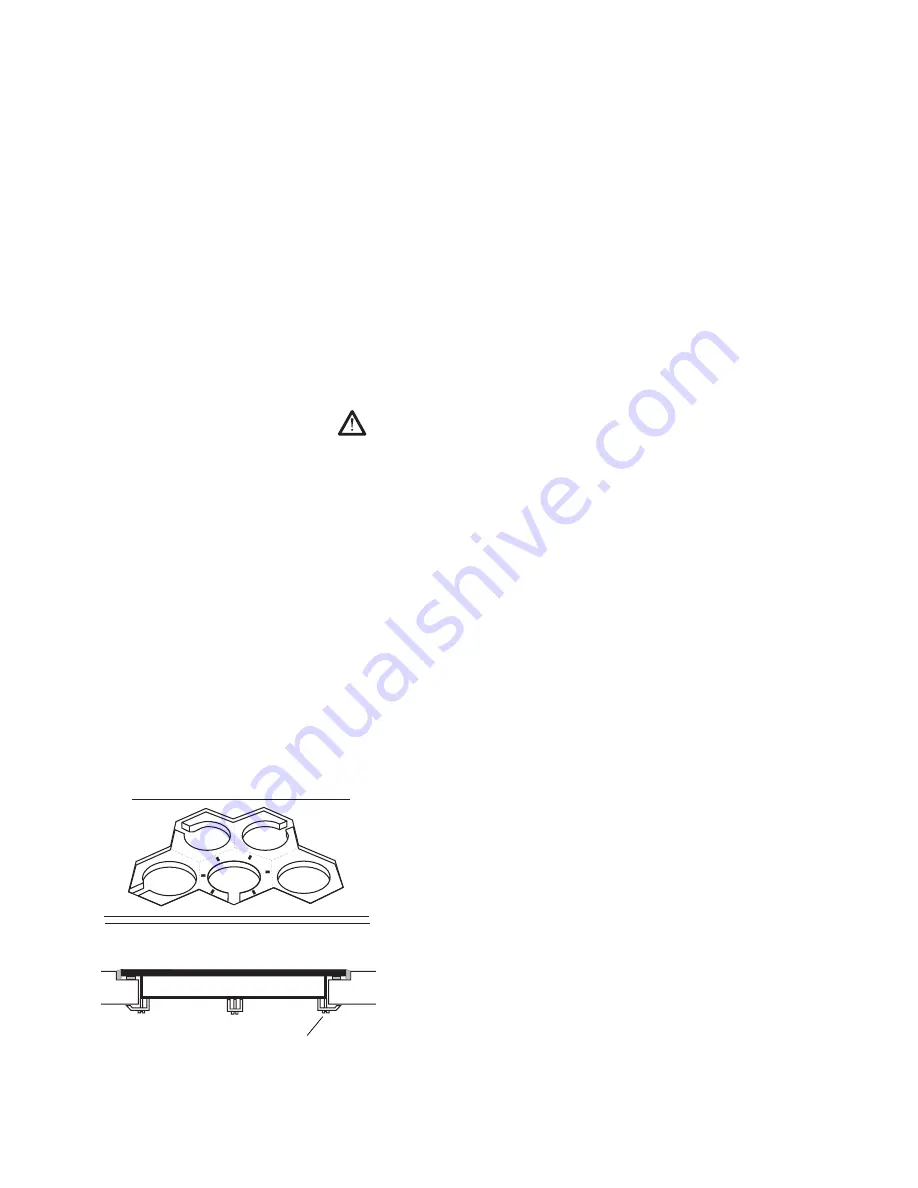
– For each honeycomb place six of the rubber clamps enclosed onto the
opening and insert the honeycomb.
– Use the clamps to align the honeycombs horizontally in respect of the
other honeycombs and the worktop. If necessary use more rubber clamps
or a similar support.
– Fill the gap between the honeycomb units and the worktop with Pactan.
– Smooth the joint with a spatula and water containing a little washing-up
liquid.
– Loosen the clamps slightly once the silicon adhesive has hardened.
On being used the honeycomb units may no longer be clamped since this
may result in stress cracking. The clamps are only for adjusting during
assembly or for fastening purposes if the whole worktop, with honeycombs
installed, is to be transported.
Clamps
Содержание EKWE 320.S
Страница 15: ...Installation instructions EKWE EKWH USA 15 ...