53
52
There must be no unsealed openings in the cabin. Sealing the openings with plugs does not provide an additional barrier
to gas leakage.
Have unused openings in the cabin sealed by an authorized service center.
Danger of explosion if hydrogen accumulates inside the cabin
Hydrogen from the battery compartment may enter the cabin through unsealed openings in the
cabin.
Accumulated hydrogen may cause an explosion.
Danger
Distractions while working with the machine may result in loss of control over the machine. Exer-
cise extreme Warning when using any devices while working with the machine. Distractions while
working with the machine may result in injury or death of persons.
Danger
A machine fire may cause injury or death of persons. Exposed battery cables that come into con-
tact with a grounded connection may cause a fire. Replace cables and similar components that
show signs of wear or damage. Contact the manufacturer.
OPERATION
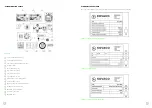
After connecting the battery to the mains, the control unit performs a light test of all the indicators. The green light means
BATTERY CONNECTED, remains lit up (continuously).
Once connected, the AUTOSTART function launches. The charger starts charging automatically 5 seconds after
connecting to the battery. AUTOSTART is indicated by flashing green light. END OF CHARGING is indicated by red
light. Once charging is complete, the charger switches to battery saving mode, which is indicated by yellow light.
If the AUTOSTART function does not work, press the green button to start the charging process. The green light will be
flashing during the entire charging process. If you want to stop charging, press the green button again.
After the initial charging, the yellow FINAL CHARGING light will illuminate. The electric timer starts counting down
the last 3 hours of final charging.
When the last charging stage is completed, the charger switches off automatically and the green indicator light
indicates END OF CHARGING.
An hour later, the BATTERY FORMATTING procedure is run (green light will be flashing).
A red light means ERROR. If the red light comes on, contact service.
10.2 BASIC INSTRUCTIONS FOR CORRECT USE OF THE CHARGING EQUIPMENT
1.
Before connecting the battery to the charger, check the integrity of contacts, connecting cables, connectors
and auxiliary systems.
2.
Connect the battery to the charger observing correct polarity.
3.
The batteries may only be connected to designated chargers approved for the type concerned.
4.
Observe the full charging time, i.e., until the full charge indication on the charger.
5.
Charging starts automatically once the connectors are interconnected.
6.
Disengage the connectors in the off state (when not energized)- press the STOP button.
7.
Replenish distilled water in the battery each time it is charged. In case of water losses and leakage when replenishing,
report this to service.
8.
Carefully read the instructions for using the assigned equipment.
9.
Report any damage to or malfunction of the charging equipment to your supervisor and service.
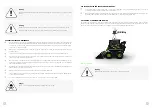
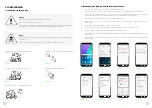
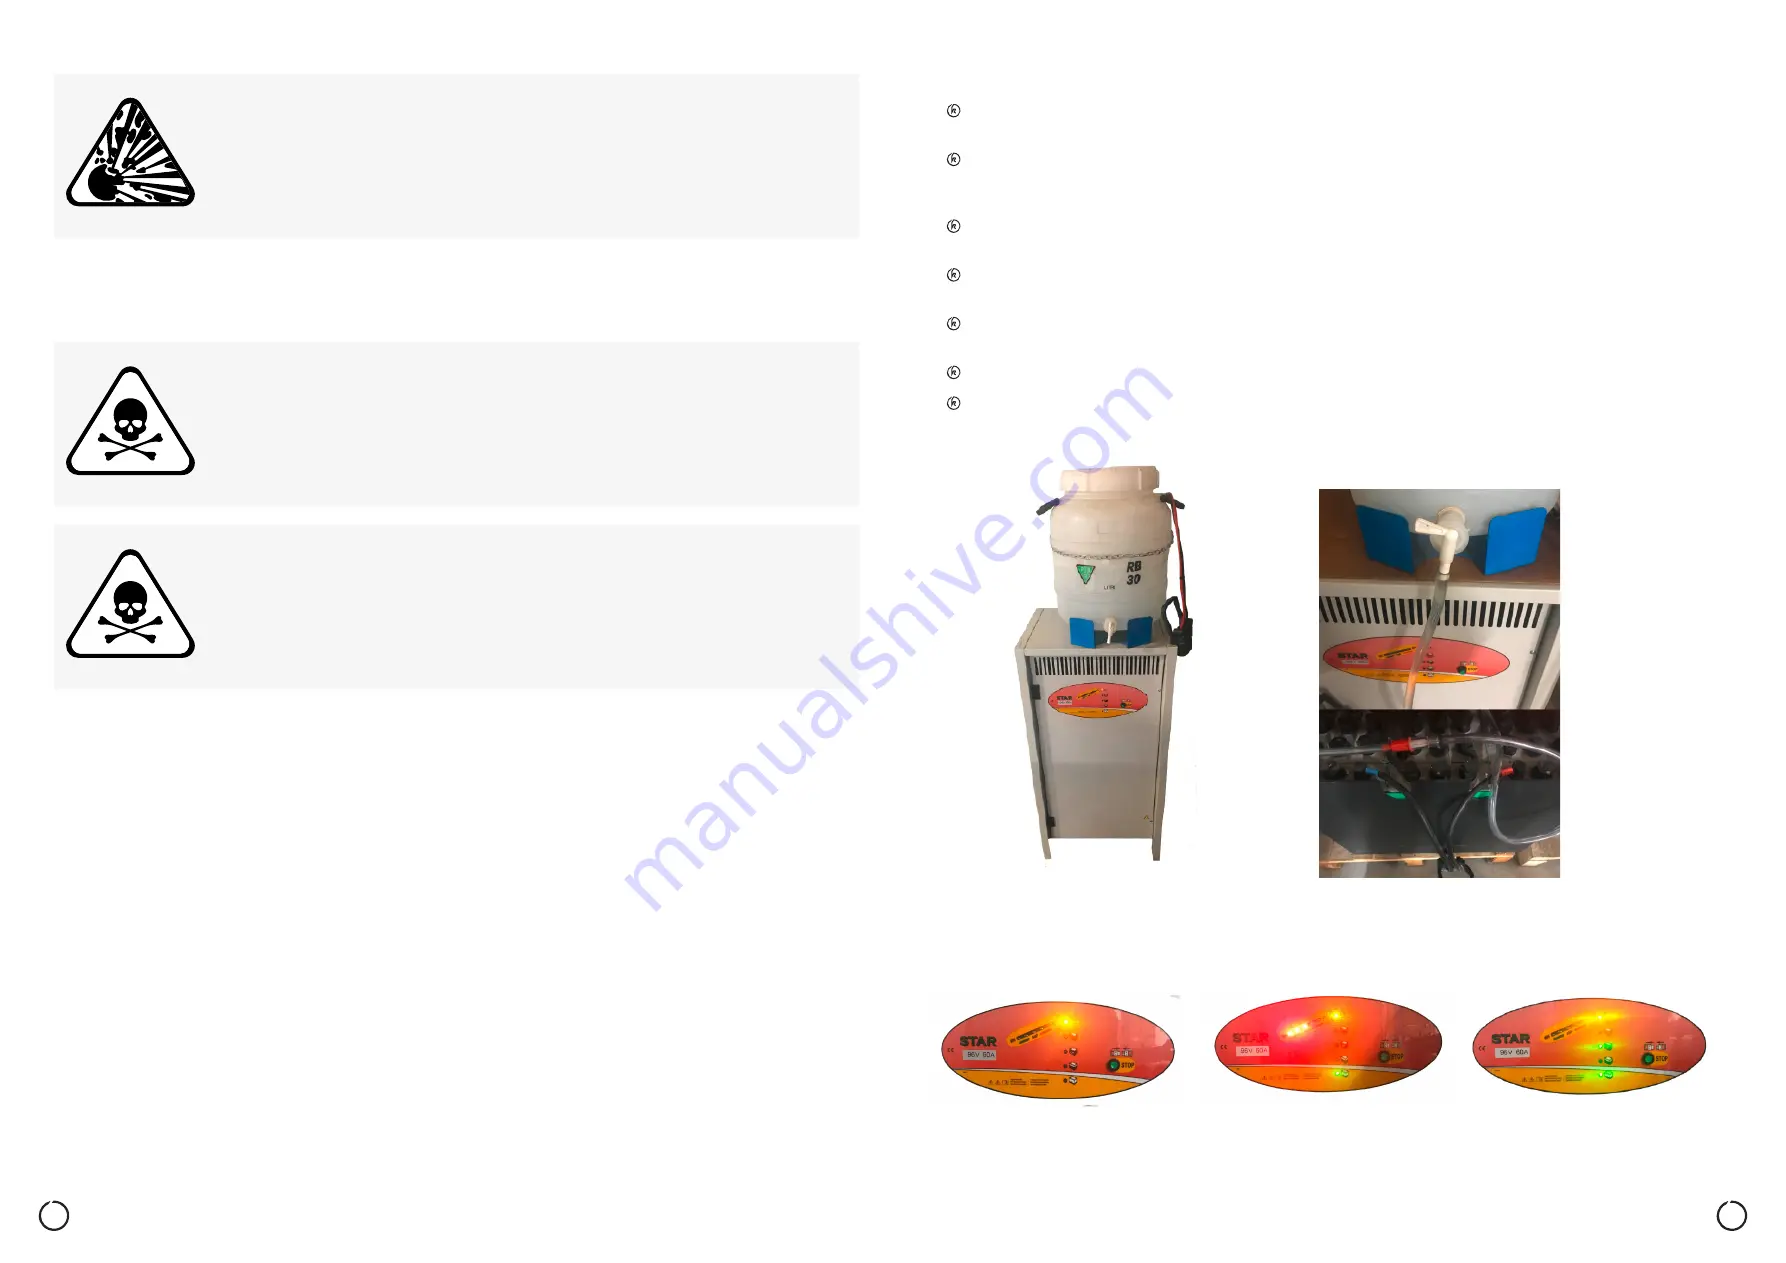
Charging station and container with distilled water.
The charging station is ready
for use.
Battery charging in progress.
After recharging the battery, top up distilled water.
The battery is fully charged.
Picture 33
Picture 34
Picture 32
Picture 31
Picture 35
Содержание Elise900
Страница 1: ...Elise900 User Manual for Operation and Maintenance ...
Страница 2: ...KOVACO Electric a s 1st edition 2020 ...
Страница 44: ...Elise900 Manual for the Kovaco Application ...
Страница 50: ...NOTES NOTES ...
Страница 51: ...COPYRIGHT KOVACO Electric a s All rights reserved ...


