


33
Figure 4.2.2.2 Popup alert window for Incorrect Username.
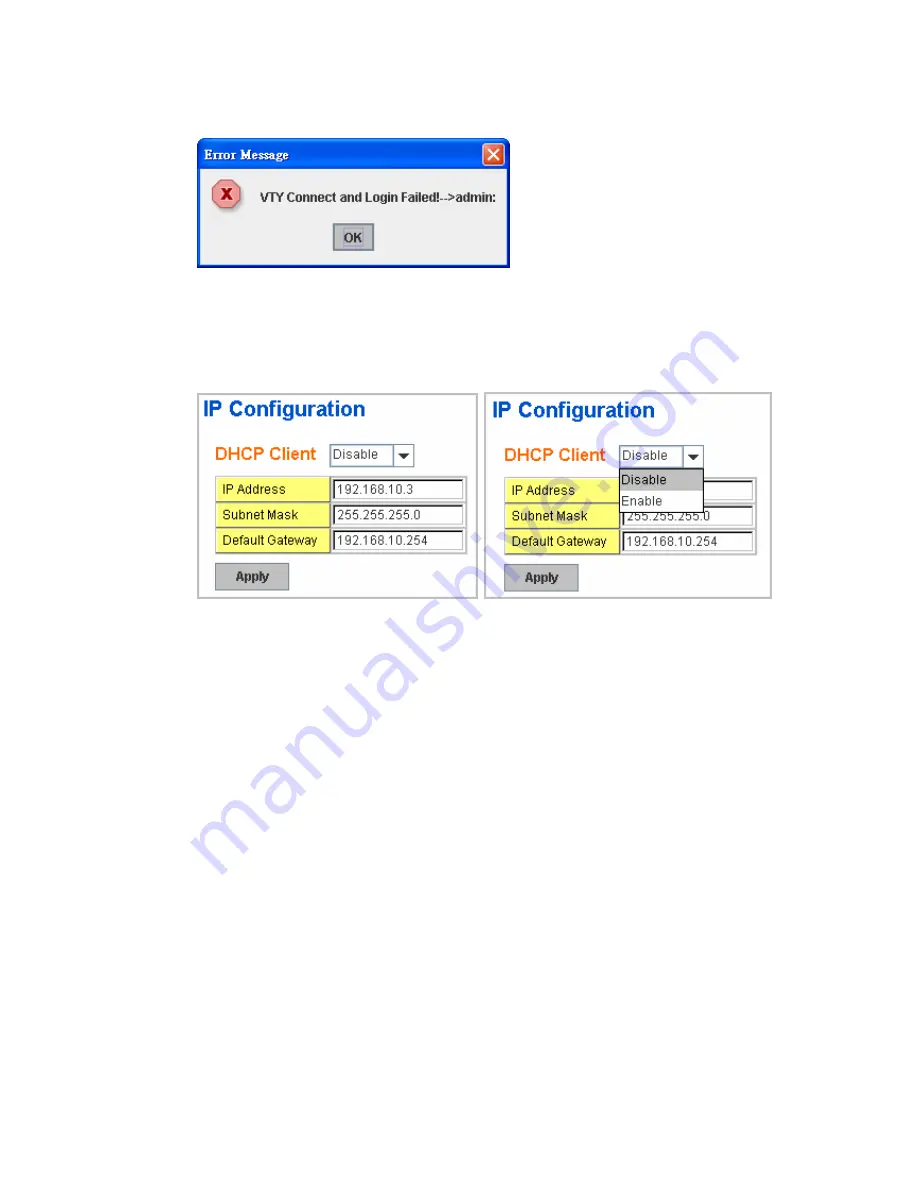
4.2.3 IP Configuration
This function allows users to configure the switch’s IP address settings
.
DHCP Client
: You can select to
Enable
or
Disable
DHCP Client function.
When DHCP Client function is enabled, an IP address will be assigned to the
switch from the network’s DHCP server. In this mode, the default IP address
will therefore be replaced by the one assigned by DHCP server. If DHCP Client
is disabled, then the IP address that you specified will be used instead.
IP Address
: You can assign the IP address reserved by your network for your
JetNet. If DHCP Client function is enabled, you don’t need to assign an IP
address to the JetNet, as it will be overwritten by DHCP server and shown here.
The default IP is 192.168.10.1.
Subnet Mask
: You can assign the subnet mask for the IP address here. If
DHCP Client function is enabled, you don’t need to assign the subnet mask.
The default Subnet Mask is 255.255.255.0.
Note:
In the CLI, we use the
enabled bit of the subnet mask to represent the number displayed in web UI.
For example, 8 stands for 255.0.0.0; 16 stands for 255.255.0.0; 24 stands for
255.255.255.0.
Default Gateway
: You can assign the gateway for the switch here. The default
gateway is 192.168.10.254.
Note:
In CLI, we use 0.0.0.0/0 to represent for
the default gateway.
Once you finish configuring the settings, click on
Apply
to apply your
configuration.


