15
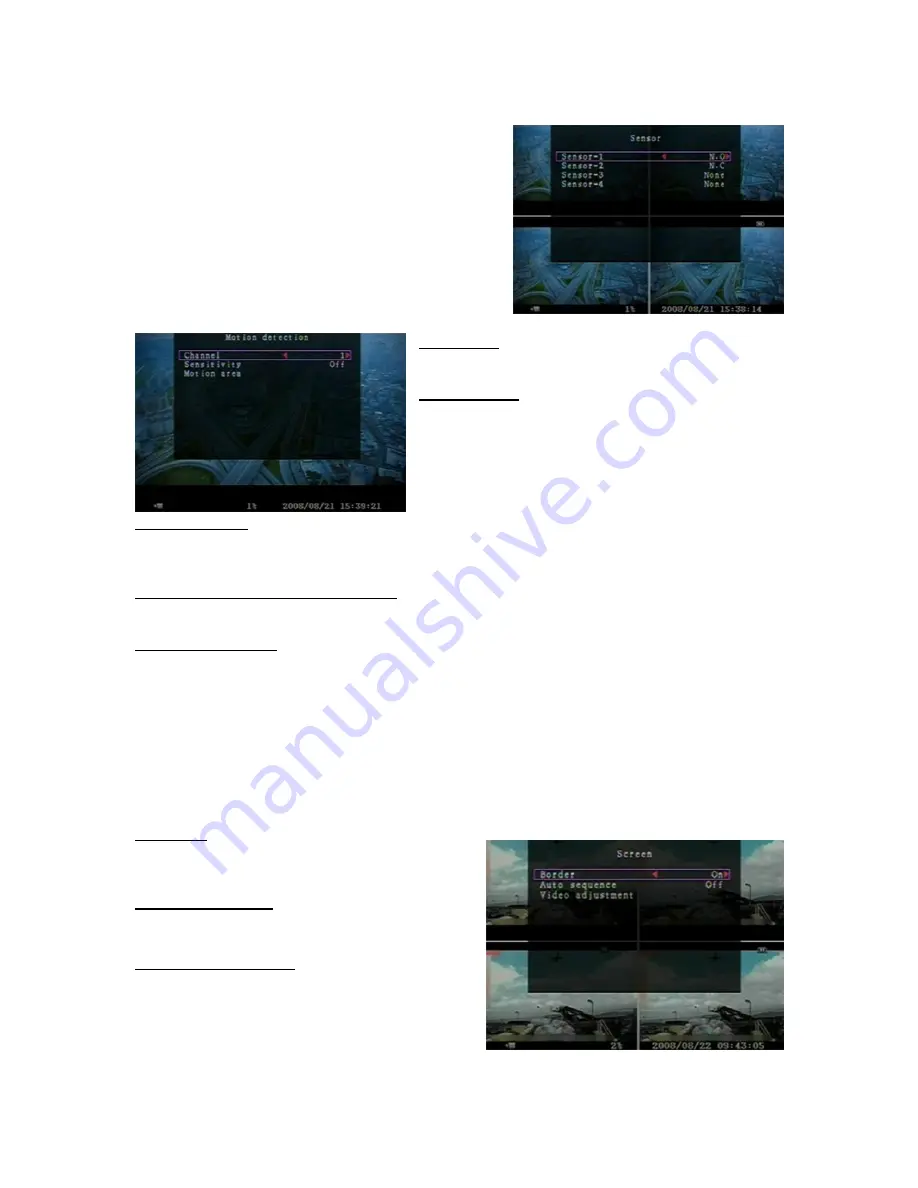
D: [SENSOR]
Activate / deactivate or choose the type of sensor.
There are three different modes for sensor setting: N.C
(NORMAL-CLOSE) & N.O (NORMAL-OPEN) &
NONE.
Select “None” to deactivate sensor recording or if there
was no sensor installed in DVR system.
Chose the type of sensor (N.O or N.C) installed in
DVR.
E: [MOTION DETECTION]
[CHANNEL]
Select the channel (1,2,3,4) for recording mode by
internal motion.
[SENSITIVITY]
It adjusts the sensitivity of the built-in motion sensor on
the DVR system while recording. The higher the
number, the lower the sensitivity is. Value at
“1
、
2
、
3
、
4
、
Off”. The maximum sensitivity level is 1.
[MOTION AREA]
Use this option to select the range of motion detection area.
Use the keypad button, remote control button, or mouse click to assign the area.
The keypad and mouse control instructions are below.
[Using keypad or remote control button]
Press [SEL] once to pitch on the area, press [SEL] twice to cancel the area.
CH1 - Up / CH2 - Down / CH3 - Left / CH4 - Right
[Using Mouse button]
While holding a left mouse click button, move the mouse to select, deselect, or reselect the
motion detection area for recording.
By the way, the area only can be selected from up to down and from left to right. When the block
is covered by blue shadow, it’s active to record. When the block is transparent, it can’t be
recorded.
After completed the motion area setting, press “MENU” button or hold a right mouse click
button to exit.
To start Motion Record, user must complete the “Motion area” setup.
SCREEN
[BORDER]
User can make the white borderline around each
channel to appear or disappear by using this
option to be “on” or “off”.
[AUTO SEQUENCE]
This is for auto screen switch rotation.
Value at “Off
、
1~10(in seconds)”. Default at “Off”.
[VIDEO ADJUSTMENT]
You can move the entire video screen up, down,
left, and right using this option.
Keypad assignment in the front panel or remote
control is below:
-
CH1 for up, CH2 for down, CH3 for left, CH4 for


