


9-7
When “AUTO DETECTION” is selected
1
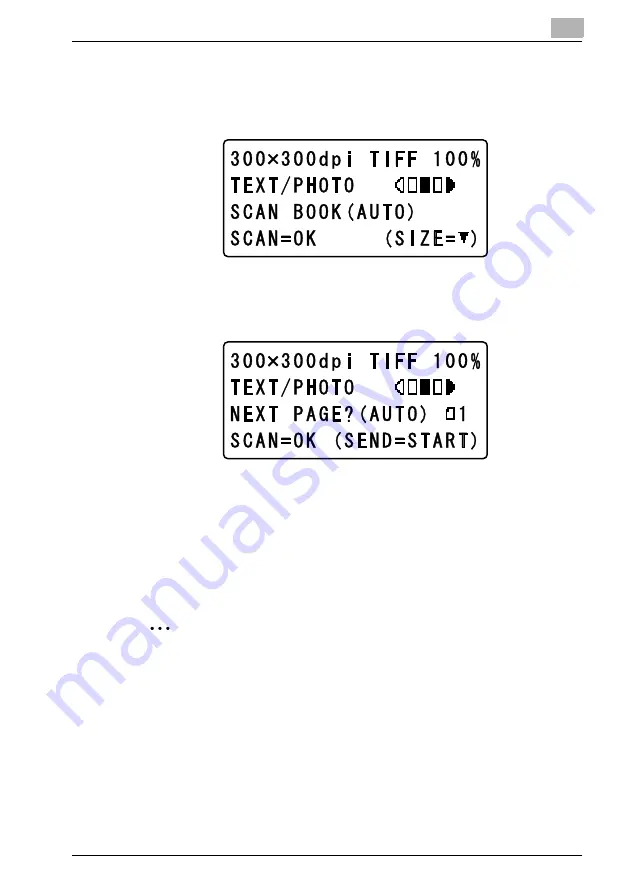
If “AUTO DETECTION” was selected in step 5 and the [OK] key is pressed,
the following screen appears.
2
Press the [OK] key.
The message “SCANNING” appears, and the following screen appears when
scanning is finished.
– When scanning a document that contains multiple pages, position the next
page of the document on the original glass, and then press the [OK] key.
Repeat this step until all pages of the document are scanned.
3
After all pages of the document are scanned, press the [Start] key.
When transmission is finished, the message “COMPLETE” appears and the
Scan mode screen appears again.
2
Note
To stop scanning, press the [Clear/Stop] key.
If the transmission could not be completed correctly, a transmission result report
is printed.
To cancel a queued transmission of scan data, press the [Function] key, and then
select “CANCEL RESERV.”. For details, refer to the User’s Guide for fax kit
FAX-4000.
Содержание PCL-400
Страница 1: ...Key for Imaging Solutions...
Страница 17: ...x 16 Explanation of manual conventions...
Страница 27: ...1 10 Press the 3 key 6 times Press the 0 key Press the 123 ABC key Press the 0 key...
Страница 107: ...4 24 4 5 Layout tab From the Layout tab select the number of document pages to be printed on a single sheet of paper...
Страница 209: ...8 26...
Страница 259: ...9 50...
Страница 298: ...11 27 Scan tab Speed Dial Setting Registered speed dial settings can be viewed...
Страница 300: ...11 29 Network tab Summary The basic network settings can be viewed...
Страница 302: ...11 31 System tab Summary A summary of the system configuration for the machine and its status is displayed...
Страница 305: ...11 34 System tab Save Setting Easy Web Management settings can be saved and restored...
Страница 332: ...11 61 Scan tab Fax Configuration User information and transmission conditions for faxes can be viewed and registered...
Страница 347: ...11 76...
Страница 356: ...1 1...
Страница 357: ...1 2...


