70
than 1 key) are possible.)
When settings are to be conducted for more than 1 key, repeat the operations (3)-1 to (3)-2.
(Example 3)
(4) Completing the setting
After the setting has been finished, press the ENT key to exit from KEY ASSIGNMENT.
Example of an operation
(The process up to the selection of KEY ASSIGNMENT from the SETUP menu is omitted. Only
the process after the above chart will be described.)
Example 1) Altering OFF-C allocated to key 6 in setting 2 to HDG OFF.
Up/Down
→
6
→
ENT ----------------------------Key 6 altered from
Select HDG OFF
The display beside key 6
Exit from
OFF-C
to
HDG
OFF
changes to HDG OFF
KEY ASSIGNMENT
Example 2) Re-allocate SEL WIN to key 1 in setting 2.
Left/Right
→
Up/Down
→
1
→
ENT -------------------Key 1 in setting 2
select SEL WIN
SEL WIN is displayed Exit from
is altered to SEL WIN
From SET1
beside key 1.
KEY ASSIGNMENT
to SET2
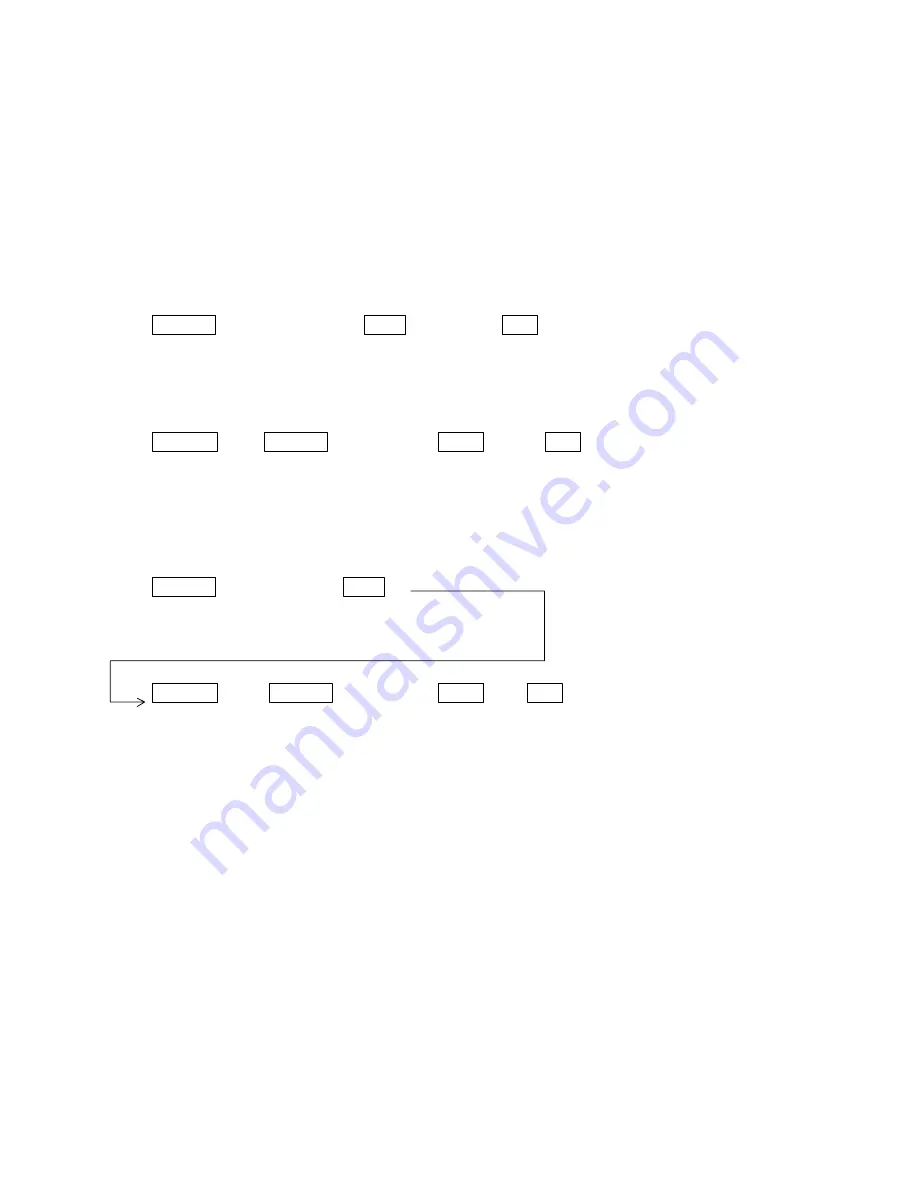
Example 3) Alter key 1 in setting 1 from ST to HDG OFF and then reset key 1 in setting 2 as SEL W IN.
Up/Down
→
6
--------------
Key 6 altered from
Select HDG OFF
The display beside key 6
ST
to
HDG
OFF
changes to HDG OFF
Left/Right
→
Up/Down
→
1
→
ENT ----------------------------Key
Select SEL WIN
SEL WIN is displayed
Exit from
is altered to SEL WIN
From SET1
beside key 1.
KEY ASSIGNMENT
to SET2
Содержание RA40C
Страница 24: ...14 Horizontal line Line of sight θ Fig 3 2 Obtaining sufficient dip angle ...
Страница 48: ...38 The function can be changed at the KEY ASSIGNMENT function in the CUSTOM menu of the SETUP ...
Страница 69: ...73 ...
Страница 80: ...63 a PPI Screen All functions can be used on this screen D V T D Q T g t PPIScr een ...
Страница 93: ...52 ...