Operator’s Guide
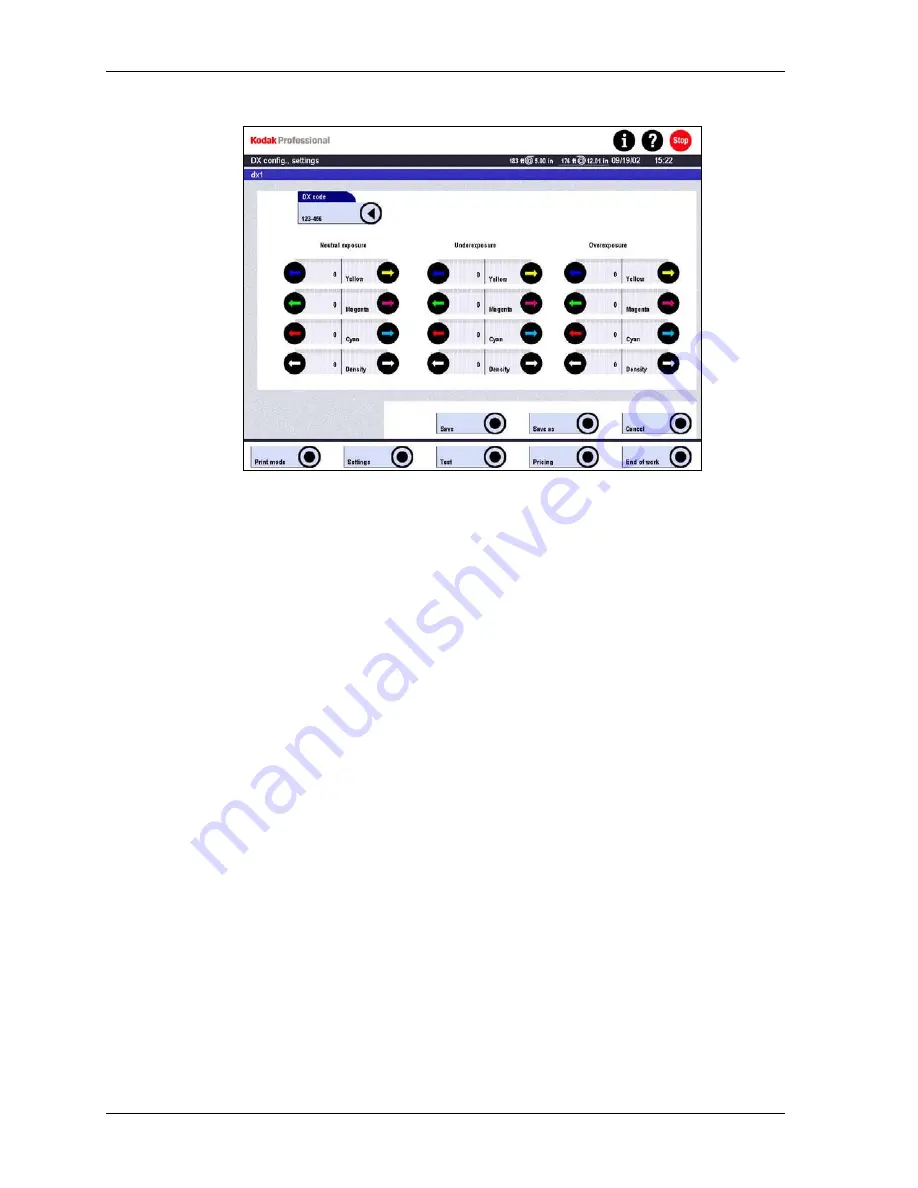
3. Touch
the
DX code button and enter the code in the following format: xxx-xxx.
Touch OK.
NOTE:
NOTE:
To find the DX code, create a back print configuration with the DX code
parameter enabled. Then make a print and read the DX code from the back
print. See Back Print Configurations on Page 4-53.
4. Use the regulator arrows to set correction values for neutral exposures
overexposures, and underexposures.
5. Touch
Save as if you are creating a new configuration, and enter a name.
Touch Save to save changes to an existing configuration.
Touch Cancel to return to the previous screen without saving.
The name of the DX configuration appears in the configuration list.
If the DX code is recognized when a film is inserted, the appropriate
corrections are applied to the exposure.
4-42
KODAK PROFESSIONAL SRP 30 Laser Printer
Содержание SRP 30
Страница 1: ...SRP30 LASERPRINTER OPERATOR S GUIDE ...
Страница 2: ...Operator s Guide KODAK PROFESSIONAL SRP 30 Laser Printer P N 6B7503 December 2002 ...
Страница 19: ...Operator s Guide 1 4 KODAK PROFESSIONAL SRP 30 Laser Printer ...
Страница 54: ...Overview Test Menu Piko KODAK PROFESSIONAL SRP 30 Laser Printer 2 35 ...
Страница 55: ...Operator s Guide Pricing Statistics Menu Statistics 2 36 KODAK PROFESSIONAL SRP 30 Laser Printer ...
Страница 56: ...Overview End of Work Menu Login Timer KODAK PROFESSIONAL SRP 30 Laser Printer 2 37 ...
Страница 69: ...Operator s Guide 3 2 KODAK PROFESSIONAL SRP 30 Laser Printer ...
Страница 159: ...Operator s Guide 5 2 KODAK PROFESSIONAL SRP 30 Laser Printer ...
Страница 171: ...Operator s Guide 5 14 KODAK PROFESSIONAL SRP 30 Laser Printer ...
Страница 307: ...Operator s Guide 8 54 KODAK PROFESSIONAL SRP 30 Laser Printer ...
Страница 308: ......


