


Setting Up Your Printer
34
www.kodak.com/go/aiosupport
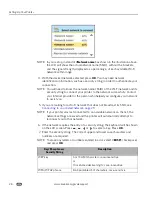
4. The printer will be named Kodak ESP 9-XXXX, where XXXX is a number unique
to your printer.
5. Select your printer and click
Add
.
Wi-Fi to Ethernet
To convert the Wi-Fi connection from a Macintosh to an Ethernet connection:
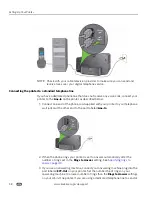
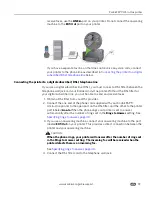
1. Connect the printer to the network (LAN port on the Router) with an Ethernet
cable.
Ethernet to Wi-Fi
To convert the Ethernet connection from a Macintosh to a Wi-Fi connection:
1. Disconnect the Ethernet cable from the printer.
2. Configure the wireless network from the printer front panel. See
Configuring a
wireless network connection, page 25
.
3. Press
Menu
.
4. Press
until
Network Settings
is selected, and then press
OK
.
5. Select
View Network Configuration
and confirm you have an IP address.
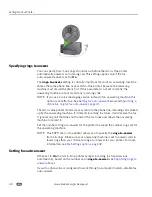
Setting up the fax
Your Kodak ESP 9 All-in-One printer allows you to send and receive faxes, set up
quick dials, and other fax options from the control panel.
For more information about sending and receiving faxes using this All-in-One
printer, see
Chapter 8 , Faxing
.
NOTE: If your home or office setup is not described in this section, set up the
All-in-One printer fax connection as you would a regular phone. See
Connecting the printer to a standard telephone line, page 38
.
Telephone service delivery systems and All–in–One fax features
Before setting up your ESP 9 All–in–One printer for faxing, determine which type of
telephone service you use
WARNING:
Use only the phone cord supplied in the All-in-One printer box
to connect your telephone wall jack and the port labeled Line-In on the back
of the printer. Using any other phone cord may prevent you from sending and
receiving faxes.
If your telephone service is:
Review this section first:
Internet Phone (VOIP) telephone
service
Multipurpose (broadband) digital telephone
systems, page 35
Cable telephone delivered by a cable
television service
Multipurpose (broadband) digital telephone
systems, page 35