Chapter 5: Configuring the DN965X
DN9650/DN9652 Network Bridge
24
Operator Manual
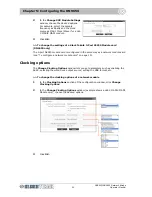
The unit will automatically reboot to apply the changes.
At this point you
must
monitor the reboot progress on the LCD display screen, which will show
the following messages, finally displaying the default.
Note the IP address
during the reboot.
7
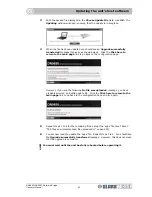
When the default display appears, the DN965X has fully rebooted and it should
now be fully updated with the new software. Click the
Click here to return to
the main page
link on the to go back to the configuration page. Make sure that
the unit has been updated by checking the software version in the
Unit
Software
section.
If you cannot get back to the configuration page, try typing in the IP address you
saw at reboot (see “To connect the DN965X to a computer and then open its
configuration menu in the web browser” on page 4).
8
Your unit should now be fully upgraded and ready for operation.
Default display
Default IP address
Содержание DN9650
Страница 2: ......
Страница 6: ......
Страница 8: ......
Страница 12: ......
Страница 20: ...Chapter 1 Getting Started DN9650 DN9652 Network Bridge 6 Operator Manual ...
Страница 28: ...Chapter 3 Front Panel DN9650 DN9652 Network Bridge 14 Operator Manual ...
Страница 40: ...Chapter 6 Operation DN9650 DN9652 Network Bridge 26 Operator Manual ...
Страница 42: ...Appendix A Technical Specification DN9650 DN9652 Network Bridge 28 Operator Manual ...
Страница 44: ...Appendix B Functional Block Diagrams DN9650 DN9652 Network Bridge 30 Operator Manual DN9650 ...
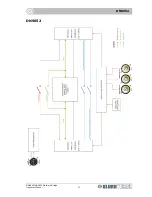
Страница 45: ...DN9652 DN9650 DN9652 Network Bridge Operator Manual 31 DN9652 ...
Страница 46: ...Appendix B Functional Block Diagrams DN9650 DN9652 Network Bridge 32 Operator Manual ...


