ENGLISH
Easy Link PRO Series: Remote Access Via Web Client
DVR User’s Manual
93
Remote Access Via Web Client
Use the Web Client to remotely access your DVR at anytime via a PC. Before you access the Web Client, you need to
ensure that the network settings of the DVR are configured properly. The most convenient and easiest way is if you
have set the DVR a static IP address (
see
“Network type:
Static
” on page 69
). It means you only need to open the
web browser on your PC and type in the static IP address you have set on the DVR. However, if the IP address of the
DVR is assigned by a DHCP server (
see
“Network type:
DHCP
” on page 69
), then it means that each time you reboot
the DVR, the IP address changes. In this case, ask if your ISP can provide you a static IP address. If not, then configure
the DDNS service. See the network settings in
“Network: Network” on page 69
and
“Network: DDNS” on page 73.
Also, please make sure the UPnP is configured in the DVR and router, or the manual port forwarding is completed in
the router.
Logging In
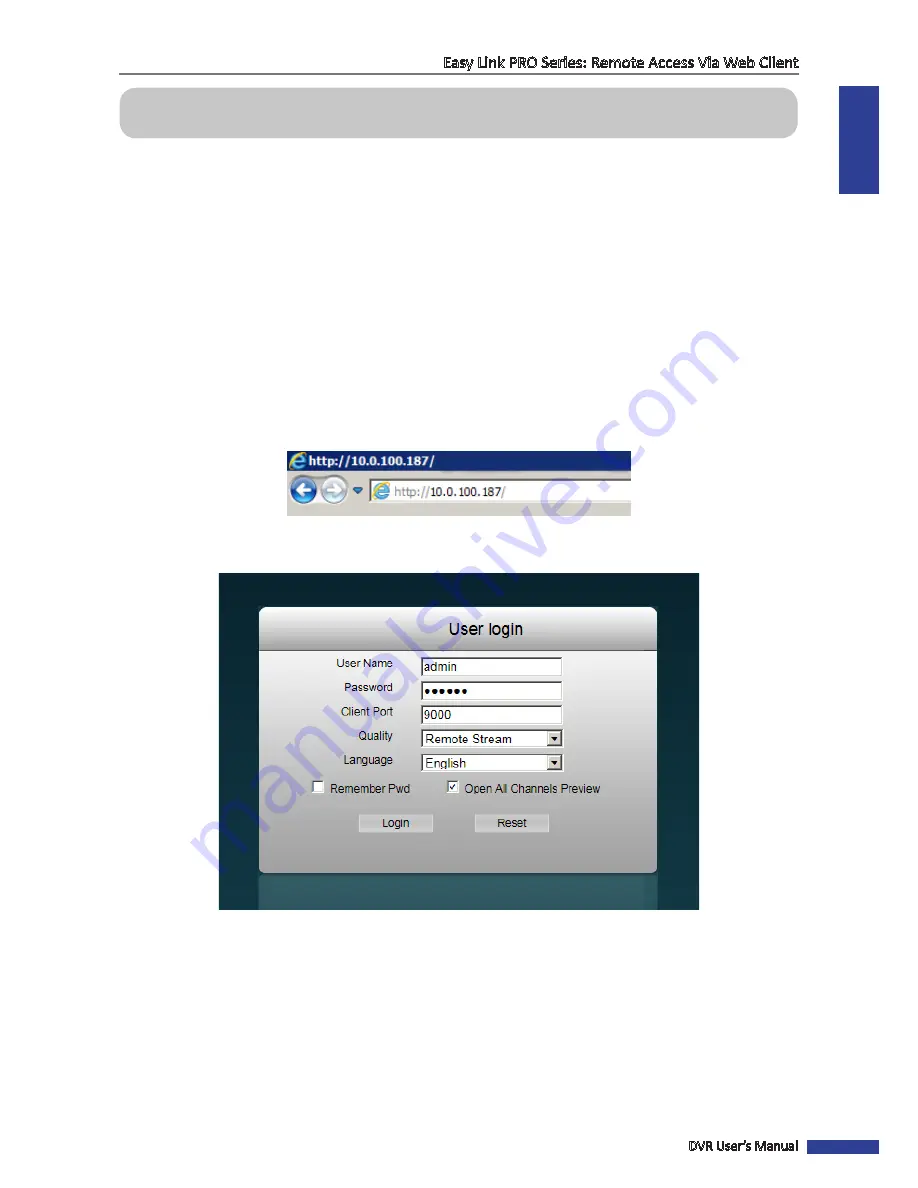
To access the DVR remotely from a PC, open your computer web browser and enter the DVR static IP address or DDNS
domain name (Host Name) you have set on DVR in the URL box.
The User login page opens.
Enter the user name and password. Click
Login
button.
NOTE:
• The default DVR user name is “
admin
” and default password is “
123456
”.
• The client port number must exactly match with the client port set on DVR.
See
“Network: Network” on page 69
.
• Click
Remember Pwd
if you want to log in automatically.


