ENGLISH
Easy Link PRO Series: Accessibility Features
DVR User’s Manual
45
Channel
: Select four channels where you want to upload the photos to Dropbox.
Interval
: Set the photo uploading interval.
Motion Detection
: Enable if you want to upload photos to Dropbox when the camera detects a motion. Click
Motion Setup
if you have not yet set the motion area. Please see
“Alarm: Motion” on page 76
.
Click
Apply
to save the settings.
• Upload Video:
Enable and click
Apply
if you want to upload videos from the cameras when a motion is detected.
Click
Setup
to configure the video upload options.
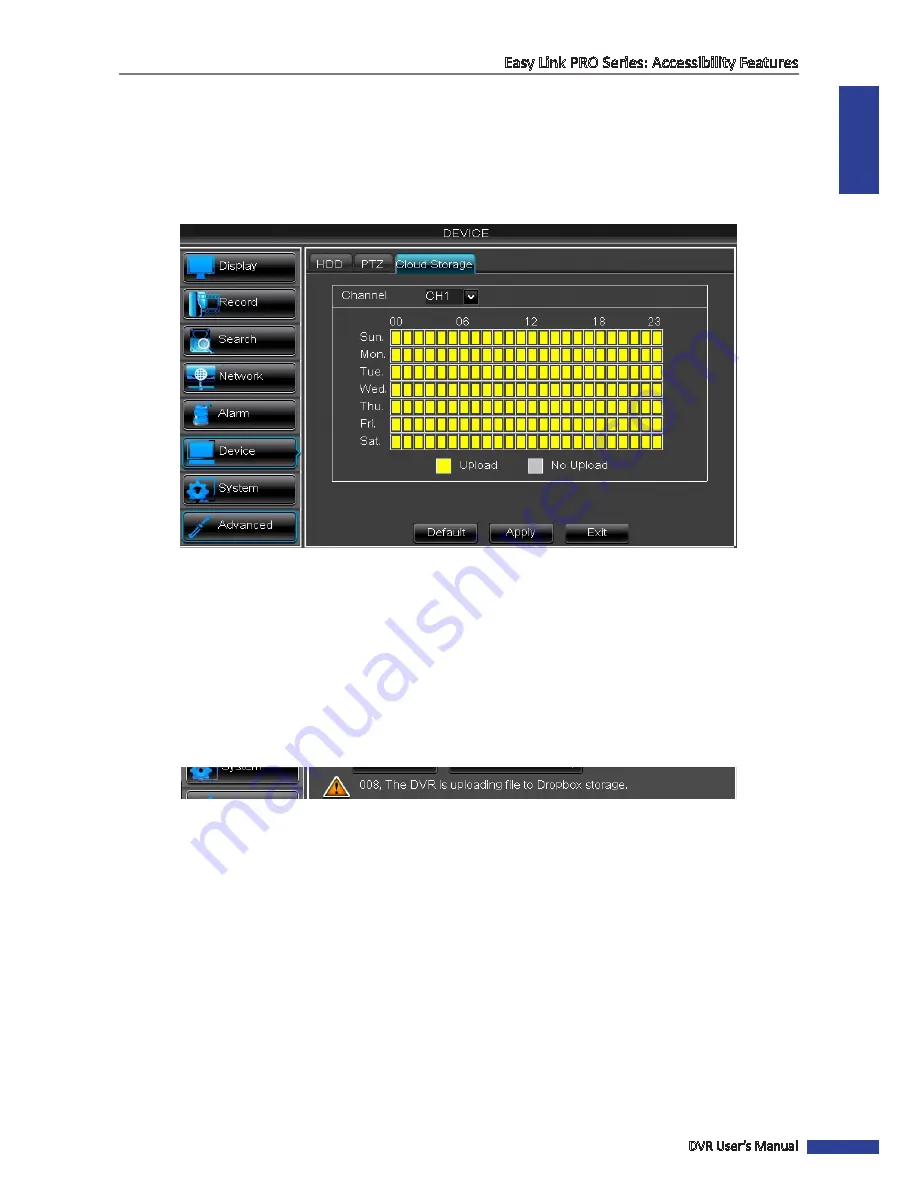
Channel
: Select the channel where you want to upload the videos to Dropbox. When the day/time slot is
marked yellow, it means the videos are uploaded to Dropbox when a motion is detected during the
specified day/hour.
NOTE:
• You can only choose one channel where to upload videos.
• In one hour the system uploads maximum 3 footages.
• The maximum duration of each uploaded footage is 10 seconds.
After all settings are complete, click
Apply
and then click
Activate Cloud
.
If you successfully receive the cloud storage
activation e-mail, you do not need to configure the advanced e-mail settings.
TIP
: See the connection status below the screen. For example, a notification of a successful connection:
NOTE:
Every time the cloud storage account is changed or HDD is formatted, you must activate cloud again to
recognize the changes.
If you need to configure the advanced e-mail settings, click on
Advanced E-mail Setup
button.


