36 Installation Note N5247-90116
Description of the Upgrade
Installation Procedure for the Upgrade
-
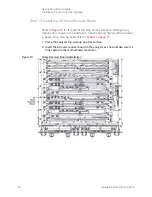
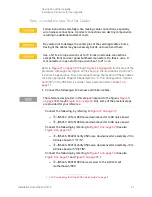
Step 17. Install the New Lower Front Panel Overlay
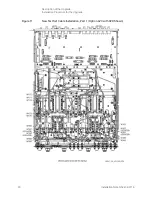
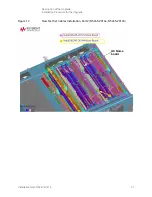
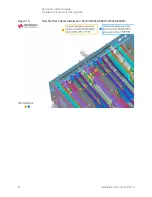
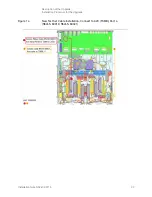
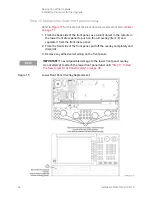
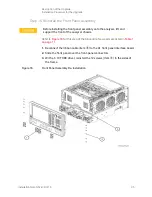
Refer to
for the lower overlay and to
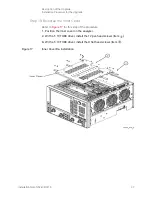
for the hex nuts installation for this step of the procedure. New parts
are listed in
1.
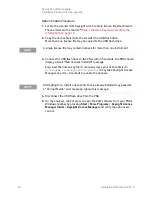
Remove the protective backing from the new front panel overlay,
N5247-80013 (N5247A Option 423 with 029), N5247-80023 (N5247B
Option 423 with 029), or N5247-80028 (N5247B Option 425 with 029) —
(item
➁
).
2.
Starting from either side,
loosely
place the overlay in the recess on the
lower front panel, ensuring that it fits tightly against the edges of the
recess.
3.
Once the overlay is in place, press it firmly onto the frame to secure it.
4.
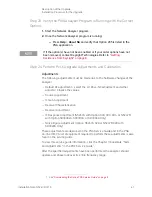
Reinstall all of the semirigid jumpers (item
①
) on the front-panel, and
tighten each of the connectors using a 5/16-in torque wrench set to
10 in-lbs. Refer to
.
Step 18. Position the Cables and Wires to Prevent Pinching
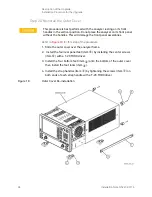
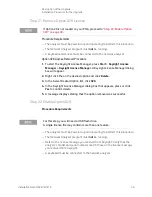
On the top side of the PNA, carefully position the grey flex cables so they can’t
be pinched between the covers and the rails.
On the bottom side of the PNA, carefully fold or push down the ribbon cables
and wires so they can’t be pinched between the hardware and the outer cover.
Ribbon cables and wires must never be positioned on top of hardware.
Содержание N5247-60116
Страница 3: ...3 ...
Страница 4: ...4 ...
Страница 44: ...44 Installation Note N5247 90116 Description of the Upgrade Installation Procedure for the Upgrade ...
Страница 45: ...Installation Note Xxxxx xxxxx 3 ...

