17
Step
Display
Operation
⑥
0 1 N 0 1 X 1
◀
▶
M E A
X 2
◀
▶
0 1 N 0 1 X 1
◀
0 . 5 4 5 6
▶
M E A
X 2
◀
0 . 5 1 1 5
▶
●
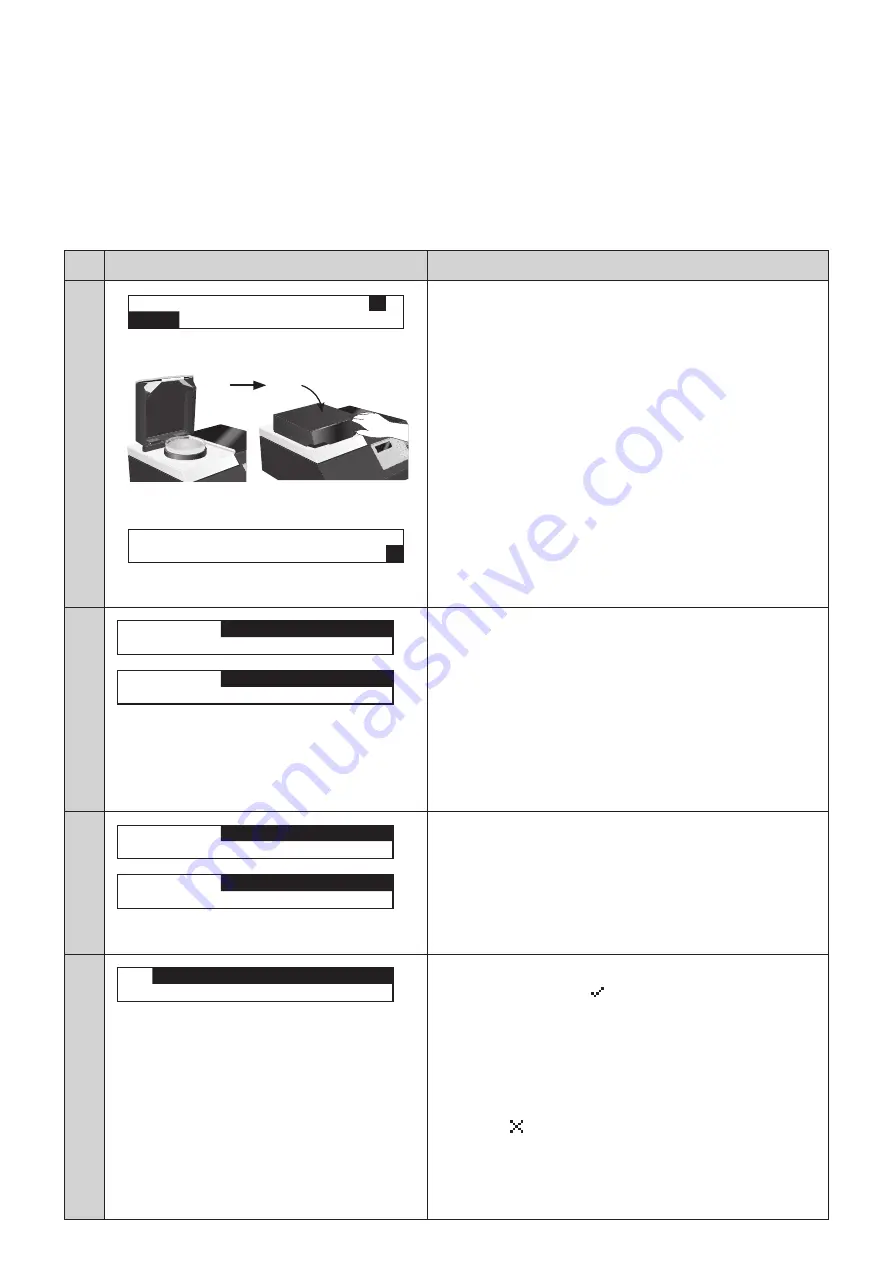
Input the absorbance.
The absorbance input screen will be displayed.
To automatically obtain absorbance by optical measure-
ment, set the sample on the measurement window, and
press the [MEA.] key,
The absorbance will be input automatically.
(If measurement is failed, press the [MEA] key again to
retry.)
To directly input the absorbance, or to edit data, use the
numeric keypad.
Move the cursor to the right bottom [
▶
], and press the [EN-
TER] key.
⑦
0 1 N 0 1
N E X T . N = 0 2
▶
S A V E . E X I T
0 1 N 0 1
N E X T . N = 0 3
▶
S A V E . E X I T
・
・
・
・
・
●
Enter the standard moisture content and absorbance
of 2nd and later samples.
Press the [ENTER] key when "NEXT, N=2" is displayed
after 1st input is done.
Repeat steps (5), (6), and (7) to enter the following points.
⑧
0 1 N 0 5
N E X T . N = 0 6
▶
S A V E . E X I T
0 1 N 0 5
S A V E . E X I T
▶
C A N C E L . E X I T
●
Save the calibration data.
When the standard moisture content of all samples are
input, select [SAVE.EXIT] with [
➡
] key.
The calibration data will be saved when the [ENTER] key is
pressed while [SAVE.EXIT] is selected.
* Note that if the [ENTER] key is pressed while [CANCEL.EXIT]
is selected, the input calibration data will not be saved.
⑨
3 .
0 1
F L O U R
∨
▶
0 2
×
●
Complete the calibration data input.
The check mark icon
will be displayed in the channel
selection screen.
Proceed to "Calculating coefficient" (P.18)
* Referring to "Channel status icon" (P.18), avoid overwriting
data unintentionally.
<Entering standard moisture content in the later process>
The icon
may be displayed.
Operate step (1) to (4), and then enter the standard moisture
content in step (5).
If you press the [ENTER] key twice when entering the absorb-
ance in step (6), you can go to next step without changing the
absorbance.


