29
Oven Controls
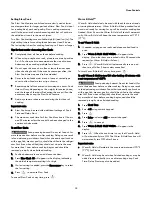
•
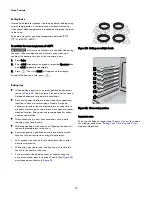
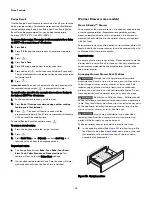
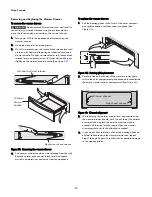
In the downward position (See
Figure 36
) to allow for light
weight food items and empty cookware (for example, rolls,
pastries, and dinner plates) on the rack.
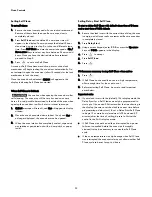
Setting Warmer Drawer
To set warmer drawer:
Food Poisoning Hazard. Do not let food sit for
more than one hour before or after cooking. Doing so can result
in food poisoning or sickness. Foods that can easily spoil such as
milk, eggs, fish, meat, or poultry should be chilled in the refrig-
erator first. Even when chilled, they should not stand in the oven
for more than 1 hour before cooking begins and should be
removed promptly when finished cooking.
Always use potholders or oven mitts when
removing food from the warmer drawer as cookware and
plates will be hot and you can be burned.
1.
Open warmer drawer when cool and arrange warmer
drawer rack as needed.
2. For best results, close the warmer drawer and preheat the
drawer before adding food or plates. An empty warmer
drawer will fully preheat in approximately 15 minutes.
3. Place food in warmer drawer that is already at serving
temperature on warmer drawer rack. Dinner plates may be
warmed also.
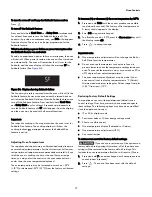
4. Press Warmer Drawer, and then press START. The drawer
will heat to
170°F.
5. Always turn warmer drawer control off after use by
pressing Warmer Drawer.
Important notes:
•
Always start with hot food when using the warmer drawer.
Do not heat cold food in the warmer drawer.
•
Self Clean can not be set when the warmer drawer is active.
•
The warmer drawer is equipped with a catch that may
require extra force to open and close the drawer.
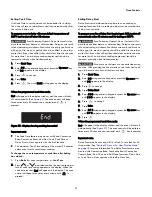
Warmer Drawer Humidity Controller
This feature may be used to control humidity levels in the
warmer drawer. The humidity control knob is located on the
inside front panel of the warmer drawer.
To help keep foods moist, move the handle to the right. This
closes the vents and helps keep the moisture insider the warmer
drawer. For crisp foods, move the handle to the left. This opens
the vents and allows more of the moisture to escape.
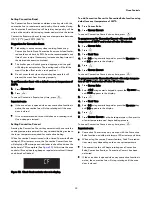
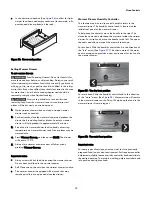
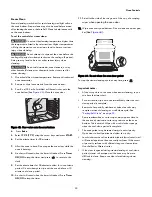
For dry heat: Slide the humidity control knob in the direction of
the “less” arrow (See
Figure 37
). This allows more of the moist
heat to escape and provides a dyer environment for the food in
the warmer drawer.
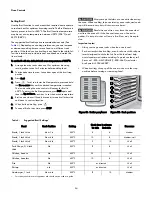
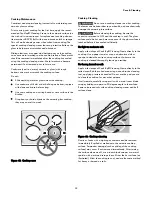
For moist heat: Slide the humidity control knob in the direction
of the “more” arrow (See
Figure 38
). More moisture will remain
in the warmer drawer cavity. This will help keep the food in the
warmer drawer from drying out.
Important note:
For some types of servings, you may want to store previously
prepared food in a dry heat environment. For frequent controller
adjustments, slightly loosen humidity controller knob and slide to
the desired position. To maintain a setting, adjust controller knob
into position and tighten knob.
Figure 36: Downward position
Figure 37: The dry heat position
Figure 38: The moist heat position
Содержание 790.9507 Series
Страница 42: ...42 Before You Call ...
Страница 43: ......


