Manual KHS Mini System Control MASTER
17
8.1
Manual configuration
Basic settings, configurations and changes can be made onsite by using the integrated
menus. In the following chapter, the menu interfaces and their functions are clarified. To
explain the settings and functions, the sample project is configured as a reference
building.
8.1.1
Basic menu operation and functions
The KHS Mini System Control is set and operated through various menus, which appear
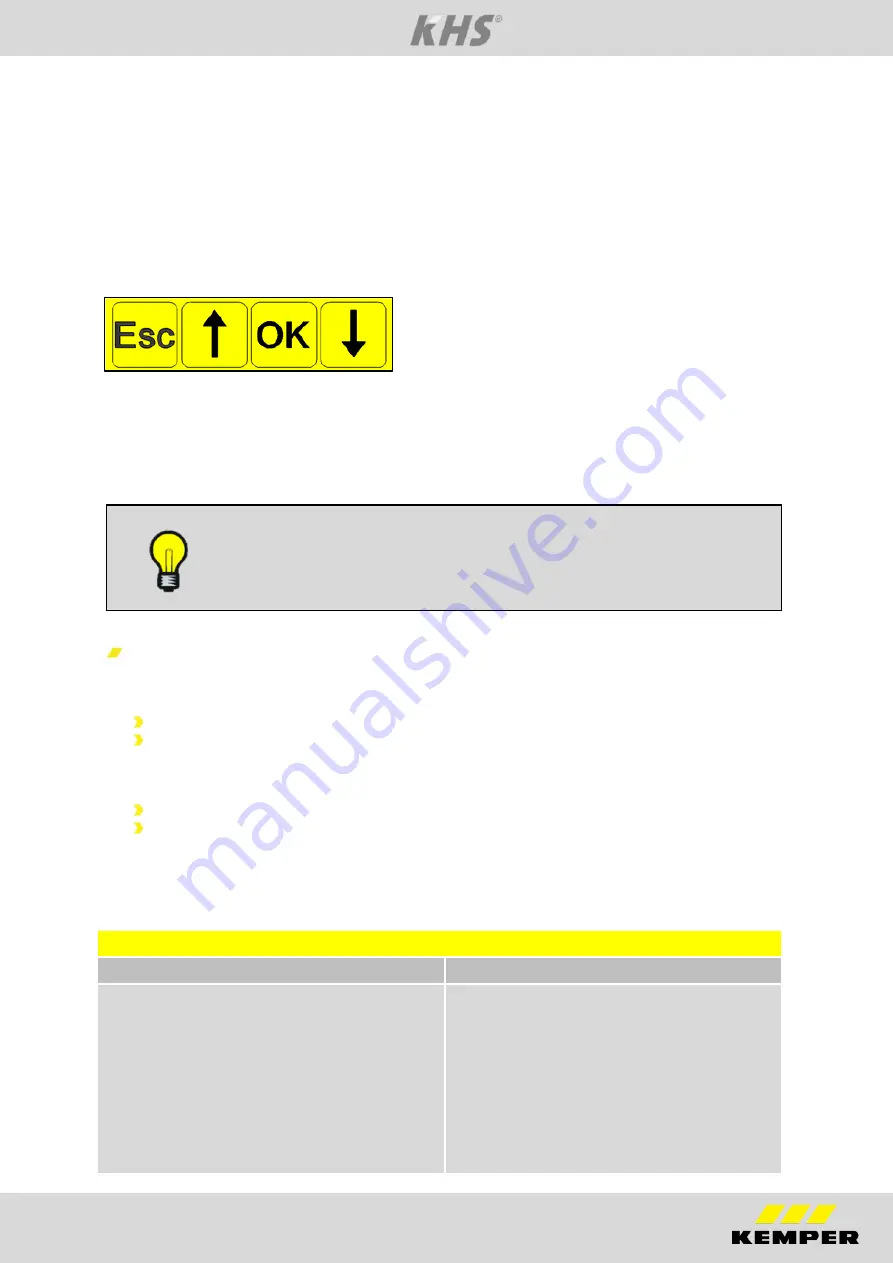
in the -MASTER- display. Access to the menus is enabled through the control panel on
the -MASTER- with the four control buttons.
"ESC" button: Exit the menu / switch between
overview and main menu
"
↑
" button:
Scroll back
"OK" button: Confirm button
"
↓
" button:
Scroll forward
III. 8.2 -MASTER- buttons
The menus are structured "scrolling", i.e., pushing the "
↓
-button" on the last menu item
jumps back to the first menu item. Likewise, pressing the "
↑
-button" changes from the
first to the last menu item.
Note:
If no entry is made for three minutes, the control reverts from the
setting mode to the general plan.
Window types
Menu operation is divided into two sections. The following windows are available:
"General plan"
"Main menu".
The functions of the windows are listed in Table 8.1.
The "General plan" window is used only for visualising the current states.
In the "Main menu" window, preset parameters can be viewed, changed and
saved. The "Main menu" window can be protected against changes caused by
interference through password protection.
Tab. 8.1 Chart of window types
Window types
General plan
Main menu
Viewing possible without password
Functions:
Detailed overview
Control state display
View network
Device settings
Flushing processes
Error statuses
Viewing impossible without password
Function:
Setting the control parameters
CAN BUS setup
Select the operating modes
Journal
Program selection
Содержание 686 02 005
Страница 48: ...Manual KHS Mini System Control MASTER 45...
Страница 49: ...Manual KHS Mini System Control MASTER 46 NOTES...


