12 of 56
Installation and Connection
5
Installation and Connection
5.1
Installing and Connecting the Turntable
5.1.1 Required Tools and Equipment
●
Circular cutter, Ø 38 mm
●
Flat-bladed screwdriver for M5 screws
●
Power drill
●
The following screws, depending on the roof structure:
–
galvanised round head screws, Ø 5 mm, sheet metal
screws D 7981 or
–
round head screws D 7985 with washers and nuts
●
Twist drill, Ø 2.5 or 5.5 mm
●
Round file and/or emery paper
●
Cleaning agent
●
Open-ended or ring spanners 10 and 11 mm across flats
●
Knife
●
Cross-head screwdriver for M3 and M5 screws
●
Torque wrench capacity 6 to 11 Nm
●
Hexagon socket key, 5 mm
●
Two wooden beams for supporting the turntable
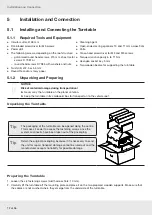
5.1.2 Unpacking and Preparing
NOTICE
Risk of material damage during transportation!
►
Never carry the turntable on the planar antenna.
►
Keep the turntable in its cardboard box for transport on to the vehicle roof.
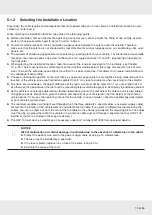
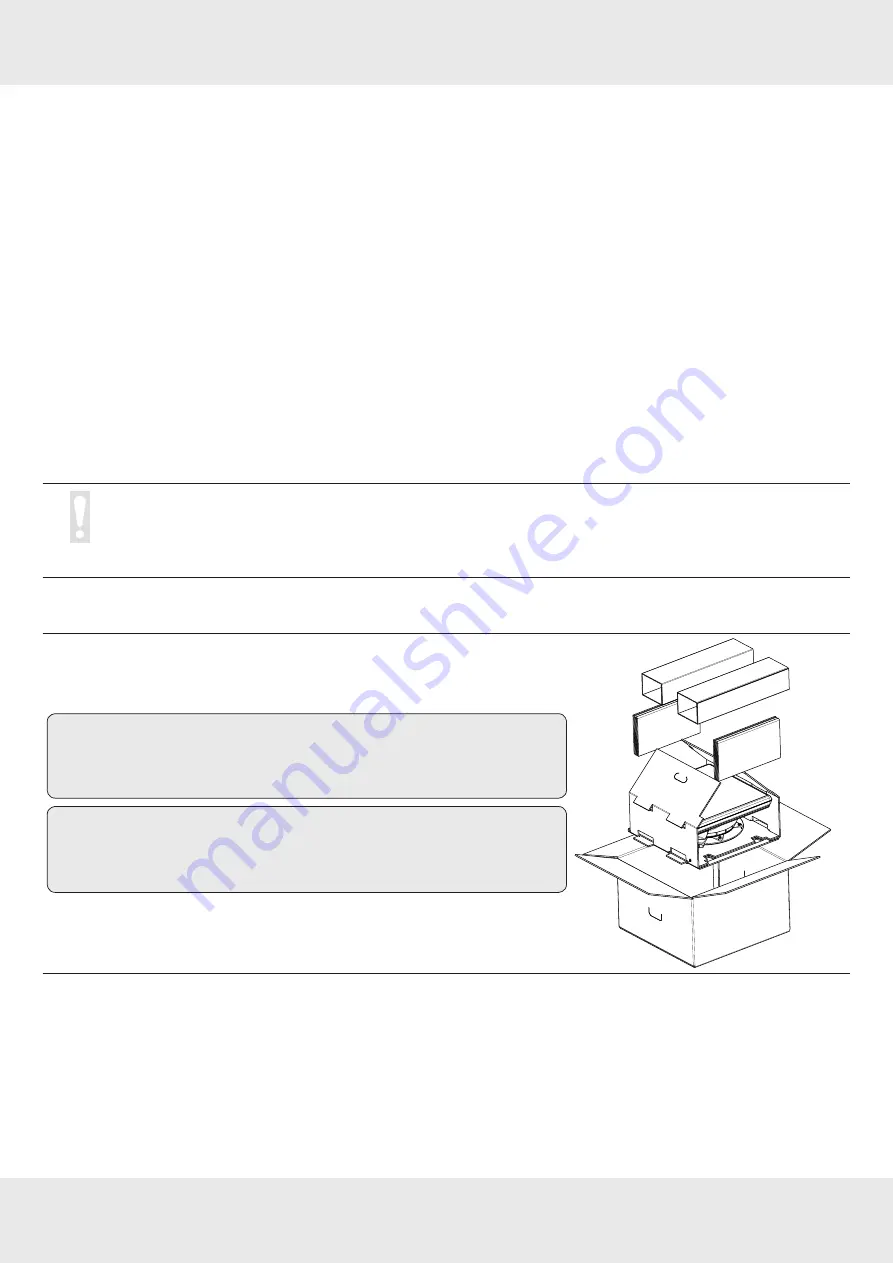
Unpacking the Turntable
Tip
The packaging of the turntable can be opened along the centre.
This makes it easier to access the fastening screws once the
system and inserts have been taken out of the packaging.
Tip
Retain the original packaging, because if it is necessary to send
the unit for repair, transport damage cannot be ruled out and the
manufacturer accepts no liability for possible damage.
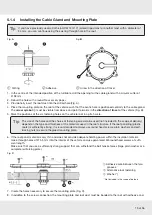
Preparing the Turntable
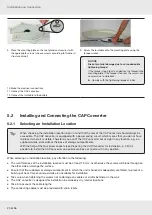
1. Loosen the six fastening screws (width across flats: 10 mm).
2. Carefully lift the turntable off the mounting plate and place it on the two prepared wooden supports. Make sure that
the cables are not crushed where they emerge from the underside of the turntable.
Содержание MobiSet 3 Twin CAP 650
Страница 36: ...36 of 56 Technical Data 10 2 Dimensions in mm 118 3 118 3 282 153 6 Mounting plate 145 66...
Страница 47: ...47 of 56...
Страница 54: ...54 of 56 Declaration of Conformity 15 Declaration of Conformity...
Страница 55: ...55 of 56...


