20 of 56
Installation and Connection
1
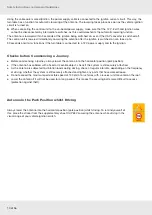
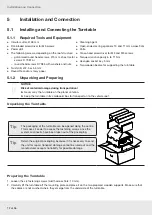
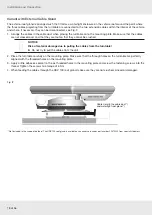
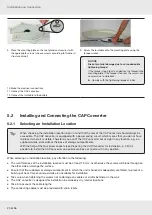
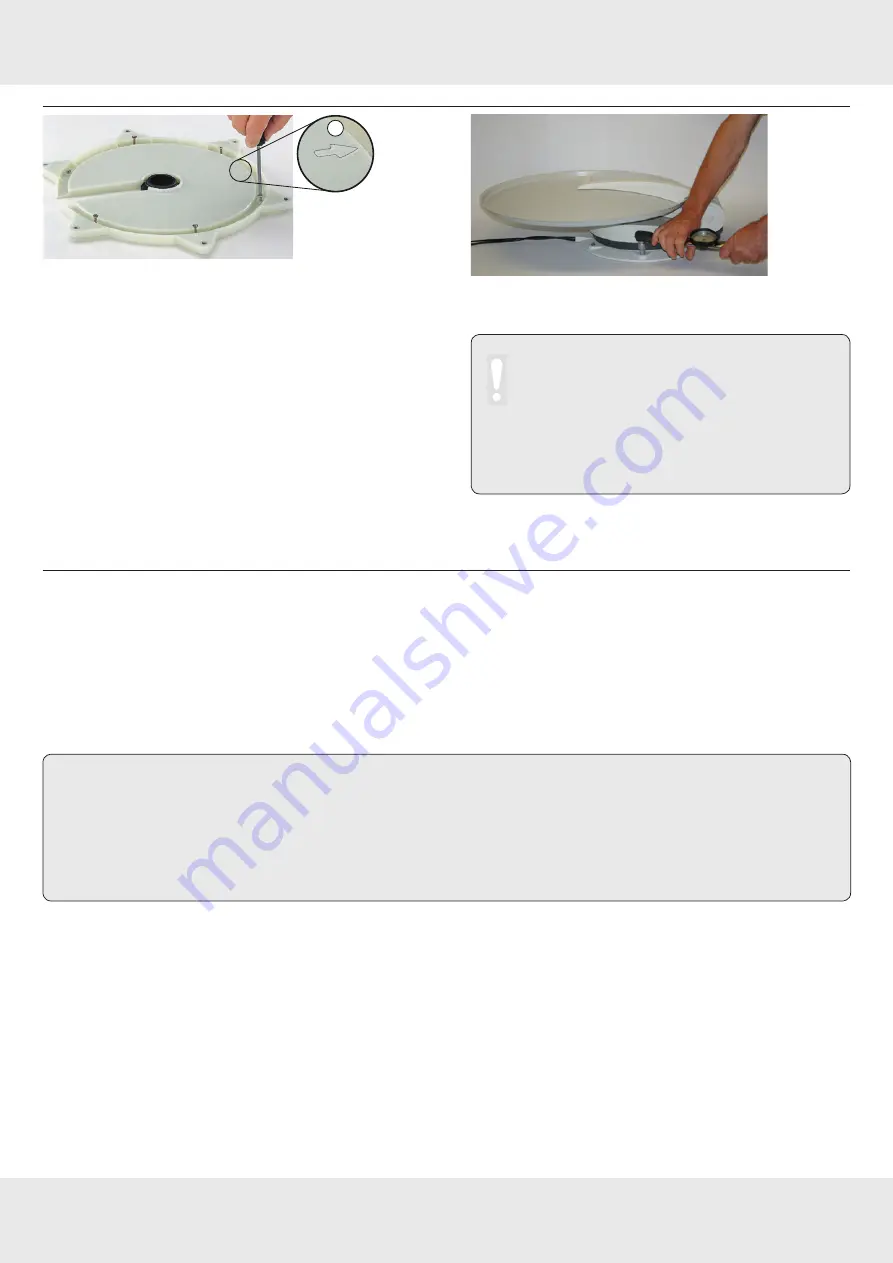
8. Place the mounting plate on the roof gland and secure it with
the appropriate screws (choose screws according to thickness/
structure of roof).
9. Screw the turntable onto the mounting plate using the
torque wrench.
NOTICE
Risk of material damage due to an inadmissible
tightening torque!
If the torque is too high,it can destroy the thread in the
mounting plate.If the torque is too low, the screws can
unscrew due to vibrations.
►
Comply with the tightening torque of 6 Nm.
10. Make the electrical connections.
11. Connect the CAP converter.
12. Connect the turntable to the battery.
5.2
Installing and Connecting the CAP Converter
5.2.1 Selecting an Installation Location
Tip
When choosing the installation location, bear in mind that the rear of the CAP converter should always be
accessible. The CAP converter is equipped with a power saving circuit, which means that you do not have
to place it where it is visible. Therefore, you can fit the CAP converter out of sight in any location, e.g. on
cupboard walls, side walls or the base of storage compartments.
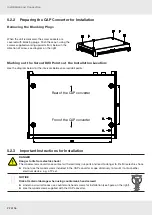
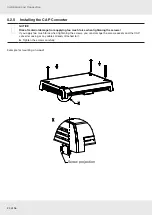
With the help of the four screw sockets (see
Preparing the CAP Converter for Installation
possible to install the CAP converter on a solid even base or to screw it in any position.
When selecting an installation location, pay attention to the following:
●
The wall thickness at the installation location must be at least 15 mm, as otherwise the screws will break through on
the other side or damage the surface.
●
Ensure that the cupboard or storage compartment in which the unit is housed is adequately ventilated, to prevent a
build up of heat. Carpet-covered walls are unsuitable for installation.
●
Take care when tightening the screws not to damage any cables or similar behind or in the wall.
●
The CAP converter is designed for installation in exclusively dry, interior locations.
●
Take into account the cable lengths.
●
The connecting cables must be provided with strain reliefs.
Содержание MobiSet 3 Twin CAP 650
Страница 36: ...36 of 56 Technical Data 10 2 Dimensions in mm 118 3 118 3 282 153 6 Mounting plate 145 66...
Страница 47: ...47 of 56...
Страница 54: ...54 of 56 Declaration of Conformity 15 Declaration of Conformity...
Страница 55: ...55 of 56...

