74
Keyboard mode activated :
Barcode mode activated :
5.
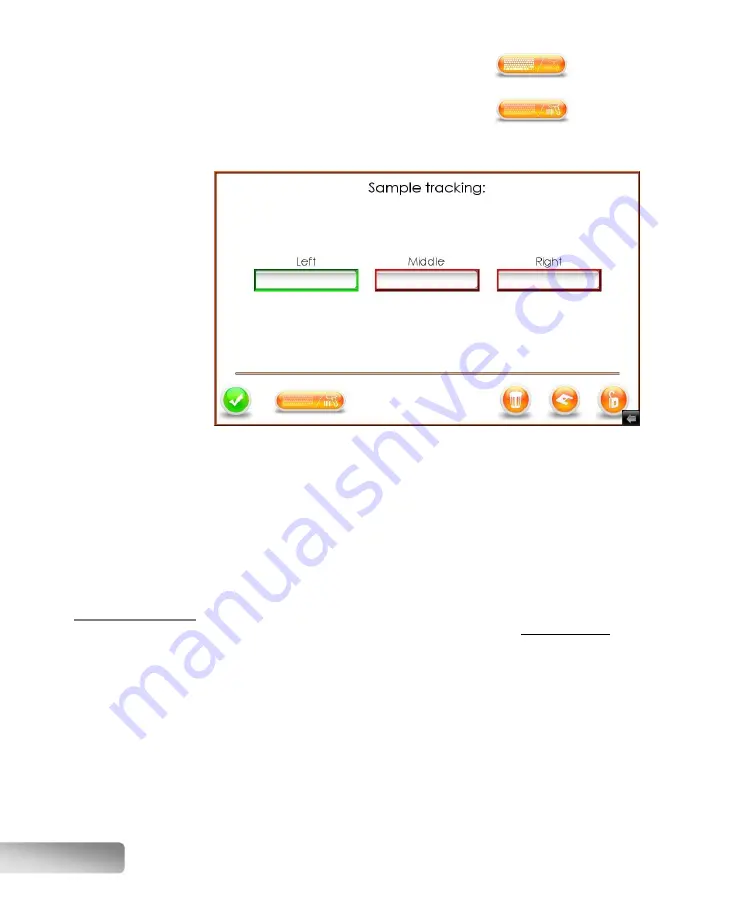
If the “Barcode” mode is enabled, a green halo will inform the user of what
position is ready to be scanned:
You can click on the screen to select a different field, if you want to scan
another position.
6.
When ready to scan, simply pull the trigger of the barcode reader to transfer
your barcode tag information into the fluxer.
7.
Click on the green checkmark button to confirm and exit the window.
8.
Start the fusion as normal. The sample IDs you have entered will be saved in
the fluxer’s internal log file.
Copying logs
to a USB drive
The logs generated by the fluxer will be retained for
up to 40 days
. If the user
wants to retain those logs for a longer period, those logs must be copied
elsewhere. One possibility is on a USB memory drive.
1.
Insert a USB memory stick (USB drive) into the HMI. The USB port is located
underneath it.
2.
A menu will appear after a few seconds; click to dismiss it.
3.
Access the sample tracking window, by performing the first two steps of the
previous section.
Содержание X-FLUXER
Страница 1: ...Automatic fluxer...
Страница 2: ......


