19
• RS-232 Receiver:
This section provides drag-and-drop buttons for all RS-232
receivers detected by the system.
• RS-232 Receiver to RS-232 Sender Routing:
To connect an RS-232 receiver to an RS-
232 sender, click and drag the RS-232 receiver’s button on the right to the preferred RS-
232 sender on the left side, then release the mouse button. If the routing was completed
successfully, the newly routed RS-232 receiver’s name will appear below the RS-232
sender’s name within its button. Clicking on any RS-232 receiver button will change the
color of itself, and all RS-232 senders currently routed to it.
Note: RS-232 senders may also be drag and dropped onto RS-232 receivers to activate a new route.
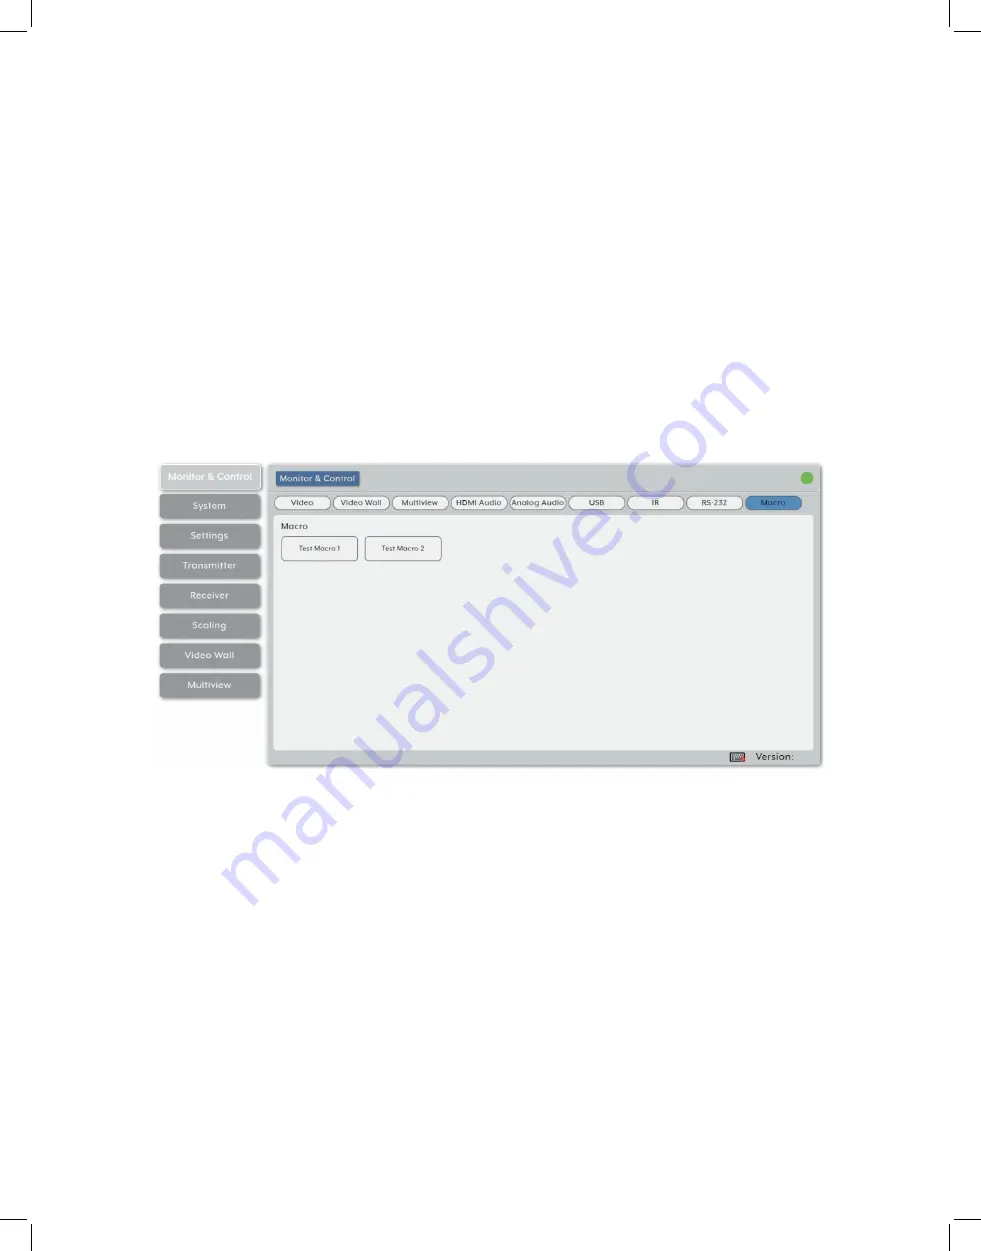
8. Macro Activation:
Provides a simple interface to activate macros that have been pre-
defined and stored within the IP Master Controller
Note: Only one macro can be executed at a time.
• Macro:
All available macros will be listed in this section. To activate a macro, simply click
on its button. The button will remain blue until the macro has completed executing.
Содержание EXT-PROCTRL
Страница 42: ...42 6 8 RS 232 and Telnet Commands...
Страница 43: ...43...
Страница 44: ...44...
Страница 45: ...45...
Страница 46: ...46...
Страница 47: ...47...
Страница 48: ...48...
Страница 49: ...49...
Страница 50: ...50...
Страница 51: ...51 Note Commands will not be executed unless followed by a carriage return Commands are not case sensitive...
Страница 54: ...54 8 2 Video Specifications...
Страница 56: ...56 9 ACRONYMS...


