


59
1. Guide
7. System Setup
S
yst
em
S
e
tup
58
1. Guide
7. System Setup
S
yst
em
S
e
tup
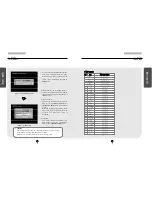
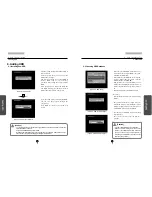
7.4.5 Quality/Resolution
[Figure 7-49. Quality/Resolution]
[Figure 7-50. Quality/Resolution setup]
�
In [Quality/Resolution] menu, you can
change the video quality and resolution
by using the mouse wheel or the
jog/shuttle.
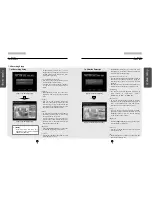
�
Any changes made to quality and
resolution will apply to all cameras.
[Quality]
�
You can change the video quality to
“LOWEST”, “LOW”, “NORMAL”,
“HIGH”, and “BEST”.
[Resolution]
�
You can change the video resolution to
352 X 240 or 740 X 240 (PAL : 352 X 288,
704 X 288)
[OK]
�
Select [OK] button to accept any changes
made and return to Setup menu.
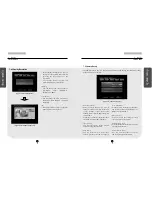
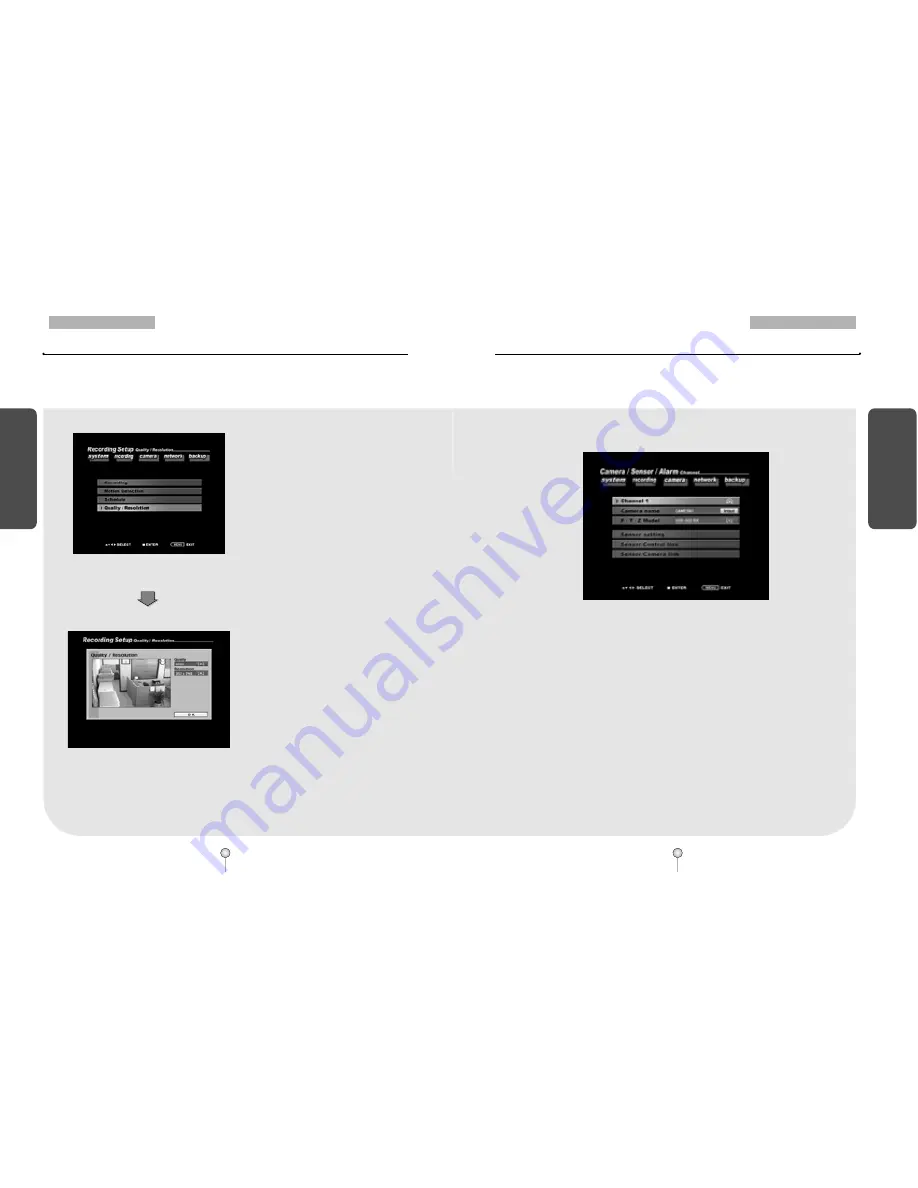
[Figure 7-51. Camera Setup menu]
[Selecting channel]
�
Select a camera channel you wish to
change its options on P/T/Z model type,
sensor settings, sensor/control link
settings, sensor/camera link settings and
camera name.
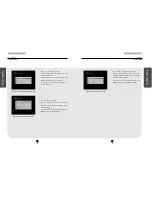
�
Use the mouse wheel or the jog/shuttle on
the system to select a camera channel.
[Camera Name]
�
You can enter a name for the selected
camera (see page 60 for details).
[P/T/Z Model]
�
You can select a P/T/Z model for a
camera, provided the camera supports
P/T/Z function.
�
Use the mouse wheel or the jog/shuttle on
the system to select a Speed Dome or an
RX-Receiver model name.
[Sensor setting]
�
You can change the settings for each
sensor (see page 61 for details).
[Sensor/Control Link]
�
You can link the control devices to a sensor
(see page 62 for details).
[Sensor/Camera Link]
�
You can link the sensor to activate
camera(s) (see page 63 for details).
�
In [Camera] setup menu, you can setup Pan/Tilt mode and change the connection setting
between sensors and controls.
7.5 Camera Setup


