


27
1. Guide
6. Backup
B
ackup
26
1. Guide
6. Backup
B
ackup
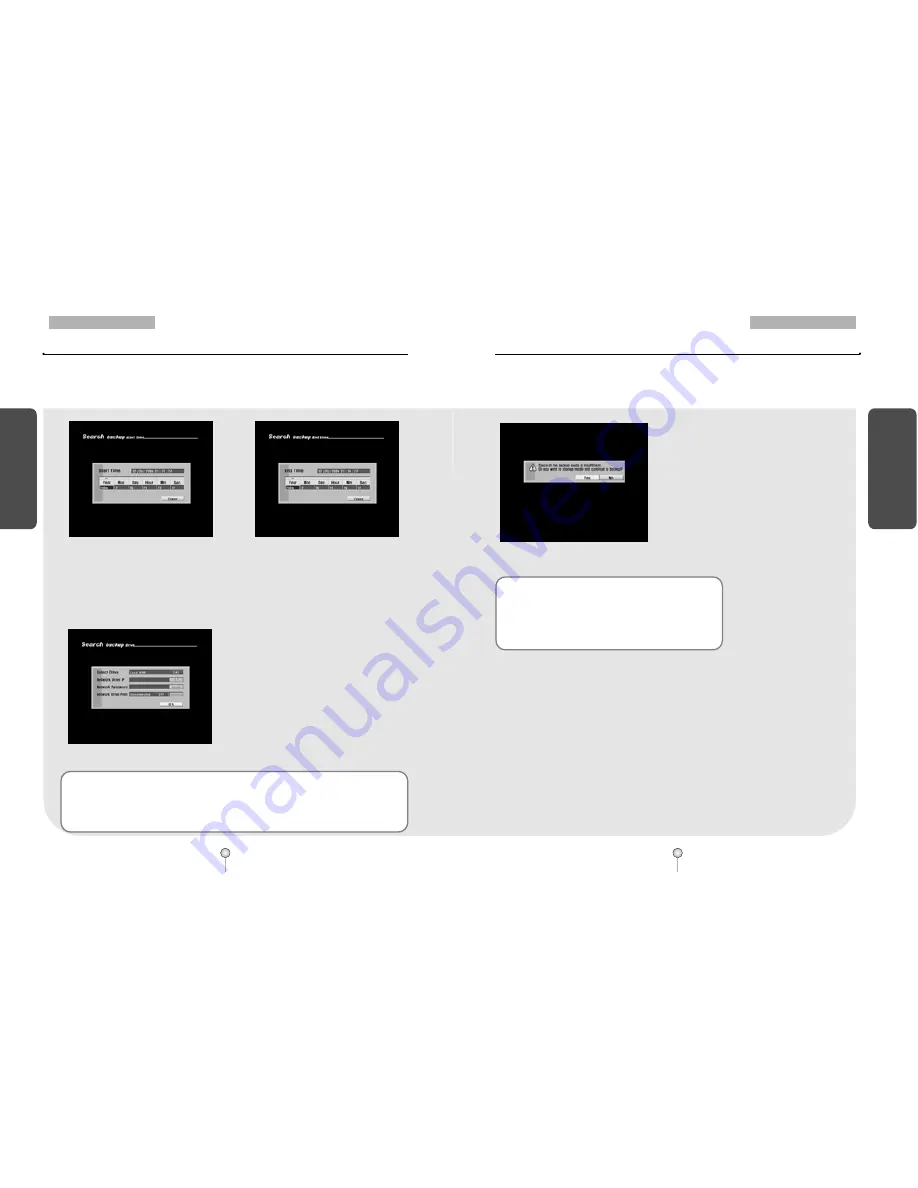
[Figure 6-5. Start Time]
[Figure 6-6. End Time]
[Start Time] and [End Time] setup
�
To select [Start Time] and [End Time], use the mouse or the directional keys to select the time
and date, then use the mouse wheel or the shuttle to select the start and end times of the
recording you wish to copy.
�
Press [Enter] button to apply the select times.
[Selecting Media]
�
Use the mouse wheel or the jog/shuttle to
select Local USB, Local CD-RW, or Remote
Drive.
�
To save backup using a local drive, select
Local USB or Local CD-RW (see page 28 for
remote backup).
�
USB Hard Disk Drive and USB memory stick
can be connected to the USB port for back up.
When saving backup using Local USB, the
system will automatically scan for a connected
USB drive.
[Figure 6-7. Selecting Local Drive]
☞
[Note]
Supported USB versions
�
DW-709/716 supports USB 1.1. USB 2.0 devices are also supported but at USB 1.1 speed.
�
Recommended portable USB Hard Disk Drives include Iomega and Noble.
�
It is possible to burn the image data onto CD-RW or CD-R media up to 100 times, but it varies
depending on the image size.
[Figure 6-8. Message on insufficient storage space]
[Storage space shortage]
�
When the storage space for USB HDD or
memory, CD-RW is running short, a
warning message will be shown as left.
�
A window will appear to ask whether to
change backup media or not.
�
[Yes]
Backup will start when you click [Yes]
after changing the backup media.
�
[No]
Backup will not progress when you click
[No] and will go to the previous menu.
☞
[Notice]
�
Recording speed might be slower while the backup using
USB HDD, CD-RW, or remote backup is going on.
�
Do not plug out the USB cable or turn off USB devices
during backup. It may cause a problem in the system.


