- 18 -
7+5((
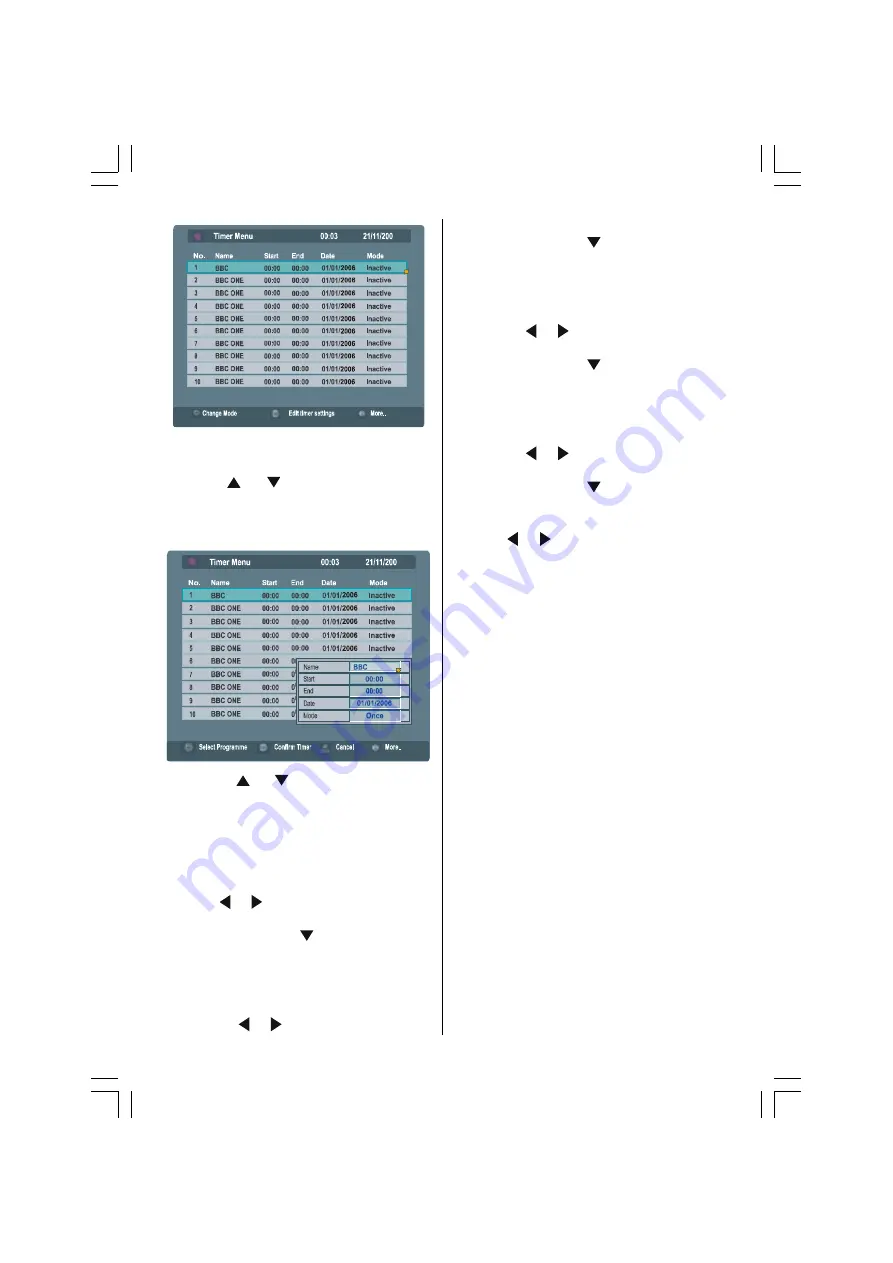
When the BACK button is pressed, the previ-
ous screen is returned to.
2. Press / buttons to choose the
timer number, and then press the OK but-
ton.
The timer setting window appears.
7+5((
7+5((
3. Use the / buttons, number but-
tons and OK button to set the timer.
When setting the start time and end time,
input 1200 for 12:00 PM, 1500 for 3:00 PM
and 0000 for 12:00 AM.
Name:
Use the / buttons to choose the chan-
nel for which the timer is to be set.
Press the button.
Start:
Set the timer start time with the number but-
tons.
When the / buttons are pressed, the
input position moves.
Press the button.
End:
Set the timer end time with the number but-
tons.
When the / buttons are pressed, the
input position moves.
Press the button.
Date:
Set the date for the timer to work with the num-
bers.
When the / buttons are pressed, the
input position moves.
Press the button.
Mode:
Use the / buttons to choose the timer
mode (Once/Daily/Weekly), and then press the
OK
button.
4. Prepare your VCR for recording
When recording on a T-V LINK
compatible VCR:
1. Insert the videotape for recording into the
VCR and set the recording mode.
2. Make sure the VCR is ready to receive Di-
rect Rec commands from the TV.
3. Make sure VCR timer settings do not coin-
cide with the TV timer settings.
For details, see your VCR instruction manual.
When recording on a T-V LINK
incompatible VCR:
1. Insert the videotape for recording into the
VCR and set the recording mode.
2. Set the VCR recording timer settings.
3. Make sure that the start and end time match
with the TV timer.
4. Set the VCR to record the signal from the
external input that the TV is connected to.
For details, see your VCR instruction manual.
When you have finished the step 4, you have
set the timer.
01-ENG-(LT-32DF7BC)-32775-17MB15-C1897S UK-PEU IDTV-OEM-(ECO-PIP)-10044394-50093075.p65
30.10.2006, 13:38
18


