1-22
CA-MXS6MDR
SP-MXS6MD
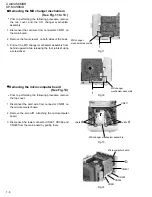
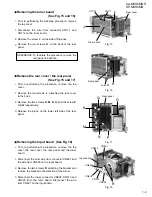
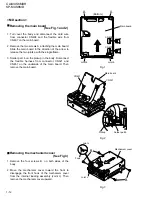
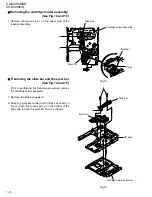
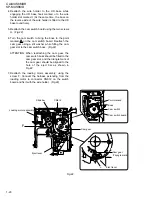
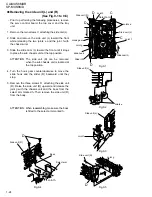
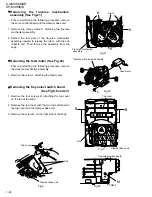
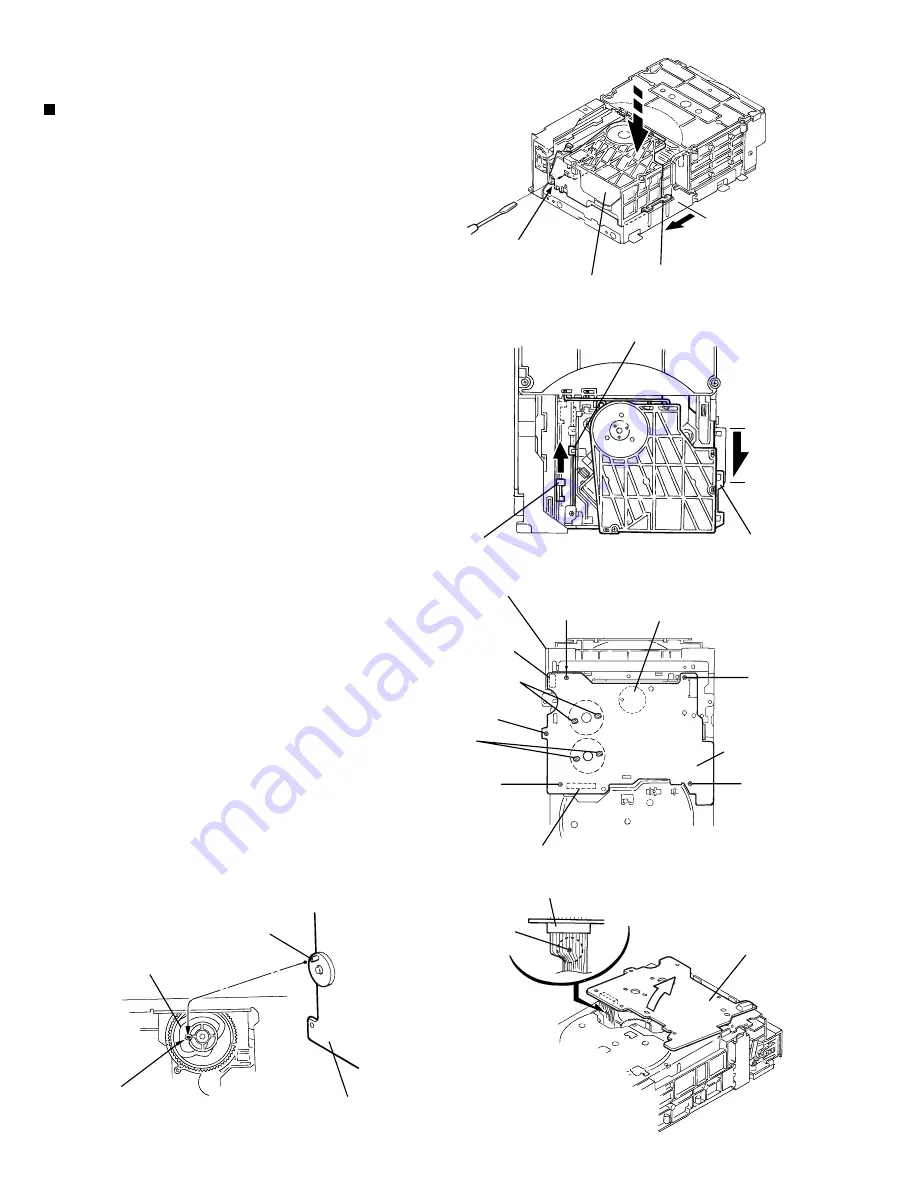
Insert a screwdriver into the sub chassis slot on the
back of the body and push the slider (R) toward the
front.
From the top of the body, slide the hook and the
slider (R) forward until they stop.
From the right side of the body, slide the slide cam
(L) backward until it stops. The sub chassis unit will
move to the lowest position.
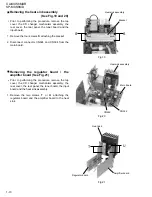
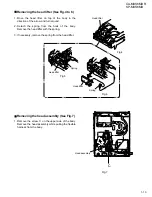
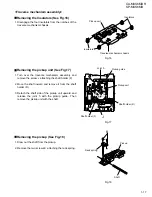
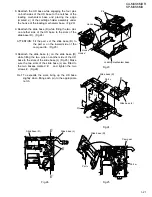
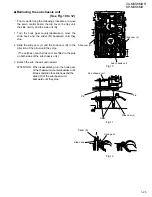
From the bottom of the body, unsolder each soldered
part a and b of the motors on the servo control
board.
Remove the five screws A attaching the servo
control board.
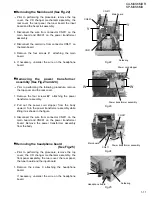
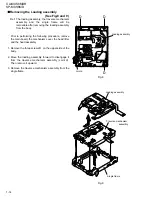
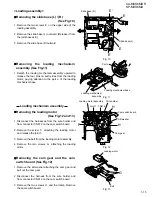
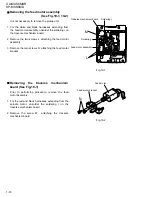
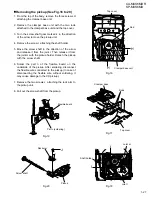
Disconnect connector CN610 on the servo control
board from the tray select switch board to suspend
the servo control board tentatively. Solder the part c
of the flexible wire connected to connector CN601 on
the underside of the servo control board.
Disconnect the flexible wire from connector CN601
and remove the servo control board from the body.
1.
2.
3.
4.
5.
6.
7.
Removing the servo control board
(See Fig.1 to 4)
In case of disconnecting the flexible
wire without soldering, the CD pick up
may be damaged.
ATTENTION:
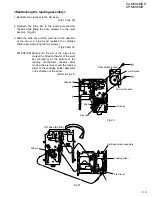
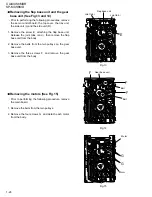
When reassembling, make sure the
cam switch boss of the servo control
board is fitted to the slot p of the
control cam on the bottom of the body
(Refer to Fig.3-1).
ATTENTION:
Make sure the sub chassis unit is
locating at the lowest position. If
not,perform the following procedure
from 1 to 3.
ATTENTION:
Fig.1
Fig.2
Fig.3-1
Fig.4
Fig.3-2
Slot
Slide cam (L)
Slider (R)
Sub chassis unit
Slide cam (L)
Hook
A
Tray select switch board
Solder part a
A
CN610
Solder
part b
A
CN601
A
Servo
control board
A
Cam switch
Cam switch boss
Main board
Slot p
Control cam
Servo control board
CN601
Solder part c
Gear base unit
<CD mechanism section>

