– 5 –
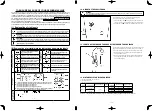
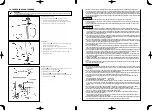
7. ATTACHING THE NEEDLE
Use a TV x 7 needle with the most suitable size according to the thread
No. and kind of material.
1. Manually rotate the handwheel until the needle bar reaches its high-
est position.
2. Loosen the needle clamp screw
1
.
3. Hold a needle
2
by facing its groove
3
to the right.
4. Insert the needle
2
into the needle hole as far as it can go.
5. Securely tighten the needle clamp screw
1
.
1
2
3
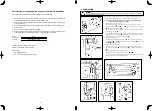
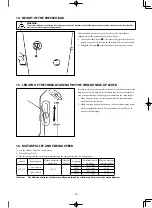
8. THREADING THE MACHINE
Manually rotate the handwheel until the thread take-up level reaches the highest position.
1. Thread the machine in the order shown below.
2. Thread the needle from left to right.
3. Leave about 10 cm of thread from the needle eye with which to begin sewing.
WARNING :
To avoid possible personal injury due to abrupt start of the machine, turn off the power to the machine and check to be sure that the
motor has totally stopped rotating in prior.
WARNING :
To avoid possible personal injury due to abrupt start of the machine, turn off the power to the machine and check to be sure that the
motor has totally stopped rotating in prior.
vi
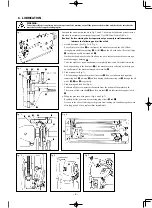
BEFORE OPERATION
CAUTION :
Check the following so as to prevent maloperation of and damage to the machine.
• Before you put the machine into operation for the
fi
rst time after the set-up, clean it thoroughly.
Remove all dust gathering during transportation and oil it well.
• Con
fi
rm that voltage has been correctly set.
Con
fi
rm that the power plug has been properly connected to the power supply.
• Never use the machine in the state where the voltage type is different from the designated one.
• The direction of normal rotation of the machine is counterclockwise as observed from the pul-
ley side.
Take care not to allow the machine to rotate in the reverse direction.
• Never operate the machine unless the sewing machine have been
fi
lled with oil.
• For a test run, remove the bobbin and the needle thread.
• For
the
fi
rst month, decrease the sewing speed and run the sewing machine at a speed of 1,500
sti/min or less.
• Operate the handwheel after the machine has totally stopped.
In addition, be aware that the safety devices such as the "eye protection cover" and "
fi
nger
guard" are sometimes omitted in the sketches, illustrations and
fi
gures included in the Instruction
Manual for the explanation's sake. In the practical use, never remove those safety devices.
CAUTION


