57
56
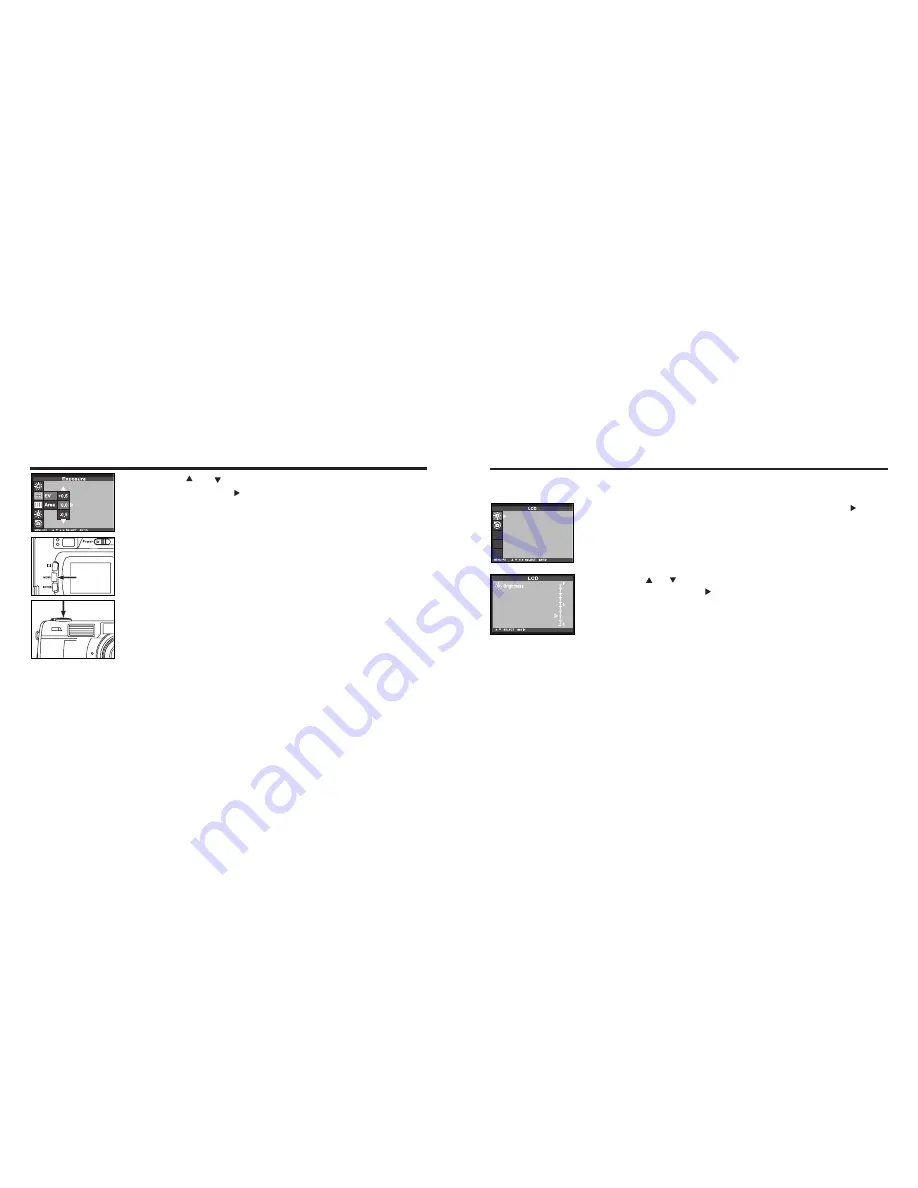
ADJUSTING THE BRIGHTNESS OF THE LCD MONITOR
This allows you to adjust the brightness of the LCD monitor according to the angle at which you watch
it or the brightness around the monitor so that the display on the LCD monitor can be seen clearly.
2
2 After confirming that [LCD ] is highlighted, press the
key.
• (If the LCD monitor is turned off, the LCD monitor is automatically turned on
and) the live view screen and the display to change the brightness of the
LCD monitor appear.
EXPOSURE COMPENSATION- CONT'D
5
5 Press the MENU button.
• The exposure compensation value is specified and displayed on the upper
right side of the LCD monitor (see page 34).
6
6 Press the shutter-release button all-the-way down to take
picture.
* To cancel the exposure compensation function, follow the operation steps described above and
specify 0 for the exposure compensation value, or turn off and on the camera again.
* When the image to be captured is whitish, increase the exposure compensation value so that the
white part can be easily represented, on the other hand, when the image to be captured is blackish
decrease the exposure compensation value so that the black part can be easily represented.
4
4 Press the or key that the desired exposure compen-
sation value appears to finish the setting.
• The exposure compensation value from +2.0 to –2.0 can be specified by 0.5
step.
3
3 Press the or key so that the desired brightness is
highlighted, press the key to finish the setting.
• The brightness can be adjusted in the range from 0 to 9. The smaller the
number is, the darker the LCD monitor is while the larger the number is,
the brighter the LCD monitor is.
* The color of the background in the left figure is gray so that you can easily
find out the contents of the display. However, the live view screen is actual-
ly displayed in the background.
• The brightness of the LCD monitor is set to the specified value. After set-
ting, the LCD monitor returns to the setup mode menu display.
Содержание 4100Z3
Страница 1: ......
Страница 6: ...11 10 NAMES OF PARTS NAMES OF PARTS CAMERA BODY Do not touch...


