www.janitza.de
JPC 100-WEB
25
Fig. 27: Configuration options for the UMG 20 CM
9. 2. 1 Integrating a new slave device
To retrieve measured values from a connect-
ed slave device and to configure the device
requires that it be integrated.
1. Make sure that the corresponding slave
device is connected either via a master
device or directly with the JPC 100-WEB.
2. Select the slave device you want to edit
using the drop-down menu.
3. Select the type of the device to be inte-
grated.
4. Enter the Modbus address of the slave
device. (Refer to the user manual of the
device to find out how to determine this.)
5. Use the
Belongs to master
drop-down
menu to select to which master device
the slave device is assigned.
6. Save the settings with the Save button.
The device has now been integrated and can
be seen on the start page under the corre-
sponding master device.
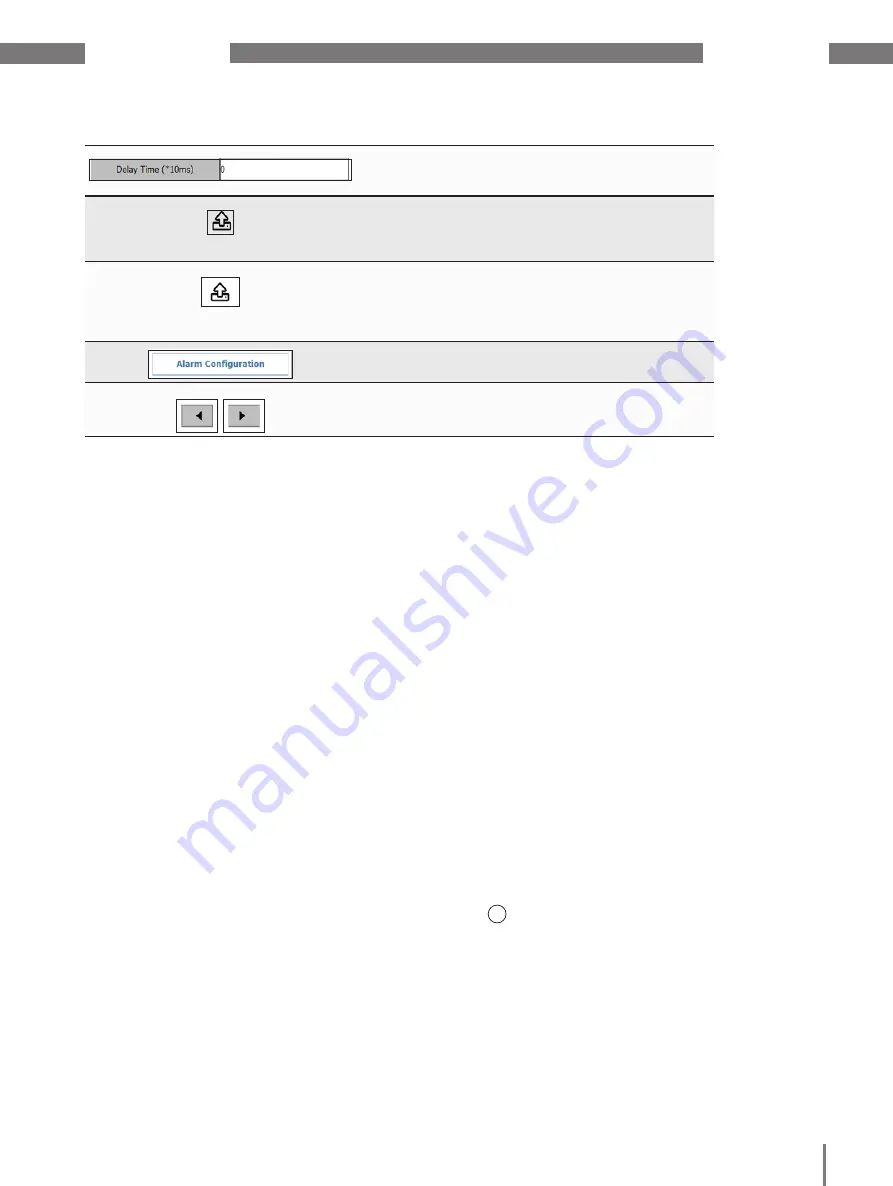
Use the response delay to define how long the
overcurrent warning or alarm threshold must be
exceeded for a warning or alarm to be triggered.
Use the
Actions for all UMGs
button to reset ener-
gy meters and minimum/maximum current mea-
surement values for all UMGs and to transfer the
current configuration to all UMGs.
Use the
Actions for this UMG
button to reset ener-
gy meters and minimum/maximum current mea-
surement values for this UMG or this channel and
to transfer the current configuration to all channels
of the device.
You can configure alarms and warnings for both
slave and master devices („8. Alarming“)
Use the arrow buttons to switch between the indi-
vidual slave devices.
9. 2. 2 Configuring the UMG 20 CM
The available configuration options depend
on the respective slave device type.
1. Open the configuration as described in
2. Use the tabs to go to the configuration
menu for slave devices.
3. Select the slave device you want to edit
via the drop-down menu.
4. Select the measurement channel to be
configured.
5. Make the desired configurations on the
device (for more information on configu-
ration of the UMG 20 CM, please see the
usage information).
6. If desired, transfer the configurations to
all channels of this slave device using the
Actions for this UMG
button.
7. Save the configurations using the
Save
button.
8. Use the menu bar to go to the settings
1
).
9. Activate the function Overwrite all.
10. Start the Modbus communication.


