PAGE 9
SCENECONTROL 500 OPERATING INSTRUCTIONS
Design, Manufacture and Installation of Theatrical Equipment Worldwide
(315) 451-3440
Fax (315) 451-1766
www.jrclancy.com
Rev 1: February 15, 2007
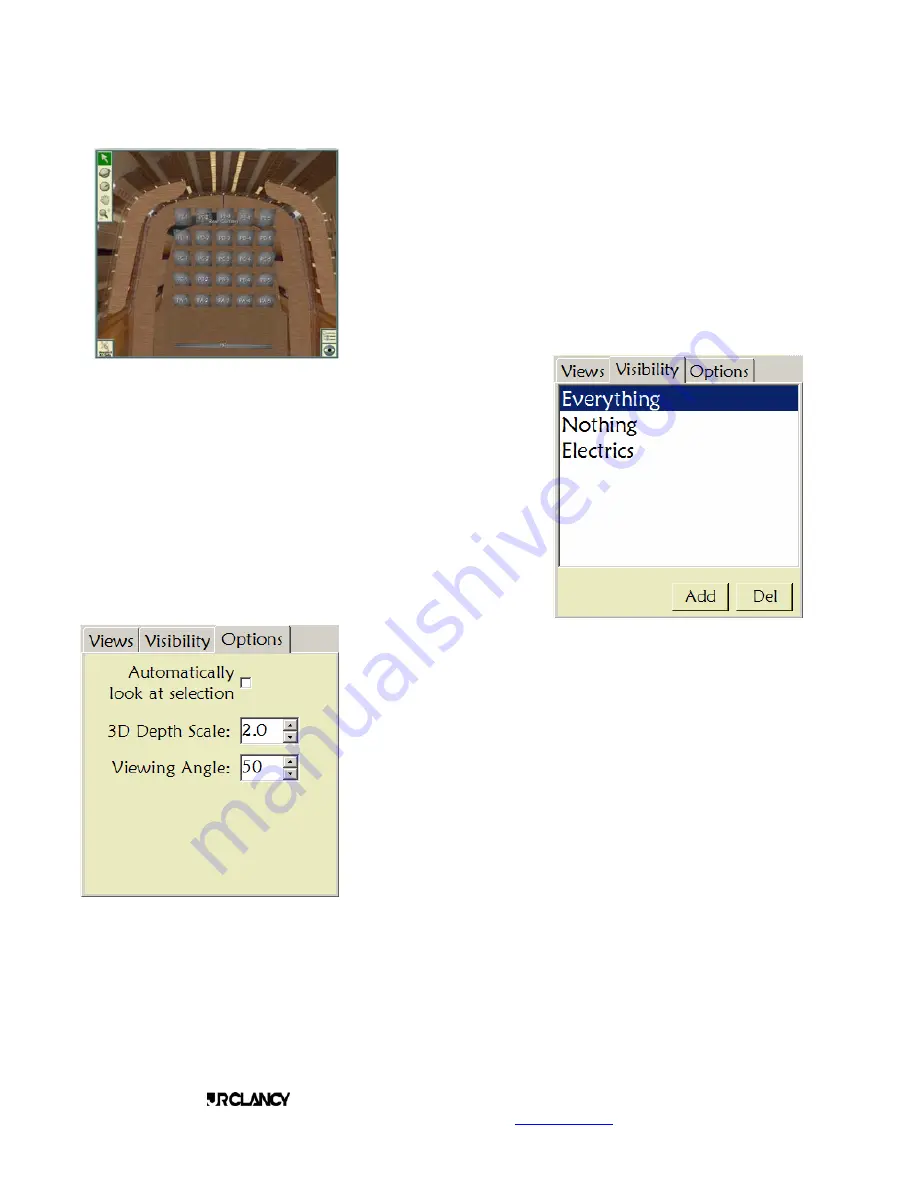
Touching the “Top View” selection on the list shown will shift the view
to a plan view of the stage, as if the operator were on the grid looking
down at the stage.
The “From House” selection in this list will shift to the viewpoint of a
person seated in the orchestra level seats.
The “Default” selection will return the viewpoint to the starting
perspective.
Custom viewpoints may be created by an operator with Edit Level
privileges – this will be covered in a later section of this manual.
When the “eyeball” icon is used to open the viewpoint window, the
Visibility tab can be used to select which sets are displayed. In the
list shown, touching the “Electrics” entry would display only the
Electric sets, shutting off the set identifications for all other sets.
Again, this list can be customized by an operator with Edit Level
privileges.
The Options tab in the viewpoint window provides some choices for
the way the 3D image is displayed on the screen. The 3D Depth
Scale can be used to exaggerate the depth of the stage house – this
can be useful to distinguish between sets when they are closely
placed. The Viewing Angle setting changes the “lens” through which
the stage is seen – a setting of 50 is roughly equivalent to the view
through a 50mm lens (normal perspective). A setting of 30 gives a
broader field of view (like a wide-angle lens), while a setting of 80
gives a narrower view with flatter perspective (like a telephoto lens).
The “Automatically look at selection” checkbox shifts the display to
center on any set which is selected as it is selected. This viewpoint
shift can be disconcerting to an operator, so this setting should be
used judiciously.


