2.1.3 Scanner startup
Connect both ends of power cable to the scanner and 24V DC power supply respectively, the scanner begin
to be powered on, Nixie tube starts flickering (1s intervals) and stops flickering after 10s, the startup is
finished.
2.1.4 Configuration software startup
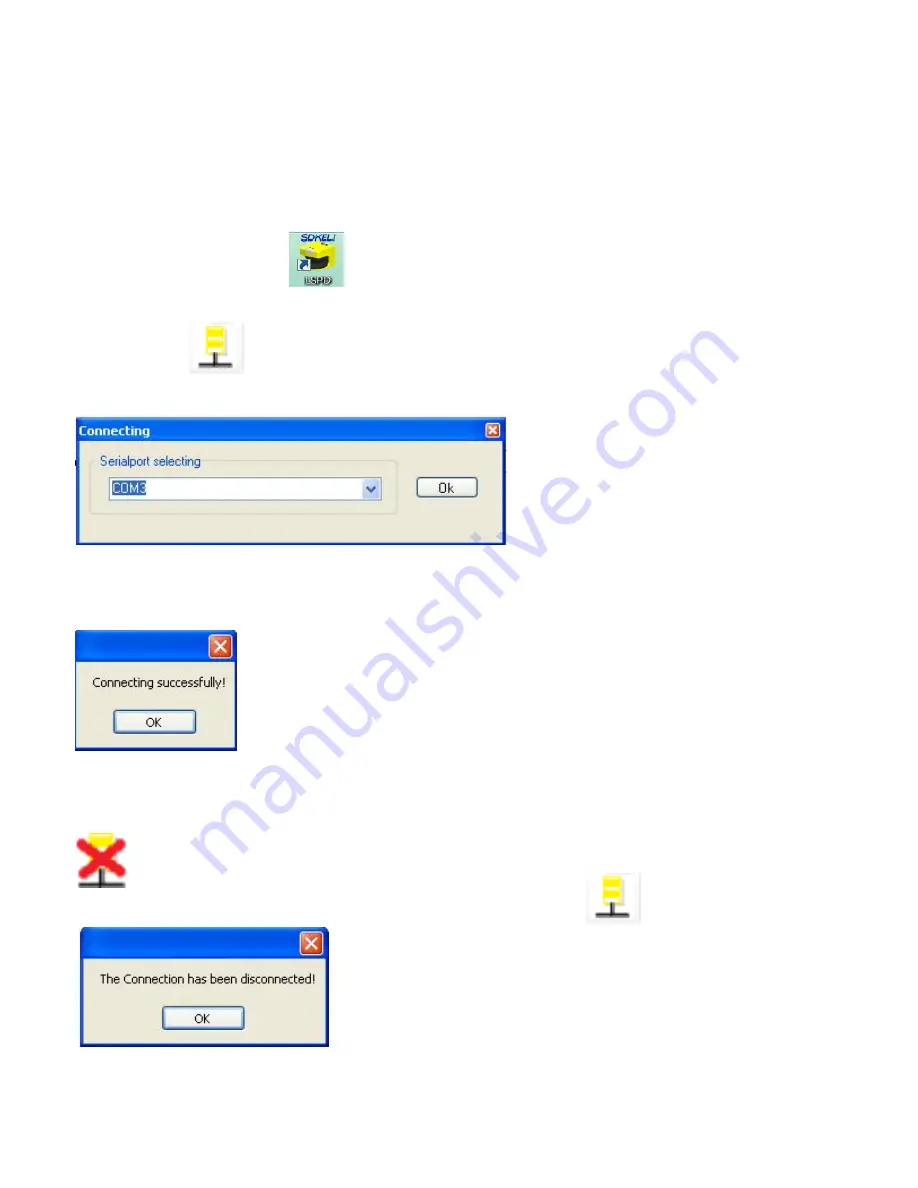
Double click the shortcut icon on the desktop of the configuration computer to start the software.
2.1.5 Establish the connection
Click the button in the toolbar user interface to establish connection, serial port selection window
will pop-up as shown in Fig.2.1.5.1. If the serial port number is less than 2, that means the scanner is not
recognized, refer to
Chapter 4 to solve this problem.
Fig.2.1.5.1 Serial port selection window
Click
[
Ok
]
, if the pop-up box prompts the connection is successful, as shown in Fig.2.1.5.2, then the scanner
has been connected to the computer successfully and the Nixie tube of the indicator window displays 6.
Fig.2.1.5.2 Connection successful
Click
[
Ok
]
or close the pop-up window to finish the configuration preparations.
After the connection between the software and the scanner has been established, by clicking the icon
the user can disconnect the scanner from the software and a box will pop-up to prompt this
information, as shown in Fig.2.1.5.3. Once disconnected, by clicking icon the connection will be
re-established.
Fig.2.1.5.3 Disconnect
13
Содержание LSPD
Страница 6: ...6 ...


