


6-14
Relative to
Document
This option allows you to crop different areas on your documents and
deliver these images in B&W, Gray, or Color separately. For example,
there are applications which require you to store the entire document
in B&W and a part of the document in color to save storage space. This
is useful for documents where a photograph or signature appears in a
consistent area on the document such as resumes, and so on.
The following options are only available when
Fixed to Transport
is selected.
X-Offset
— the distance from the left end of the scanner to the left edge of the
scanning area.
Y-Offset
— the position from the top end of the document to the top end of the
scanning area.
Width
— the width of the scanning area.
Length
— the length of the scanning area.
— relocate the scan area by click the arrow key on the cross sign while retain the
scan size. View the result from the Display window.
Relative to Document:
(used for batches of same-sized documents)
This option allows you to crop different areas on your documents and deliver these images in
B&W, Gray, or Color separately. For example, there are applications which require you to
store the entire document in B&W and a part of the document in color to save storage space.
This is useful for documents where a photograph or signature appears in a consistent area on
the document such as resumes, and so on.
The following procedure describes how to reproduce the entire document in B&W and a
portion of document (picture) in color.
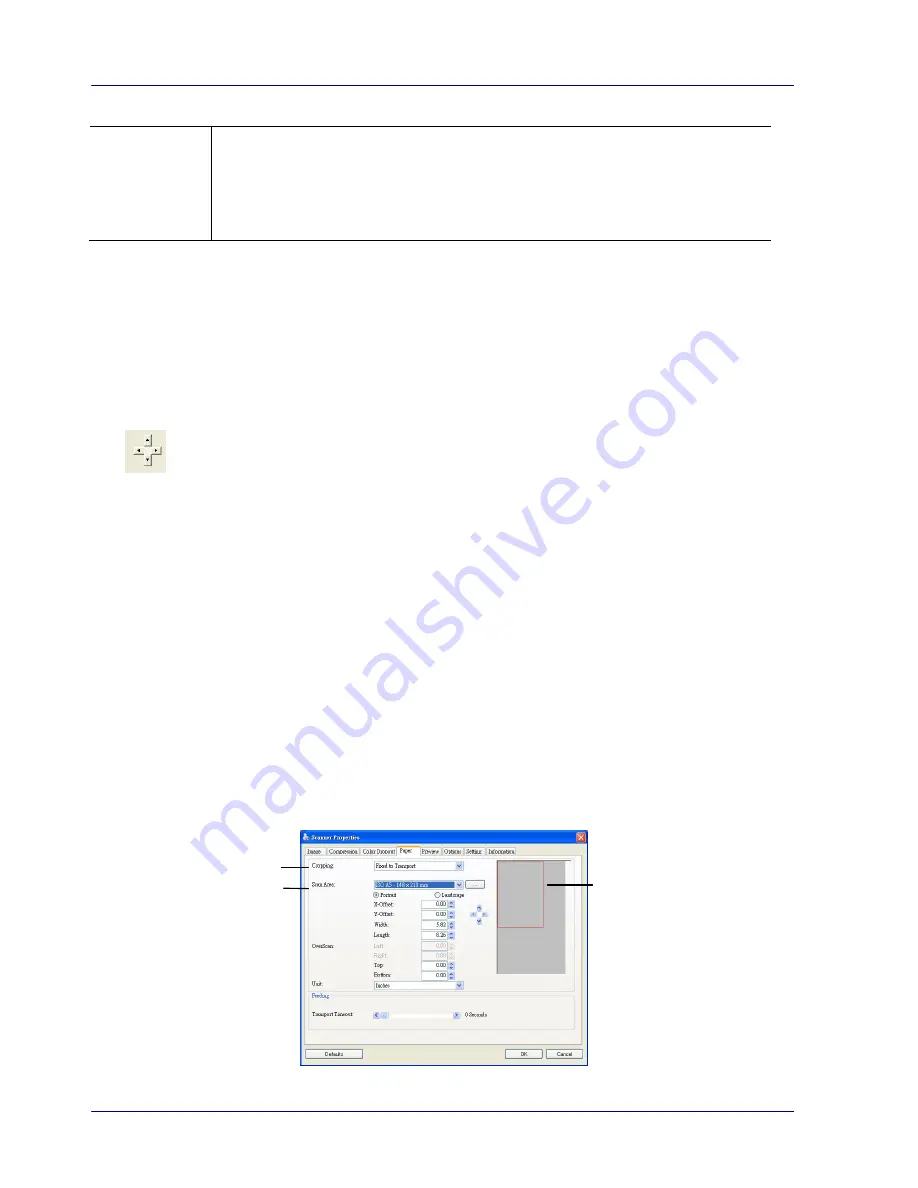
1.
On the Paper tab, choose “Relative to Document” or “Fixed to Transport” from the
Cropping option.
2.
Choose your scan size from the Scan Area option. The selected scan size will be
displayed in a red rectangular box. This is also the scan size of your entire document.
(For example, ISO B5. If you have not chosen a scan area and leave the selection as
None, then the default area will be the scanner’s maximum.)
1
2
A red
rectangular
box
Содержание IRIScan Pro 3 Wifi
Страница 15: ...2 2 3 Open the battery cover ...
Страница 19: ...2 6 2 5 Install the Feed Extension Plate 1 Open the feed tray 2 Open the feed extension plate ...
Страница 20: ...User Guide 2 7 3 Raise the document guides and adjust them to the size of your documents ...
Страница 61: ...6 16 The entire document in B W The relative area in color ...
Страница 73: ...7 6 3 Open the roller cover ...


