


51
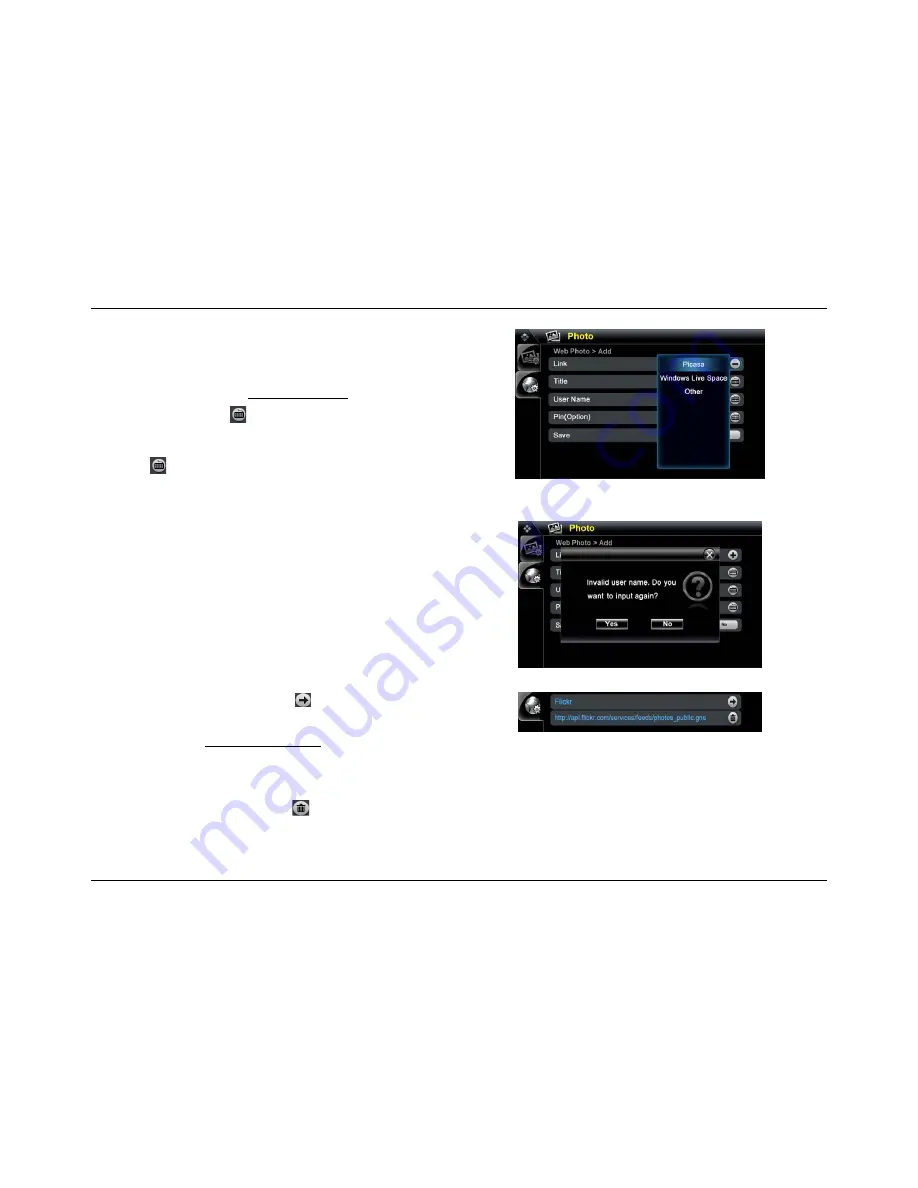
Add Web Photo Account Screen
Invalid input pop-up
Photo account
4.
Tap on the sharing site you want. Current selections are
Picasa
,
Windows Live Space
and
Other
.
Note:
If your account is not one of the above listed, then your web photos may
not be displayed accurately. To learn how to get the web photo RSS
address from internet see Add RSS News Feed.
5.
On the Title line, tap the
button to open the
Keyboard
. Type in your
desired
Title
and tap
OK
to save.
6. For
both
User Name (Option)
and
Pin (Option),
on their respective line,
tap the
button to open the
Keyboard
. Type in the
User Name
and
Pin
code
. Tap
OK
to save.
Note:
For
Picasa
and
Windows Live Space
, user only needs to input
username. For
Other
, you need to input the whole
RSS link
in
Link
.
Note:
If the
User Name
entered contains invalid characters, then a pop up
dialog will appear to prompt you re-enter the information.
7.
The new created account will be displayed in Web photo setup screen,
like this:
8. On
the
Save
line, tap
Yes
to save the web photo account settings or tap
No
to cancel your settings. You will be returned to the
Web Photo
screen.
Edit Web Photo Account
1. On
the
Photo
account screen, tap the
button
in the account line that
you want to edit
. The
Web Photo > Add
screen appears.
2.
Follow the steps in Add Web Photo Account section to change current
settings.
Delete Web Photo Account
On the
Photo
account screen, tap the
button. A pop-up dialog box
appears asking "
Do you want to delete the link?
". Tap
Yes
to delete or
No
to cancel without deleting.


