


16
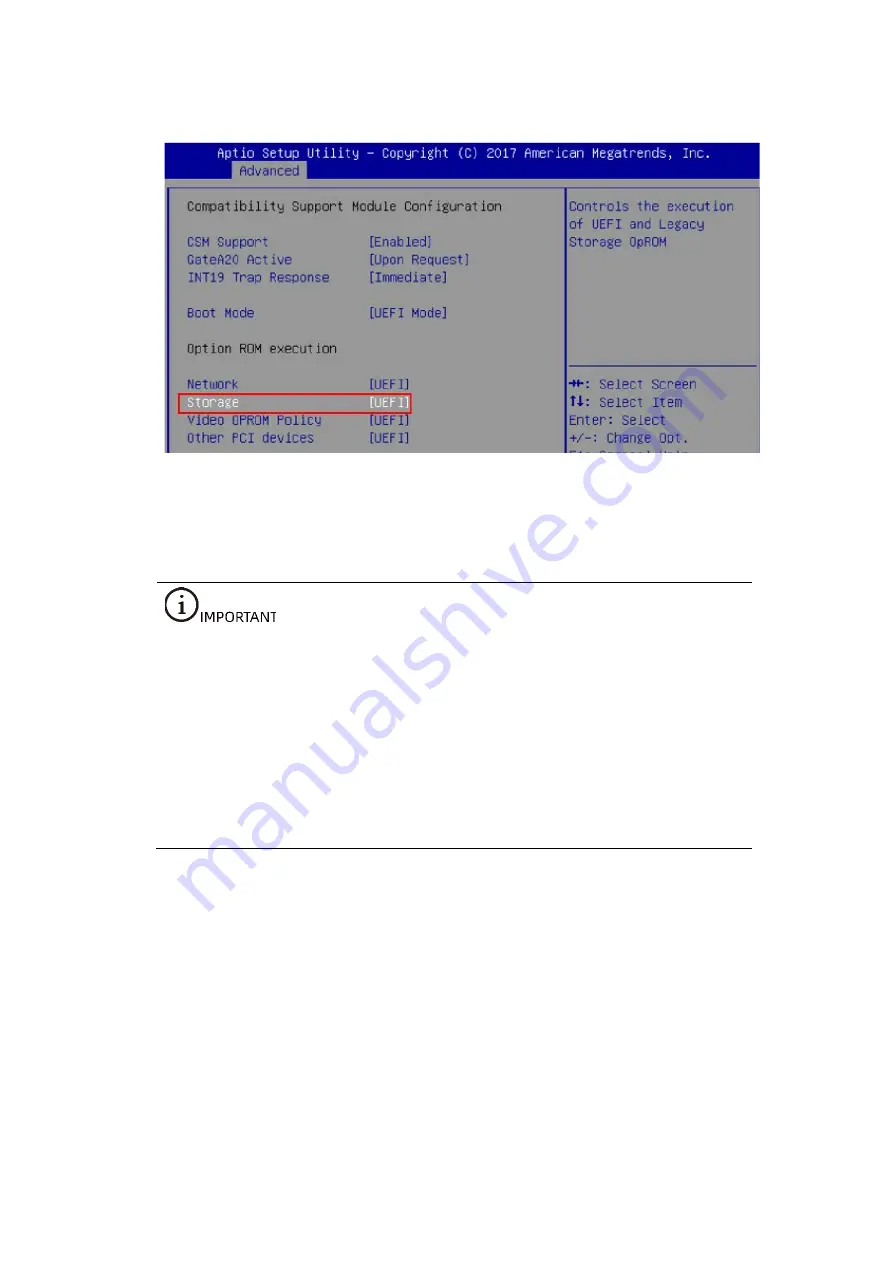
Figure 3-2 Configuration Screen
4.
Press <F10>. On the popup confirmation dialog box, select Yes and press
<Enter> to save the settings and exit BIOS configuration screen. Then, start the
server.
The configuration screen is unavailable in the Legacy mode for Broadcom
94xx series or later controller cards. However, users can complete the
configuration in the UEFI mode, and then switch to the Legacy mode. This
section guides you on how to configure RAID in the UEFI mode.
The operating procedures described in this section are also applicable to
Inspur SAS3408iMR, SAS3508MR, and 9440/9460/9560 series.
The main difference between Inspur 3408iMR and 3508MR is that the former
has no cache and does not support the super-capacitor data protection
suite.
3.2
Log in to SAS3508MR Management Screen
Procedures:
1.
Restart the server to enter BIOS configuration screen. When the blue progress
bar appears on the LOGO screen as shown below, press <Delete> as prompted
to enter BIOS main screen.
2.
Switch to Advanced tab, select the SAS3508 controller from the existing RAID
controller card list, and press <Enter>.
Содержание 3408 Series
Страница 62: ...57 Figure 3 52 Selecting the Drive to be Configured Figure 3 53 Operation Screen ...
Страница 68: ...63 Figure 3 59 Operation Screen 3 Delete the HS drive a Set Operation to Unassign Hot Spare Drive ...
Страница 78: ...73 Figure 3 73 Setting Choose Profile to 13_PD64 NVMe4 ...
Страница 83: ...78 Figure 4 6 Checking I Accept the License Terms 9 Select Custom advanced and press Enter as shown below ...
Страница 84: ...79 Figure 4 7 Selecting Custom advanced 10 On the screen shown select Load Driver and press Enter ...
Страница 85: ...80 Figure 4 8 Selecting Load Driver 11 On the screen shown click Browse and press Enter ...
Страница 86: ...81 Figure 4 9 Clicking Browse To install the driver 1 Select GHOST C as shown below ...
Страница 89: ...84 Figure 4 12 Loading the Driver 4 On the screen shown click Next ...
Страница 91: ...86 Figure 4 14 Selecting a System Partition 6 Click OK to enter the OS installation screen as shown below ...
Страница 93: ...88 Figure 4 16 Installing Windows 8 Create an administrator password and press Enter to enter the OS ...


